What is Cypress
Cypress is a modern JavaScript-based end-to-end (e2e) testing framework designed to automate web testing by running tests directly in the browser. Cypress has become a popular tool for web applications due to a number of distinctive advantages such as
user-friendly interface, fast test execution, ease of debugging, ease of writing tests, etc.
Those who have already had any experience with this testing framework probably know about its advantages, which make it possible to ensure that projects are covered with high-quality and reliable autotests. Cypress has well-developed documentation, one
of the best across the industry, with helpful recommendations for beginners, which is constantly being improved, as well as an extensive user community. However, despite the convenience, simplicity, and quick start, when we talk about Cypress tests,
we still mean the code. In this regard, to work effectively with the persona behind Cypress requires not only an understanding of software testing as such but also the basics of programming, being more or less confident with JavaScript/TypeScript.
Why Cypress
Typically, to test your applications, you’ll need to take the following steps:
- Launch the application
- Wait until the server starts
- Conduct manual testing of the application (clicking the buttons, entering random text in input fields, or submit a form)
- Validate the result of your test being correct (such as changes in title, part of the text, etc.)
- Repeat these steps again after simple code changes.
Repeating these steps over and over again becomes tedious and takes up too much of your time and energy. What if we could automate this testing process? Thanks to this, you can focus on more important things and not waste time testing the UI over and
over again.
This is where Cypress comes into play. When using Cypress the only thing you need to do is:
- Write the code for your test (clicking a button, entering text in input fields, etc.)
- Start the server
- Run or rerun the test
That’s it! The Cypress library cares about all the testing for you. It not only tells you if all your tests passed or not, but it also points to which test failed and why exactly.
How about Selenium
Wait, but we already have Selenium, is it still actual?
Selenium remained The King of automated testing for more than a decade. I remember myself back in 2015 creating a powerful UI wrapper for Selenium WebDriver to automate and simplify its operations for non-technical users. The application is named Onero and
is still available along with its source code. But when it comes to Cypress – it already offers powerful UI straight out of the box, and much more useful
tools and integrations – just keep reading to find this below.
Cypress is the next generation web testing platform. It was developed based on Mocha and is a JavaScript-based end-to-end testing framework. That’s how it is different to Selenium which is a testing framework used for web browser automation.
Selenium WebDriver controls the browser locally or remotely and is used to test UI automation.
The principal difference is that Cypress runs directly in browser, while Selenium is external to a browser and controls it via WebDriver. That alone makes Cypress much perfectly handling async operations and waits, which were all
the time issues for Selenium and required clumsy scaffolding around related error handling.
With that in mind, let’s compare Cypress vs. Selenium line by line:
With that in mind, let’s compare Cypress vs. Selenium line by line:
| |
Cypress |
Selenium |
| Types of testing |
Front end with APIs, end-to-end |
End-to-end, doesn’t support API testing |
| Supported languages |
JavaScript/Typescript |
Multiple languages are supported, such as Java, JavaScript, Perl, PHP, Python, Ruby, C#, etc. |
| Audience |
Developers as well as testers |
Automation engineers, testers |
| Ease of Use |
For those familiar with JavaScript, it will be an easy walk. Otherwise, it will be a bit tricky. It is still developer-friendly being designed keeping developers in mind. It also has a super helpful feature called “travel back in time.” |
As it supports multiple languages, people can quickly start writing tests, but it’s more time-consuming than Cypress as you have to learn specific syntax. |
| Speed |
It has a different architecture that doesn’t utilize a web driver and therefore is faster, also Cypress is written with JavaScript which is native to browsers where it executes. |
Because of its architecture, it’s hard to create simple, quick tests. However, the platform itself is fast, and you can run many tests at scale, in parallel, and cross-browser. |
| Ease of Setup |
Just run the following command: npm install Cypress –save-dev. It requires no other component installation (unlike web driver) as Selenium does, you don’t even have to have a browser as it can use Electron. Also, everything
is well-bundled. |
As it has two component bindings and a web driver. Installation is more complicated and time-consuming. |
| Integrations & Plugins |
It has less integrations which is compensated by a rich set of plugins. Perfectly runs in Docker containers and supports GitHub Actions. |
It integrates with CI, CD, visual testing, cloud vendors, and reporting tools. |
| Supported Browsers |
Supports all Chromium-based browsers (Chrome, Edge, Brave) and Firefox. |
All browsers: Chrome, Opera, Firefox, Edge, Internet Explorer, etc along with the “scriptable headless” browser – PhantomJs. |
| Documentation |
Helpful code samples and excellent documentation in general |
Average documentation. |
| Online Community & support |
A growing community, but smaller then Selenium gained over a decade. |
It has a mature online community. |
Selenium is aimed more at QA automation specialists, while Cypress is aimed merely at developers to improve TDD efficiency. Selenium was introduced in 2004, so it has more ecosystem support than Cypress, which was developed in 2015 and continues to expand.
Installation and first run
You need to have Node.js and as Cypress is shipped with npm module.
npm install cypress -- save -dev
Along with Cypress itself, you will likely want to install XPath plugin, otherwise, you’re limited to only CSS locators.
npm install -D cypress-xpath
Once ready, you may run it:
npx cypress open
From there you'll see two screens: E2E Testing and Components Testing
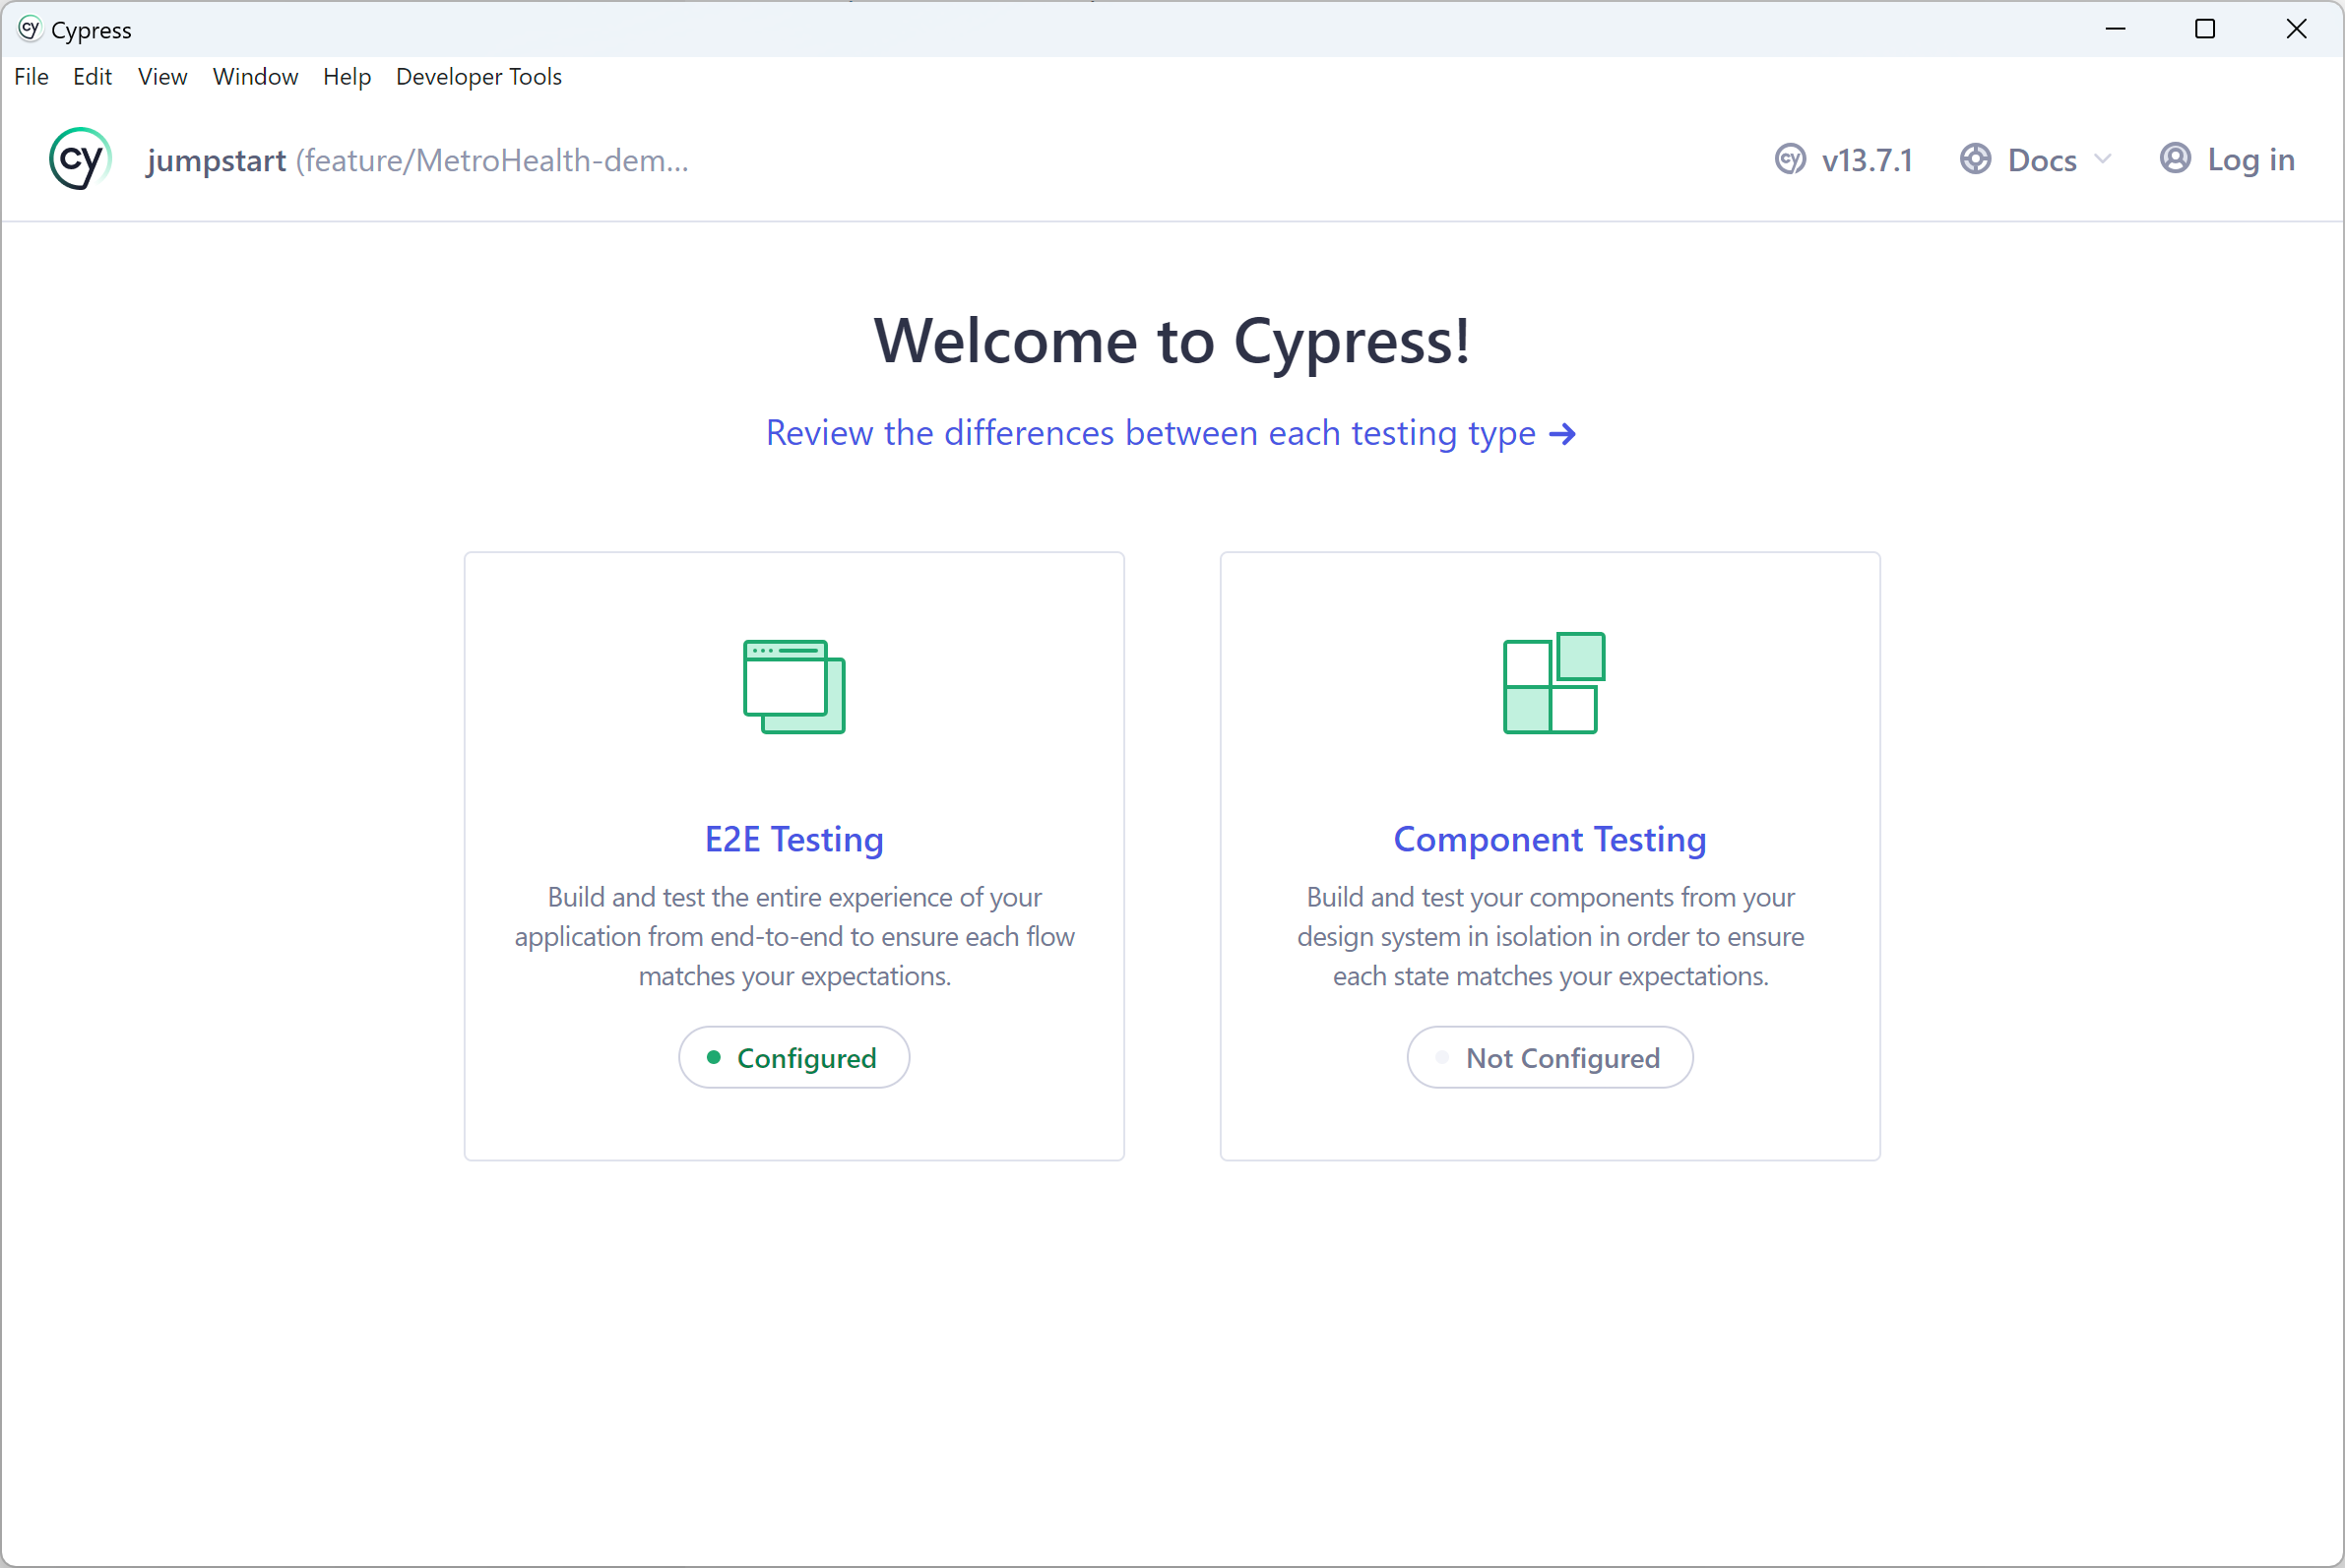
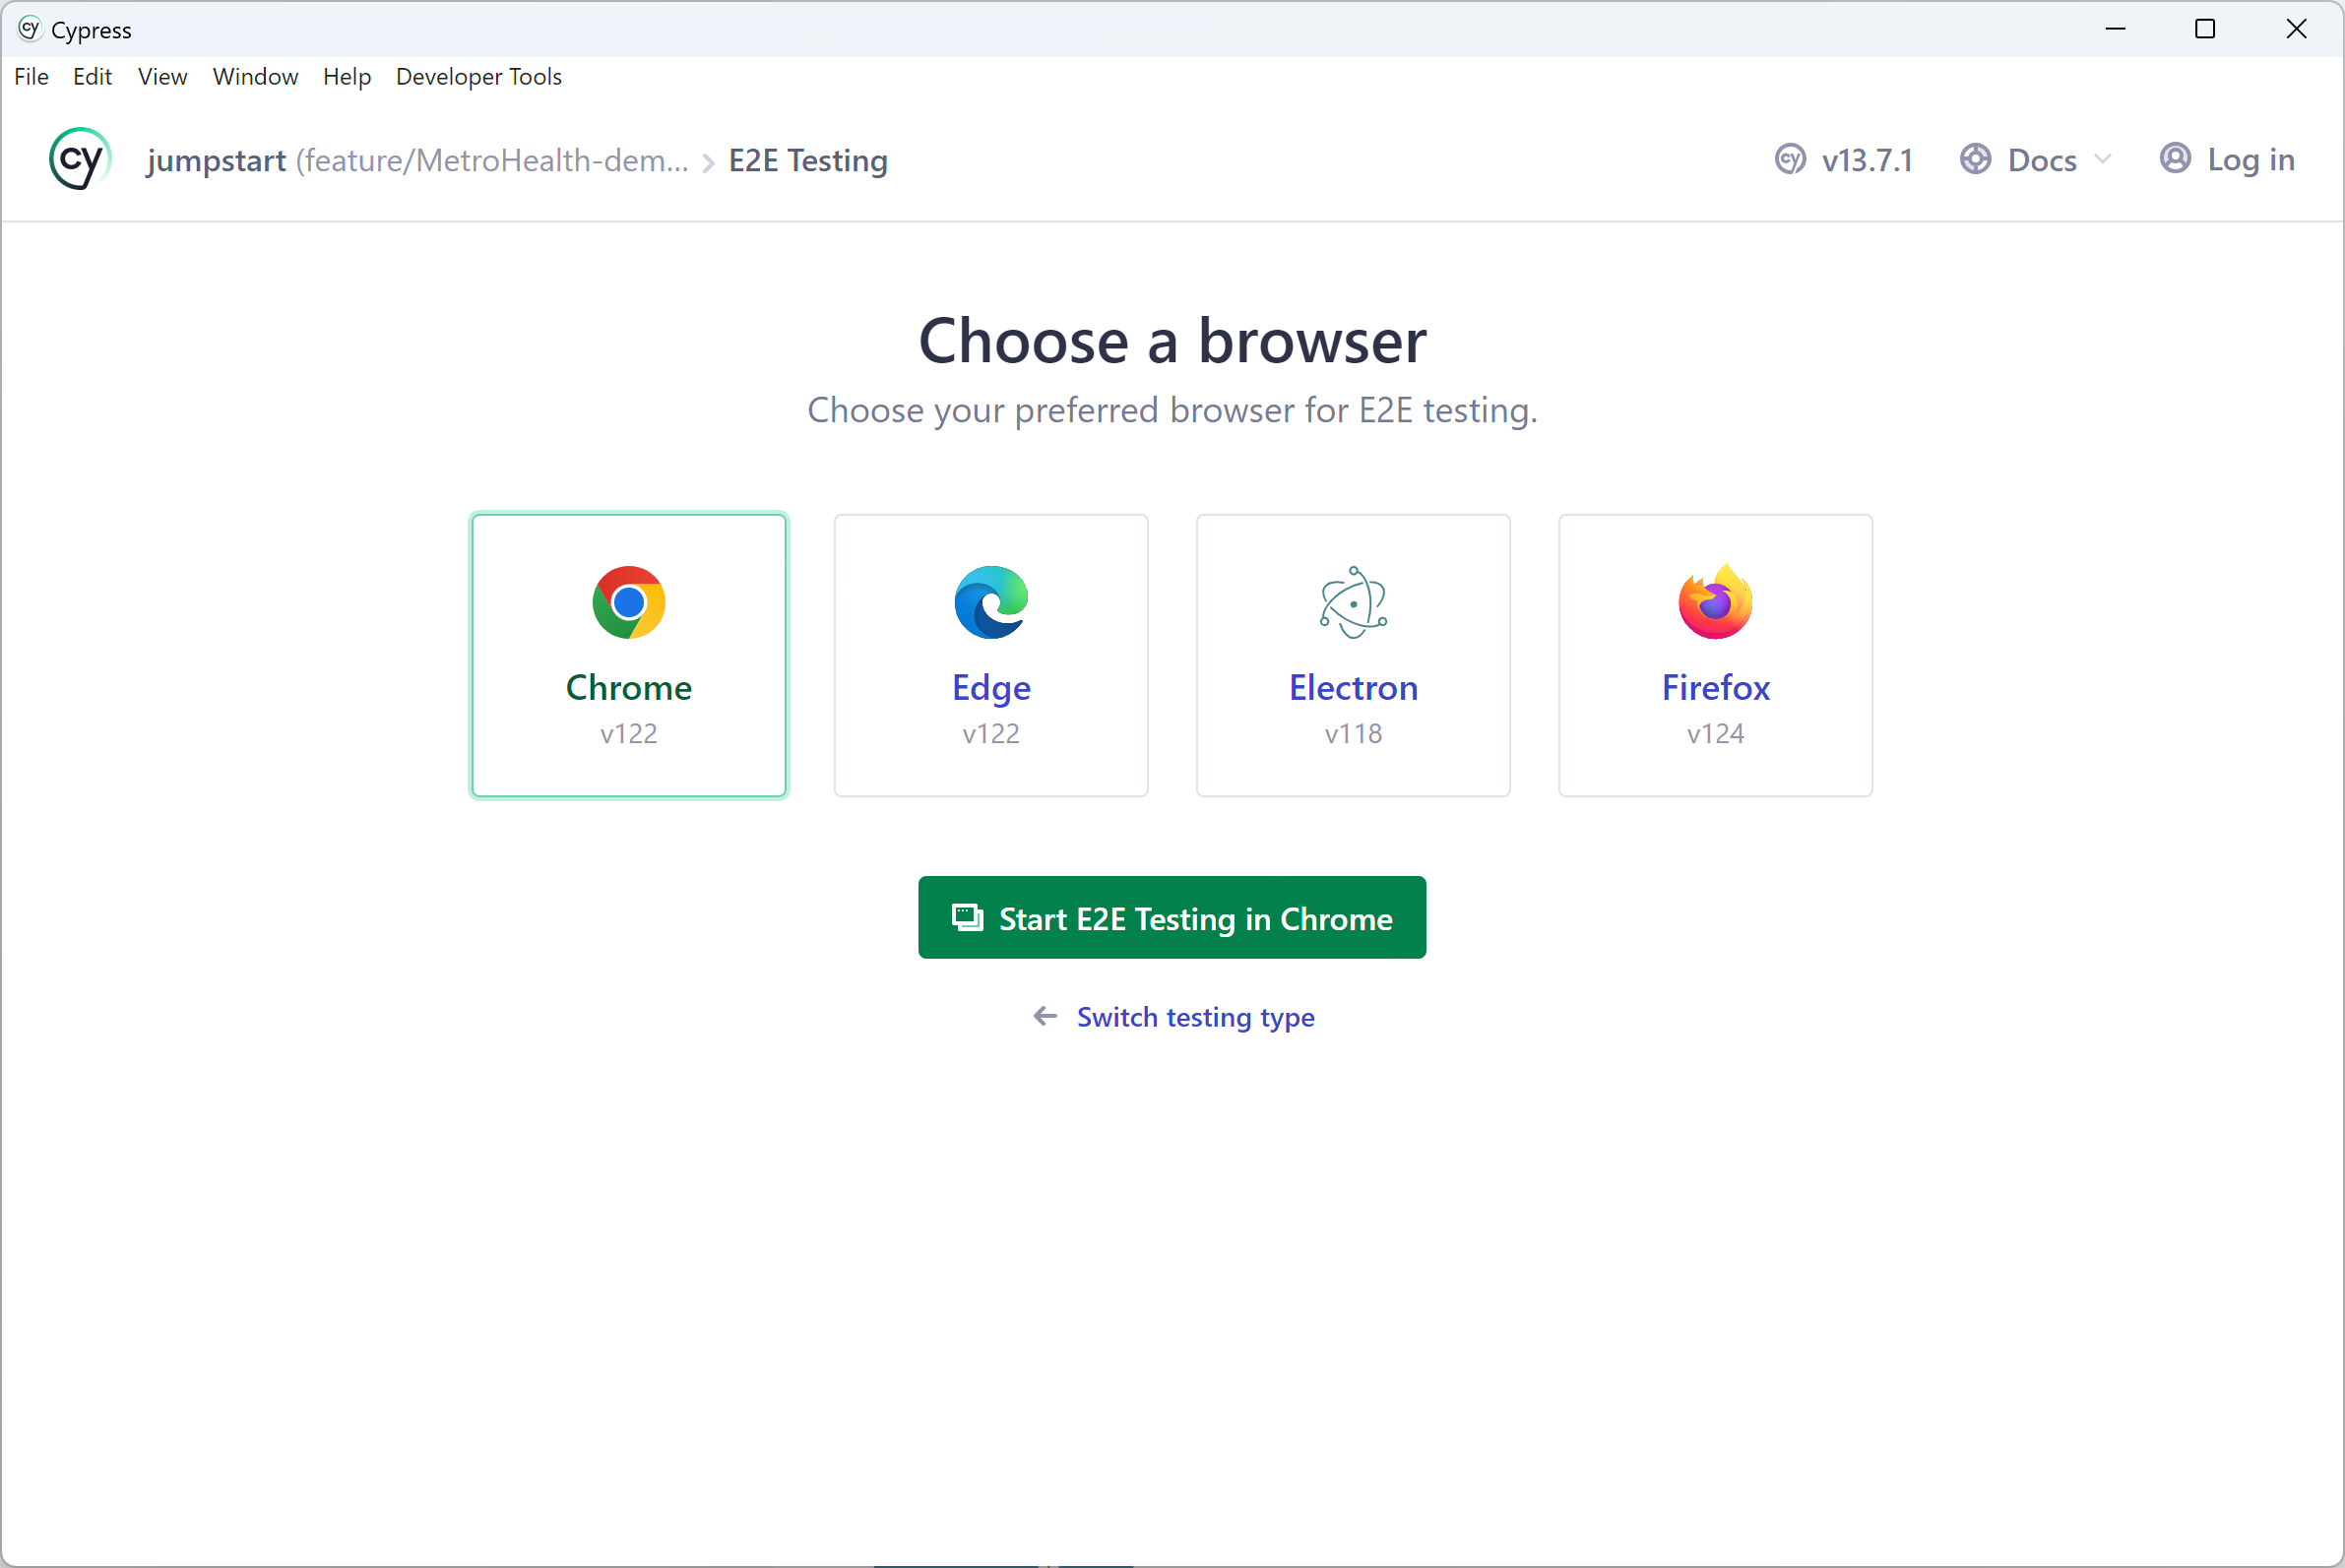
Most of the time you will likely be dealing with E2E testing. That’s where you choose your desired browser and execute your tests:
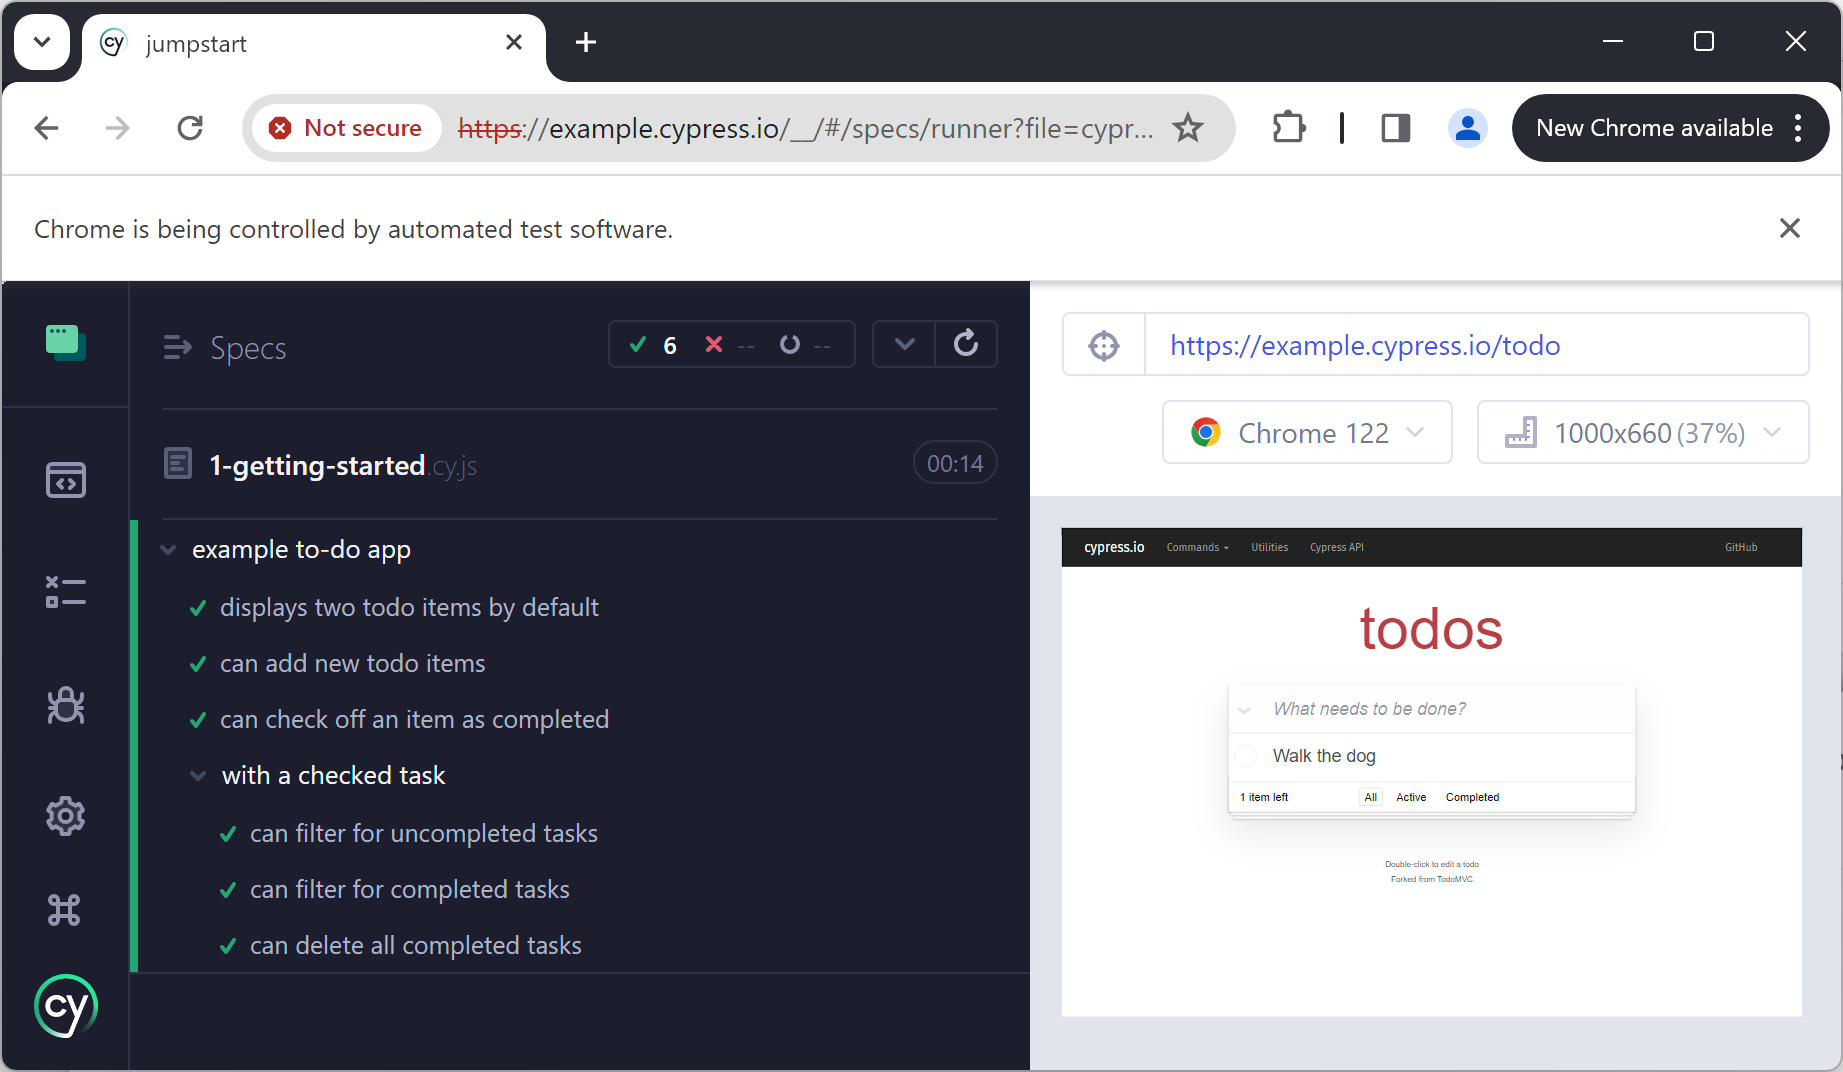
By default you’ll find a live documentation in a form of a bunch of helpful pre-written tests exposing best of Cypress API in action. Feel free to modify, copy and paste as per your needs.
Here’s how Cypress executes tests from the UI on an example of sample test run:
But of course, in a basic most scenario you can run it from console, You can even pass a specific test spec file to execute:
npx cypress run --spec .\cypress\e2e\JumpStart\JumpStart.cy.js
Regardless of the execution mode, results will stay persistent:
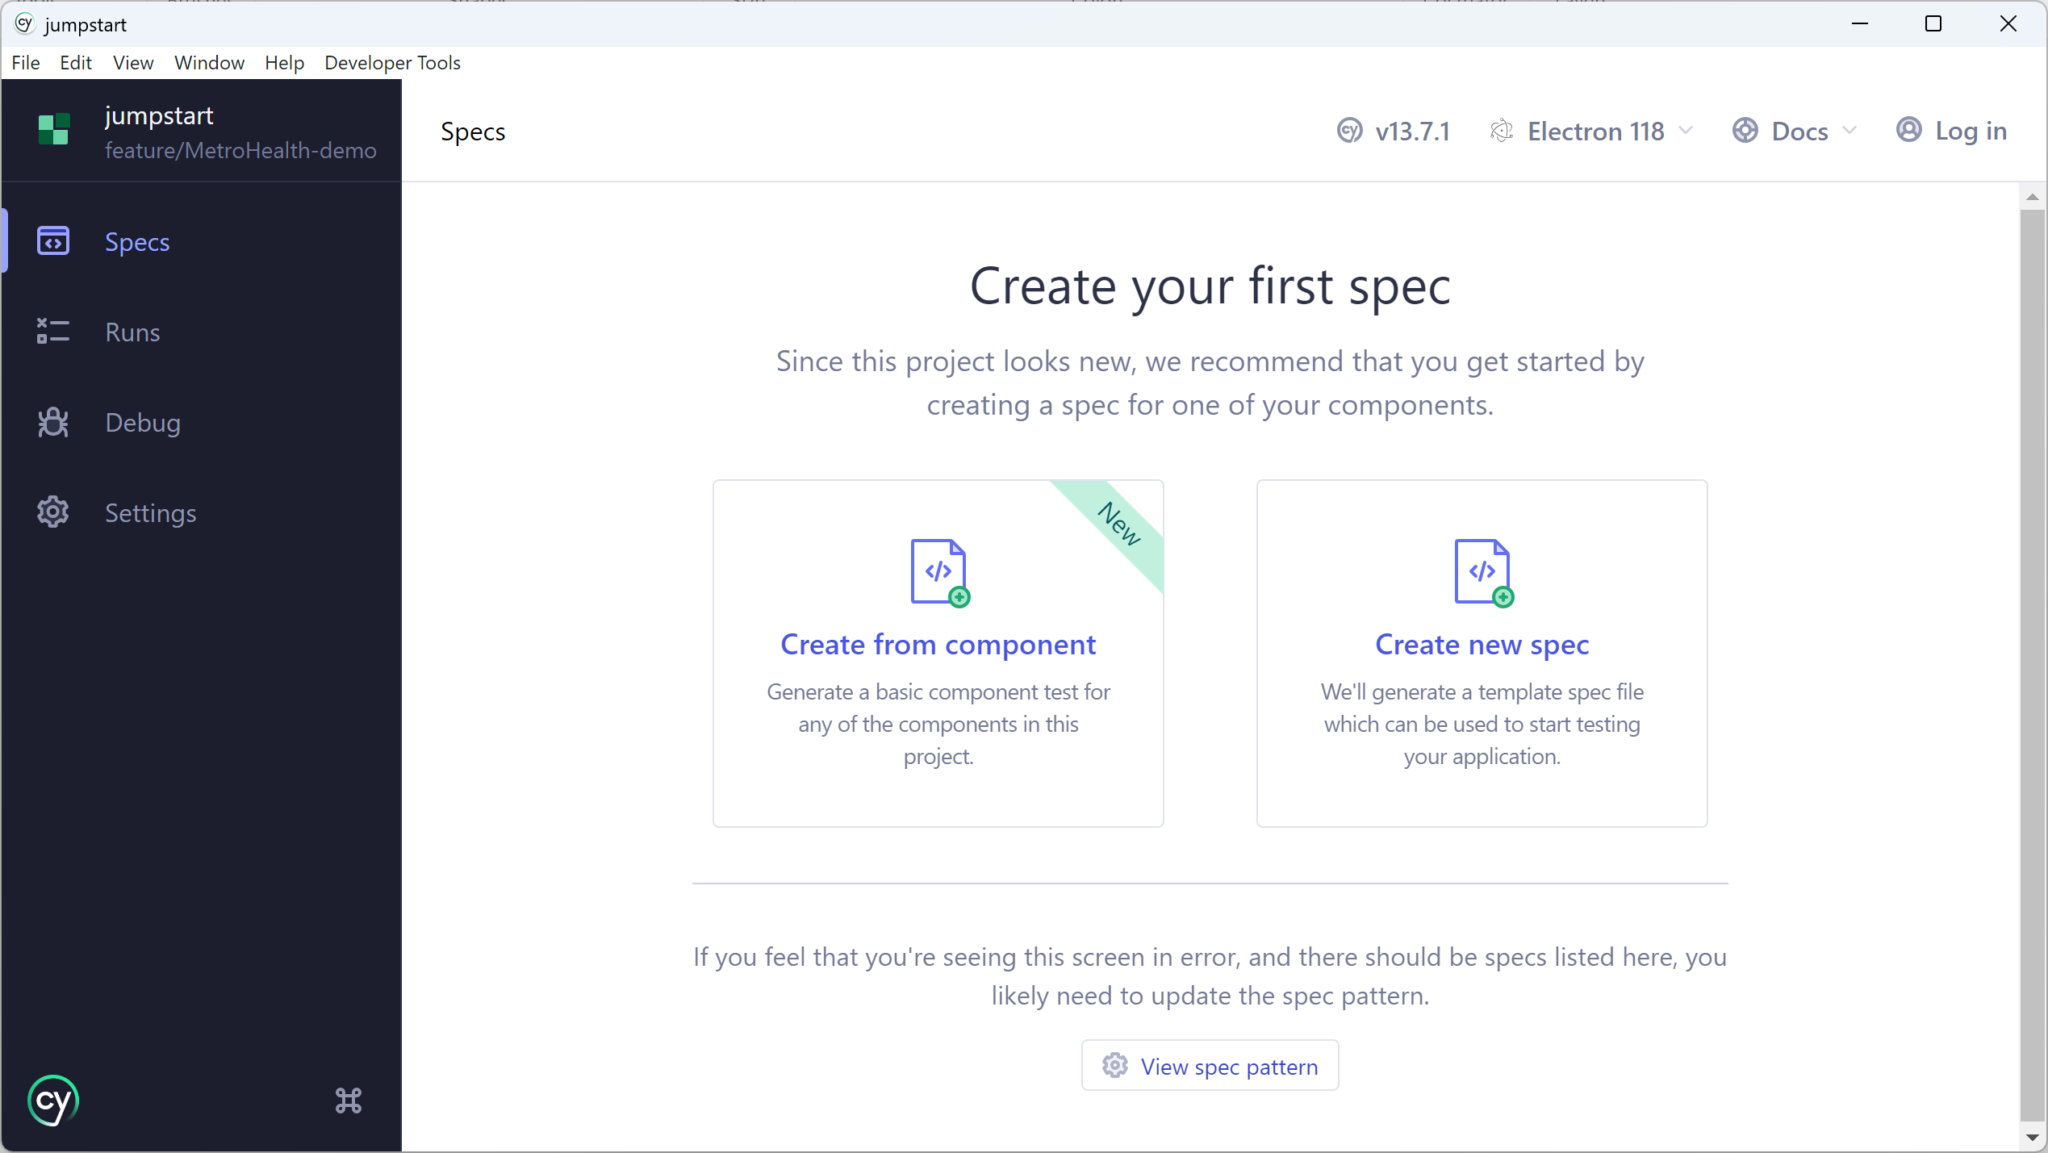
Component Testing
This feature was recently added and stayed long time in preview. Now once it is out of beta, let’s take a look at what Component Testing is.
Instead of working with the entire application, with component testing you can simply connect a component in isolation. This will save you time by downloading only the parts you’re interested in, and will allow you to test much faster. Or you can test
different properties of the same component and see how they display. This can be very useful in situations where small changes affect a large part of the application.
In addition to initializing the settings, Cypress will create several support files, one of the most important is component.ts, located in the cypress/support folder.
import { mount } from 'cypress/react18'

declare global {
    namespace Cypress {
    interface Chainable {
        mount: typeof mount
    }
    }
}

Cypress.Commands.add('mount', mount)

// Example of usage:
// cy.mount(MyComponent)
This file contains the component mount function for the framework being used. Cypress supports React, Angular, Svelte, Vue, and even frameworks like Next.js and Nuxt.
Cypress features
- Time travel
- Debuggability
- Automatic waits (built-in waits)
- Consistence results
- Screenshots and videos
- Cross browser testing – locally or remotely
I want to focus on some of these features.
Time Travel. This is an impressive feature that allows you to see the current state of your application at any time while it is being tested.
Debuggability. Your Cypress test code runs in the same run loop as your application. This means you have access to the code running on the page, as well as the things the browser makes available to you, like document, window,
and debugger. You can also leverage .debug() function to quickly inspect any part of your app right while running a test. Just attach it to any Cypress
chain of commands to have a look at the system’s state at that moment:
it('allows debugging like a pro', ()=>{
    cy.visit('/location/page')
    cy.get('[data-id="selector"]').debug()
})
Automatic waits. Aa a key advantage over Selenium, Cypress is smart to know how fast an element is animating and will wait for it to stop animating before acting against it. It will also automatically wait until an element becomes visible,
becomes enabled, or when another element is no longer covering it.
Consistence results. Due to its architecture and runtime nuances, Cypress fully controls the entire automation process from top to bottom, which puts it in the unique position of being able to understand everything happening in and outside
of the browser. This means Cypress is capable of delivering more consistent results than any other external testing tool.
Screenshots and videos. Cypress can work on screenshots and videos. One can capture both the complete page and particular element screenshot with the screenshot command in Cypress. Cypress also has the in-built feature to capture
the screenshots of failed tests. To capture a screenshot of a particular scenario, we use the command screenshot.
describe('Test with a screenshot', function(){
    it("Test case 1", function(){
        //navigate URL
        cy.visit("https://microsoft.com/windows")

        //complete page screenshot with filename - CompletePage
        cy.screenshot('CompletePage')

        //screenshot of the particular element
        cy.get(':nth-child(3) > section').screenshot()
    });
});
Produced screenshots appear inside the screenshots folder (in the plugins folder) of the project, but that’s configurable from the globals.
Cypress video capturing executes for tests. Enable it from cypress.config.ts:
import{ defineConfig } from 'cypress'

export default defineConfig({
    video: true,
})
Please refer to the official documentation that explains how to use screenshots and videos with Cypress.
GitHub Actions Integration
Cypress nicely allows to run tests in Cypress using GitHub Actions.
To do this on the GitHub Action server, you first need to install everything necessary. We also need to determine when we want to run tests (for example, run them on demand or every time new code is introduced). This is how we gradually define
what GitHub Actions will look like. In GitHub Actions, these plans are called “workflows”. Workflow files are located under .github/workflows folder. Each file is a YAML with a set of rules configuring what and how will
get executed:
name: e2e-tests

on:[push]

jobs:
    cypress-run:
    runs-on: ubuntu-latest
    steps:
        - name: Checkout
        uses: actions/checkout@v3
        - name: Cypress run
        uses: cypress-io/github-action@v5
        with:
            start: npm start
Let’s look at what’s going on in this file. In the first line, we give the action a name. It can be anything, but it is better to be descriptive.
In the first line, we give the action a name. In the second line, we define the event on which this script should be executed. There are many different events, such as push, pull_request, schedule,
or workflow_dispatch (that allows you to trigger an action manually).
The third line specifies the task or tasks to be performed. Here we must determine what needs to be done. If we were starting from scratch, this is where we would run npm install to install all the dependencies, run the application,
and run tests on it. But, as you can see, we are not starting from scratch, but using predefined actions – instead of doing that, we can re-use previously created macros. For example, cypress-io/github-action@v5 will run npm install,
correctly cache Cypress (so installation will be faster next time), start the application with npm start, and run npx cypress run. And all this with just four lines in a YAML file.
Run Cypress in containers
In modern automated testing, setting up and maintaining a test environment can often be a time-consuming task, especially when working with multiple dependencies and their configurations, different operating systems, libraries, tools, and versions. Often
one may encounter dependency conflicts, inconsistency of environments, limitations in scalability and error reproduction, etc., which ultimately leads to unpredictability and unreliability of testing results.
Using Docker greatly helps prevent most of these problems from occurring and the good news is that you can do that. In particular, using Cypress in Docker can be useful because:
- It ensures that Cypress autotests run in an isolated test environment. In this case, the tests are essentially independent of what is outside the container, which ensures the reliability and uninterrupted operation of the tests every time they are
launched.
- For running it locally, this means the absence of Node.js, Cypress, any exotic browser on the host computer – that won’t become an obstacle. This not just allows to run Cypress locally on different host computers but also deploy them in CI/CD
pipelines and to cloud services by ensuring uniformity and consistency in the test environment. When moving a Docker image from one server to another, containers with the application itself and tests will work the same regardless of the operating
system used, the presence of Node.js, Cypress, browsers, etc. This ensures that Cypress autotests are reproducible and the results of running them predictable across different underlying systems.
- Docker allows you to quickly deploy the necessary environment for running Cypress autotests, and therefore you do not need to install operating system dependencies, the necessary browsers, and test frameworks each time.
- Speeds up the testing process by reducing the total time for test runs. This is achieved through scaling, i.e. increasing the number of containers, running Cypress autotests in different containers in parallel, parallel cross-browser testing capabilities
using Docker Compose, etc.
The official images of Cypress
Today, the public Docker Hub image repository, as well as the corresponding cypress-docker-images repository on GitHub, hosts 4 official Cypress Docker images:
Limitations of Cypress
Nothing is ideal on Earth, so Cypress also has some limitations mostly caused by its unique architecture:
- One cannot use Cypress to drive two browsers at the same time
- It doesn’t provide support for multi-tabs
- Cypress only supports JavaScript for creating test cases
- Cypress doesn’t provide support for browsers like Safari and IE at the moment
- Reading or writing data into files is difficult
- Limited support for iFrames
Conclusion
Testing is a key step in the development process as it ensures that your application works correctly. Some programmers prefer to manually test their programs because writing tests requires a significant amount of time and energy. Fortunately, Cypress
has solved this problem by allowing the developer to write tests in a short amount of time.