Experience Sitecore ! | All posts tagged '103'

Experience Sitecore !

More than 200 articles about the best DXP by Martin Miles

Tunneling out Sitecore 10.3 from a local machine containers for the full global access

I am experiencing an urgent request to prepare a Sitecore instance for the test of some external tools our prospect partners making demos for us. In good times, I'd, of course, spin up a proper PaaS / Kubernetes environment, however, I am occasionally out of control of any cloud subscription, and what is much more important - time! The deadline for such tasks is usually "yesterday", so I started thinking of potential "poor man's deployment" options.

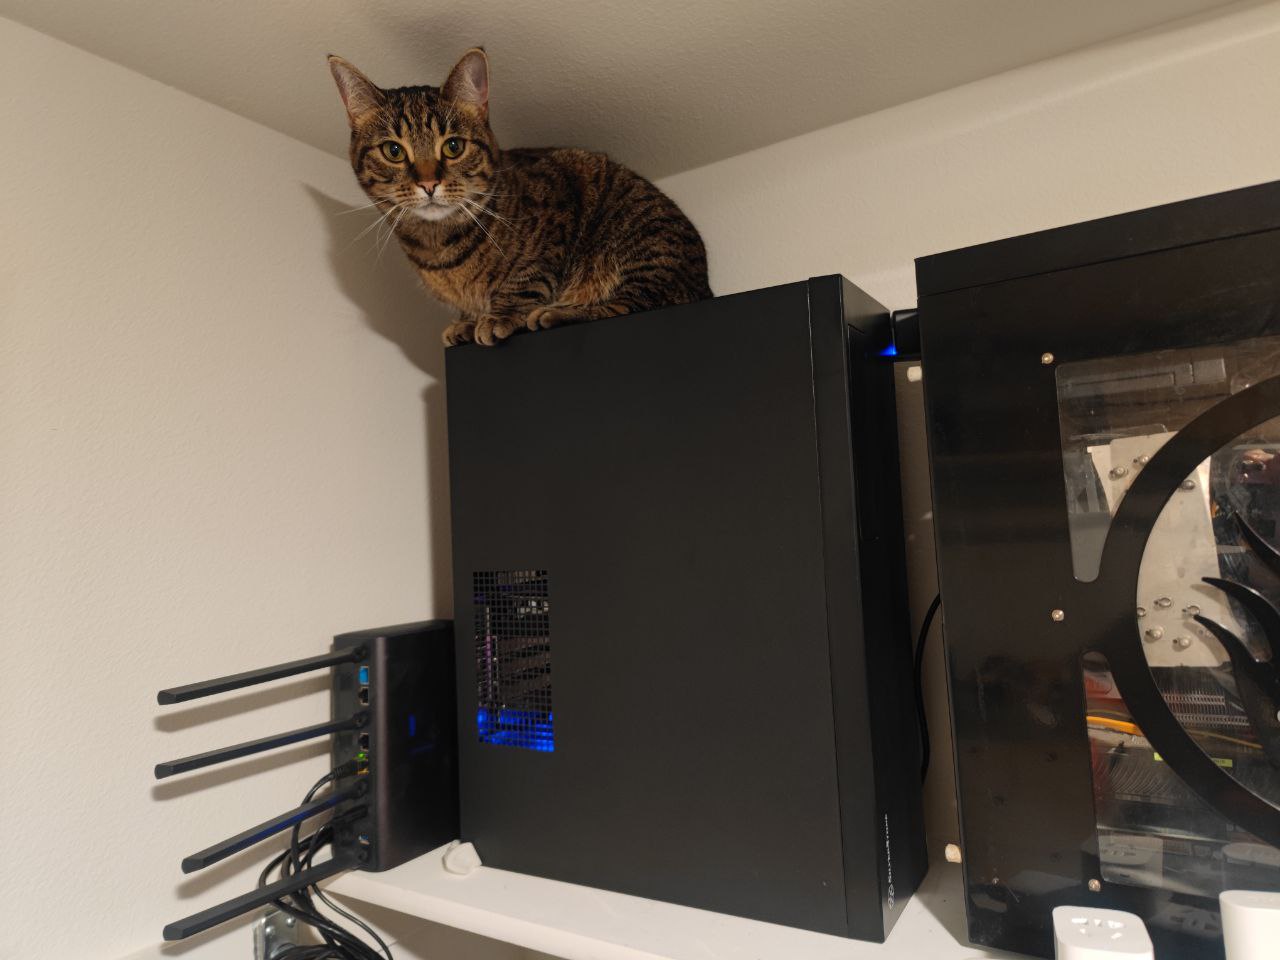
Like many developers do, I also have a "server in a wardrobe", however, that is not a retired laptop but a proper high-speck machine that currently serves me as a hypervisor server plugged by a gigabit Google Fiber connection. My cat loves spending time there, and I am generally OK with that given she does not block the heat sink vents output:

This server runs on ltsc2022 kernel, which provides me additional performance benefits, as I wrote about in a previous post of running 10.3 in Process Isolation mode. So why not re-use the codebase from that same containerized Next.js starter kit for the sake of PoC?

Please note: you should not utilize this approach for hosting real-life projects or going for something bigger than a quick PoC of a demo showcase. The stability of a tunneled channel remains at the courtesy of a service provider, and it also may violate one's particular license, so please use it with care.

The next question comes of how do I make it accessible from the outer global internet so that people making demos can login from where they are and work with Sitecore as they would normally do. Typically, to make that happen I need to undertake three steps:

  1. Define a hostname and configure Sitecore to install with its subdomains.
  2. Generate a wildcard certificate for a domain name of the above hostname.
  3. Make required DNC changes to change A-record and subdomains to point public IP of that machine.

But wait a bit, do I have a public IP? Sadly, I don't, therefore, start looking for a variety of DynDNS options which still required more effort than I initially was going to commit into. Eventually, I remembered a specific class of tunneling software that serves exactly that purpose. From a wide range, LocalTunnel appeared to be the most promising free-to-use solution that some folks use to proxy out their basic sites for demos. 

Looking at its features it looks very much attractive:

  • it is totally free of charge
  • does not require any registration/tokens
  • ultrasimple installation with npm
  • because of the above, it potentially can tunnel directly into containers
  • gives you an option of a temporal claiming subdomain, if one is available
  • allows mapping invalid SSL certificates

The typical installation and execution are ultra-simple:

npm install -g localtunnel
lt --port 8080

After the second command, LocalTunnel responds with a URL navigating which will tunnel your request to port 8080 of the host machine it was run at.

But how do I apply that knowledge to a complicated Sitecore installation, given that most of the Sitecore services in containers are behind Traefik, which also serves SSL offload point? In addition, the Identity Server requires a publically accessible URL to return the successfully authenticated request.

The more advanced call syntax looks as below:

lt --local-host HOST_ON_LOCAL_MACHINE --local-https --allow-invalid-cert --port 443 --subdomain SUBDOMAIN_TO_REQUEST

Basically, for Sitecore to operate from outside I must set it up in a way that external URLs match those URLs run locally at the host where LocalTunnel runs. With the above command, if a subdomain request is satisfied, it will be served by the URL https://SUBDOMAIN_TO_REQUEST.loca.lt which leads to HOST_ON_LOCAL_MACHINE on port 443.

So, in a headless Sitecore we have four typical parts running on subdomains of a hostname served by a wildcard certificate:

  • Content Management (aka Sitecore itself)
  • Content Delivery
  • Identity Server
  • Rendering Host

OOB they are served by default with something like cm.YourProject.localhost, cd.YourProject.localhost, id.YourProject.localhost and www.YourProject.localhost correspondingly. In order to match HOST_ON_LOCAL_MACHINE to SUBDOMAIN_TO_REQUEST for the sake of this exercise, I choose the following hostnames for installation:

The scripts that create Next.js StarteKit Template and Init.ps1 script don't modify all the required hostname changes, so just in case you'll do it manually (recommended), I will name the locations to change

1. Init.ps1 - a block that makes and installs certificates (search by & $mkcert -install)

2. Init.ps1 - a block that adds host file entries (search by Add-HostsEntry)

3. Init.ps1 - a block that sets the environment variables (search Set-EnvFileVariable "CM_HOST")

4. Up.ps1 - authentication using Sitecore CLI (search by dotnet sitecore login)

5. Up.ps1 - final execution in the browser (search by Start-Process at the bottom of the file)

6. .env file - replace CM_HOST, ID_HOST, RENDERING_HOST and CD_HOST variables

7. Make sure Traefik config (docker\traefik\config\dynamic\certs_config.yaml) references the correct certificate and key files

8. Create-jss-project.ps1 - features --layoutServiceHost and --deployUrl parameters of jss setup command

9. src\rendering\scjssconfig.json

10. src\rendering\src\temp\config.js

After the whole installation completes successfully and you see Sitecore CM and Rendering Host in the browser with alternated domain URLs.

Now you can start LocalTunnel:

lt --local-host identity.loca.lt --local-https --allow-invalid-cert --port 443 --subdomain identity
lt --local-host sitecore.loca.lt --local-https --allow-invalid-cert --port 443 --subdomain sitecore
lt --local-host rendering.loca.lt --local-https --allow-invalid-cert --port 443 --subdomain rendering
lt --local-host delivery.loca.lt --local-https --allow-invalid-cert --port 443 --subdomain delivery

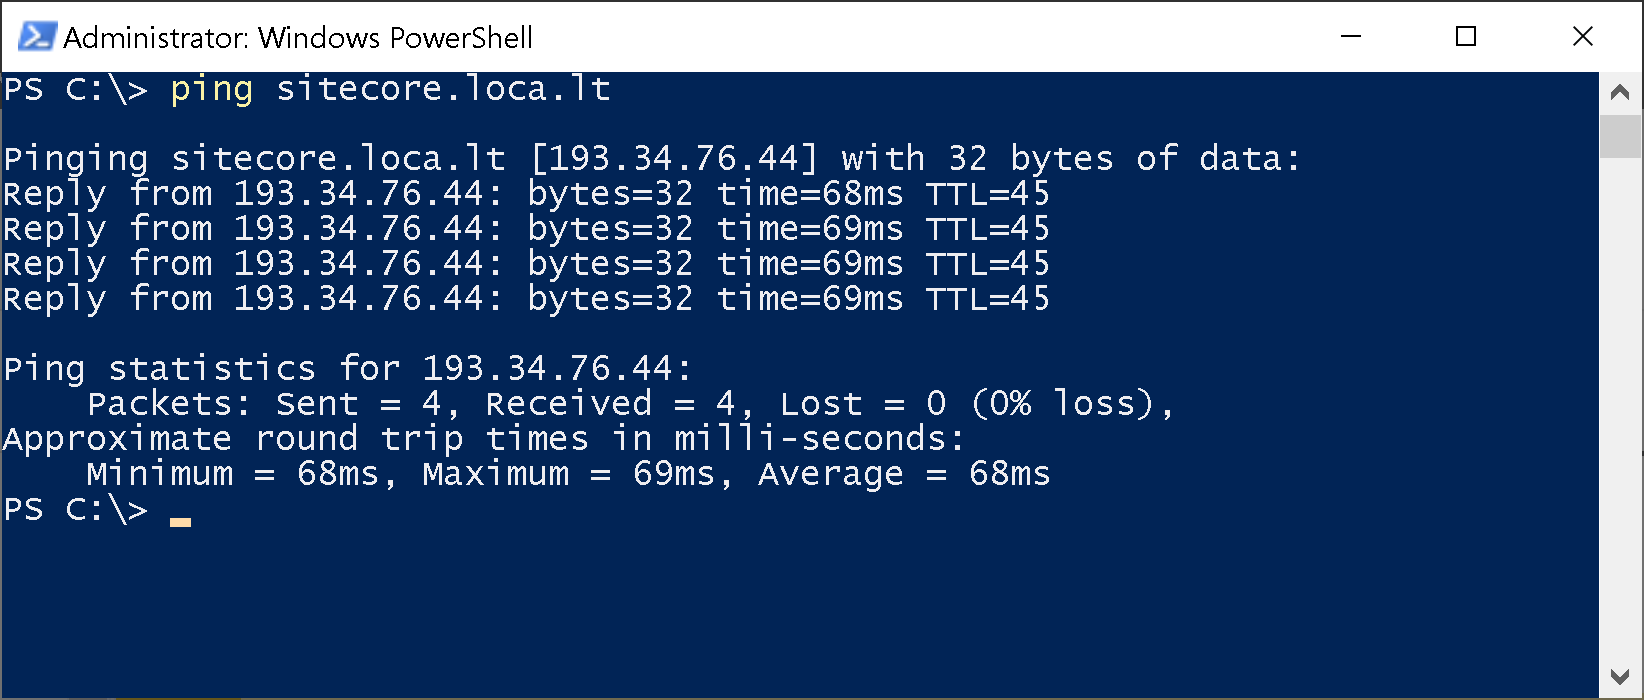
On the first run from outside it may show you a notification screen that LocalTunnel serves given URL, and with relatively great piing, that's it.

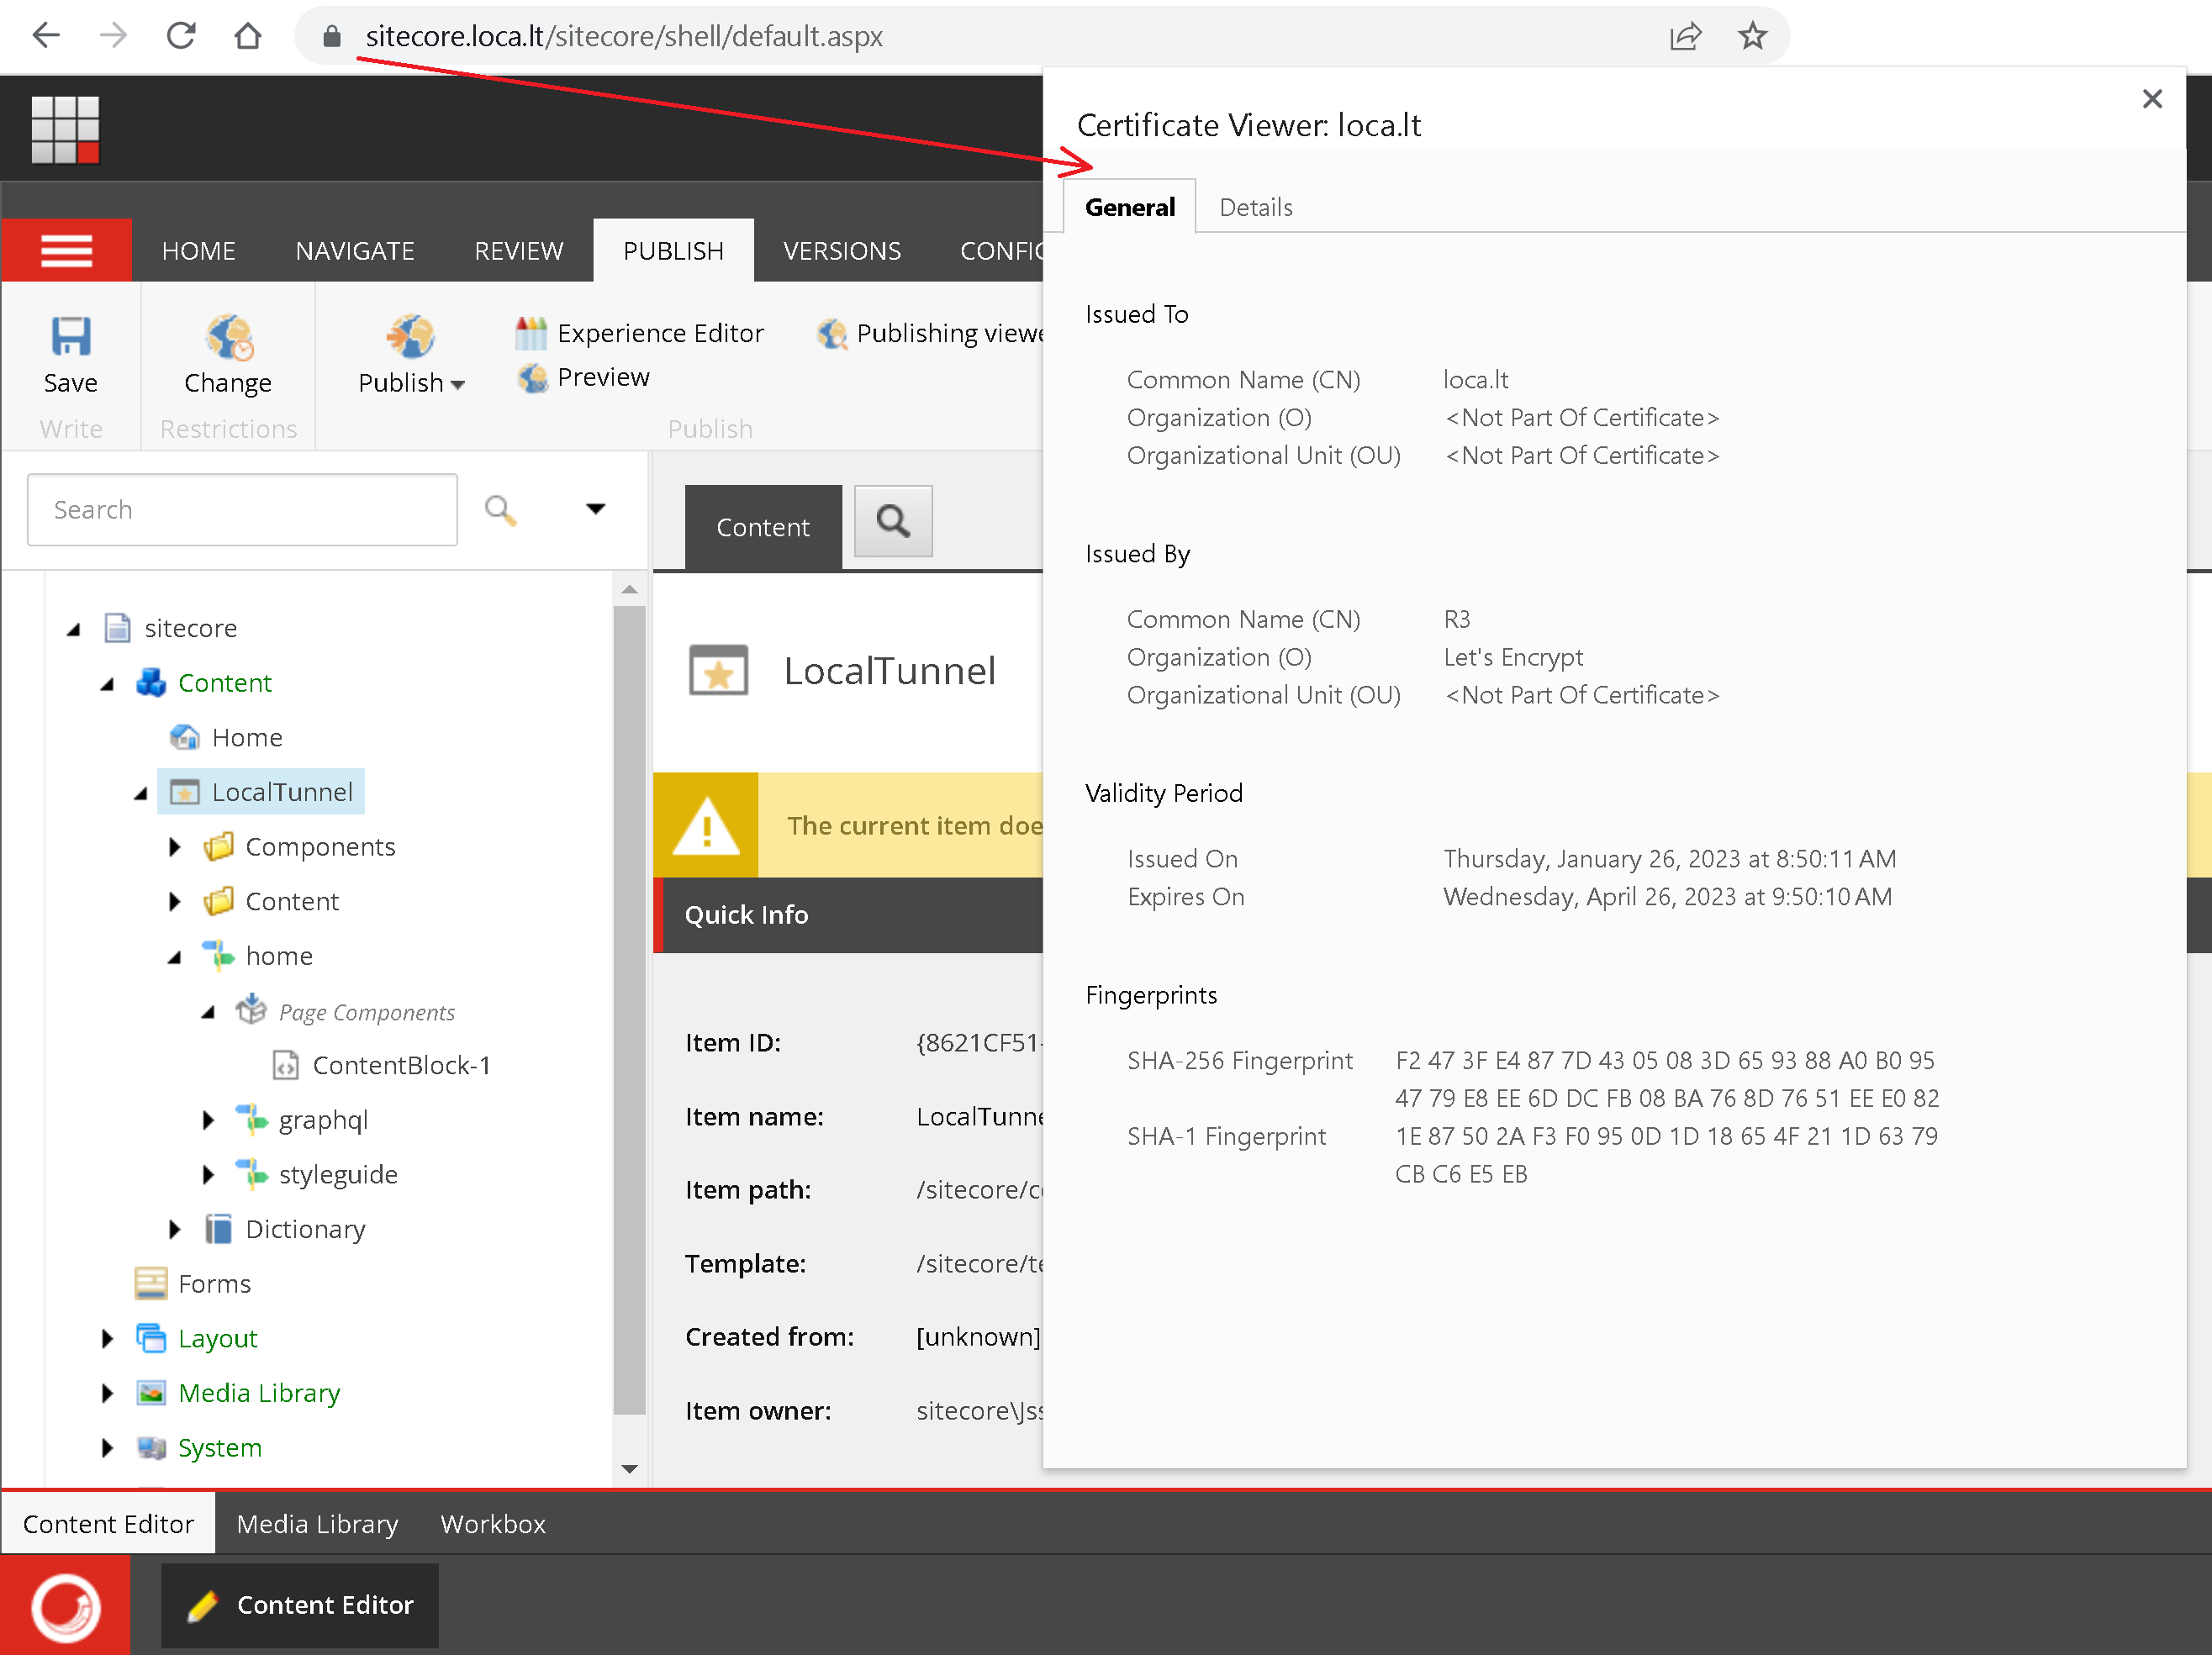
I briefly tested it and it works well: no SSL issues, Experience Editor runs and allows to bring changes, then publishes them correctly so that they get reflected while browsing Rendering Host. All seems to work well and as expected!

LTSC2022 images for Sitecore containers released: what does it mean to me?

Exciting news! Sitecore kept the original promise and released the new ltsc2022 container images for all the topologies of both the 10.3 and 10.2 versions of their platform.

The biggest benefits of new images are improved image sizes – almost 50% smaller than ltsc2019, and support for running Process Isolation on Windows 11.

Check it yourself:

So, what does that mean for developers and DevOps?

First and most, running Sitecore 10.3 on Windows Server 2022 is now officially supported. You may consider upgrading your existing solutions to benefit from Server 2022 runtime.

Developers working on Windows 11 now also got so much wanted support, containers built from the new images can run in Process isolation mode without a hypervisor. That brings your cluster performance to nearly bare metal metrics.


Let's try it in action!

I decided to give it a try and test if that would work and how effectively. I recently purchased a new Microsoft Surface  8 Pro laptop which had Windows 11 pre-installed and therefore useless for my professional purposes, so it seems to be excellent test equipment.

After initial preparation and installing all the prerequisites, I was ready to go. Choosing the codebase I decided to go with the popular Sitecore Containers Template for JSS Next.js apps and Sitecore 10.3 XM1 topology, as the most proven and well-preconfigured starter kit.

Since I initialized my codebase with -Topology XM1 parameter, all the required container configurations are located under /MyProject/run/sitecore-xm1 folder. We are looking for .env file which stores all the necessary parameters.

The main change to do here is setting these two environmental settings to benefit from ltsc2022 images:

SITECORE_VERSION=10.3-ltsc2022
EXTERNAL_IMAGE_TAG_SUFFIX=ltsc2022

The other important change in .env file would be changing to ISOLATION=process. Also, please note that TRAEFIK_ISOLATION=hyperv stays unchanged due to a lack of ltsc2022 support for Traefik, so sadly you still need to have Hyper-V installed on this machine. The difference is that it serves only Traefik, the rest of Sitecore resources will work in the Process mode.

I also did a few optional improvements upgrading important components to their recent versions:

MANAGEMENT_SERVICES_IMAGE=scr.sitecore.com/sxp/modules/sitecore-management-services-xm1-assets:5.1.25-1809
HEADLESS_SERVICES_IMAGE=scr.sitecore.com/sxp/modules/sitecore-headless-services-xm1-assets:21.0.583-1809

Also, changed node to reflect the recent LTS version:

NODEJS_VERSION=18.14.1

Please note, that sitecore-docker-tools-assets did not get any changes from the previous version of Sitecore (10.2), so I left it untouched.

Last thing – to make sure I indeed build and run in the Process isolation mode, I set ISOLATION=process changing this value from default. The rest of .env file was correctly generated for me by Init.ps1 script.

All changes complete, let’s hit .\up.ps1 in PowerShell terminal with administrative mode and wait until it downloads and builds images:


Advanced Part: building Traefik with ltsc2022

Now, let's get rid of the only left 1809-based container, which is Traefik. Luckily, its Dockerfile is available, so I can rewrite it to consume ltsc2022 images. In addition, I took the latest (by the time) version of it which is 2.9.8, while the officially supported is 2.2.0, so it would make sense to parametrize the version as well, taking its settings from .env settings.

I created a new docker\build\traefik folder and ended up with the following Dockerfile within there:

ARG IMAGE_OS
FROM mcr.microsoft.com/windows/servercore:${IMAGE_OS}

ARG VERSION
SHELL ["powershell", "-Command", "$ErrorActionPreference = 'Stop'; $ProgressPreference = 'SilentlyContinue';"]

RUN Invoke-WebRequest \
        -Uri "https://github.com/traefik/traefik/releases/download/$env:VERSION/traefik_${env:VERSION}_windows_amd64.zip" \
        -OutFile "/traefik.zip"; \
    Expand-Archive -Path "/traefik.zip" -DestinationPath "/" -Force; \
    Remove-Item "/traefik.zip" -Force

EXPOSE 80
ENTRYPOINT [ "/traefik" ]

# Metadata
LABEL org.opencontainers.image.vendor="Traefik Labs" \
    org.opencontainers.image.url="https://traefik.io" \
    org.opencontainers.image.source="https://github.com/traefik/traefik" \
    org.opencontainers.image.title="Traefik" \
    org.opencontainers.image.description="A modern reverse-proxy" \
    org.opencontainers.image.version=$env:VERSION \
    org.opencontainers.image.documentation="https://docs.traefik.io"

Because of that I also had to update the related docker-compose section of docker-compose.override.yml file:

  traefik:
    isolation: ${ISOLATION}
    image: ${REGISTRY}traefik:${TRAEFIK_VERSION}-servercore-${EXTERNAL_IMAGE_TAG_SUFFIX}
    build:
      context: ../../docker/build/traefik
      args:
        IMAGE_OS: ${EXTERNAL_IMAGE_TAG_SUFFIX}
        VERSION: ${TRAEFIK_VERSION}
    volumes:
      - ../../docker/traefik:C:/etc/traefik
    depends_on:
    - rendering

What I want to pay attention here - I am now using ${ISOLATION} as the rest of the containers are using instead of dedicated TRAEFIK_ISOLATION which can now be removed from .env.

Another thing is that I am passing fully parametrized image name:

image: ${REGISTRY}traefik:${TRAEFIK_VERSION}-servercore-${EXTERNAL_IMAGE_TAG_SUFFIX}

I intentionally do not prefix it with ${COMPOSE_PROJECT_NAME} so that this image becomes reusable between several solutions on the same machine, which saves some disk drive space.

Last step would be adding .env parameter TRAEFIK_VERSION=v2.9.8 and removing TRAEFIK_IMAGE parameter which is no longer needed. Good to go!


Outcomes and verdict

I tested all of the important features of the platform, including Experience Editor and it all works, and what is especially important – works impressively fast with the Process isolation mode. And since all the containers are built with ltsc2022 and run in Process isolation, one doesn't need Hyper-V at all!

As for me, I ended up having a nice and powerful laptop suitable for modern Sitecore headless operations.

Enjoy faster development!

Sitecore Edge considerations for sitemap

A quick one today. We recently came across interesting thoughts and concerns about using Sitecore Edge. As you might know (for example from my previous post), there are no more CD servers when publishing to Sitecore Edge - think of that as just a GraphQL endpoint serving out json.

So, how do we implement a sitemap.xml in such a case? Brainstorming brought several approaches to consider:

Approach one

  • Create a custom sitemap NextJS route
  • Use GraphQL to query Edge using the search query. Here we would have to iterate through items in increments of 10
  • Cache the result on Vercel side using SSG

Approach two

  • Create a service from CM side that will return all published items/urls
  • This service will only be accessible by Azure function which will generate a sitemap file and store it in CDN
  • Front-end would then in this case access this file and render the content of it (or similar)

Approach three

  • Generate all the sitemaps (if more than a single sitemap) on CM, then store them all in single text fields
  • Returned them via edge, using GraphQL the font-end head which handles sitemap.xml

Then I realized, there is SXA Headless boasts SEO features OOB, including sitemap.xml. Let's take a look at what they do in order to generate sitemaps.

With 10.3 of SXA, the team has revised the Sitemap feature providing much more flexibility to cover as many use cases as only possible. Looking at /Sitecore/Content/Tenant/Site/Settings/Sitemap item you'll find lots of settings for fine-tuning your sitemaps depending on your particular needs. CM crawls websites and generates sitemaps. Then they get published to Sitecore Edge as a blob and then it gets proxied by a Rendering Host via GraphQL. When search engines request sitemaps of a particular website, Rendering Host gives them exactly what has been asked. That is actually similar to the above approach three with all the invalidation and updates of sitemaps provided also OOB.

This gives out a good amount of options, depending on your particular scenario.

Sitecore 10.3 is out! What's new?

On December 1st, after more than a year of hard work Sitecore has released its new version 10.3 of XM and XP platforms. 

Please note, that Experience Commerce sales have been discontinued after version 10.2 so unsure if there will be XC releases anymore. Historically XC releases follow up the platform releases with some lag of several weeks.

Let's take a look at what Sitecore put into the latest release.

With version 10.3 Sitecore moved in the direction of unifying its XM/XP platforms with XM Cloud. The two biggest proofs of that are SXA Headless and Integrated Web Hook architecture​ being a part of 10.3 - similar to XM Cloud.

Headless SXA

As you may hear, Headless SXA became a first-class citizen for XM Cloud. Now we get Headless SXA with 10.3 and new Next.js Headless SXA components, such as Container, Image, LinkList, Navigation, PageContent, Promo, RichText, Title, etc. SXA development team made an incredible job aiming to achieve feature parity for their product between XM Cloud and X/XP platforms. 

Because of that, the team sadly had to retire several features that do not fall nicely into a new concept - that's why Headless SXA doesn't use Creative Exchange any longer. The same comes valid for Forms - you will not be able to use them with Headless SXA  out-of-the-box, there is however documentation on how to use forms with Next.js, and is also one can also consider a dedicated forms builder. At the same time, SXA Headless brings some new concepts, like Page Branches and site-specific standard values. You may also want to leverage nextjs-sxa starter template (installs with npx create-sitecore-jss --templates nextjs,nextjs-sxa).

Among the new features, I like the ability to duplicate pages without subpages by clicking a right mouse button at a page, which may be helpful for cloning landing pages having multiple subpages without the unwanted routine of manually deleting cloned subpages afterward. Also, it works well with SEO concepts such as sitemaps, robots.txt files, redirect items and maps as well as error handling (for generating static 404 and 500 pages) - all that is extremely useful for almost any headless site.

In general, if you are planning a new implementation today and feel positive about using SXA, the best advice would be to download 10.3 and use the new headless SXA with it. That immediately brings you into the headless world of 2023 and drastically simplifies the further upgrade options, not to mention the potential migration to the XM Cloud.

Webhooks

That is a new introduction to the XM/XP platforms, while other Sitecore SaaS products which already use webhooks - XM Cloud, Content Hub, OrderCloud, etc. But firstly, what are webhooks? A webhook is just an HTTP request, triggered by some event in a source system being sent to any destination you specify, carrying some useful payload of data. Webhooks are automatically sent out when their event is fired in the source system. Basically, they are user-defined HTTP callbacks triggered by specific events. As per documentation, we are given 3 types of webhooks:

A good example of webhook usage may be validating and further canceling workflow transitions.

GraphQL Authoring and Management API

Another great new feature is GraphQL Authoring and Management API. This API provides a GraphQL endpoint for managing Sitecore content and performing some custom authoring tasks which previously one could do only with Sitecore user interface, almost any function. That means now we can automate operations around items (including media), templates, search as well as managing sites. Unfortunately, user management is not yet supported.

Sitecore Forms

Forms is the feature used on almost every solution I worked on, therefore it is a pleasure to see the new Embeddable Forms Framework. Using it one can add a Sitecore Form to any webpage, including pages that are not running on a Sitecore application - similarly to what FXM allowed doing. The good news is that an embedded form supports custom form elements and will not mess with any existing styles on a page as it is powered with Tailwind CSS. However, to benefit from Embeddable Forms you must have at least Headless Services 21.0.0 in place in order to deal with the Layout Service and also the endpoint for the data submission.

xConnect

There is a new Data Export Tool that exports both contacts and interactions from the data database into files. It supports both Azure Blob and File Storage providers to be used for your deployments, but can also write into a network folder which is helpful for local instances.

Database Encryption

At the storage level, Transparent Data Encryption could be used with MsSQL Server to protect critical data by using data-at-rest encryption. In simple words, the data get encrypted prior to writing it into databases, so that physical SQL tables contain already encrypted data. When read-accessing, the data get transparently decrypted for authorized SQL users. It significantly protects the information, stored prevents data breaches, and complies with regulatory requirements for sensitive data.

What raised the event?

An interesting new feature helps us to identify which database raised a publish:end / publish:end:remote events will simplify updating the cache on remote CD instances.

Sitecore CLI

Version 5.0 of CLI has been around for a while since the XM Cloud release, now with its version 5.1.25 it became also an integral part of 10.3 platforms. It now supports Linux-based environments and features publishing to Edge, and features a few more new commands. It also employs integrated telemetry so that developers can improve CLI even further, however using telemetry can raise some security compliance concerns for governed environments.

What are the additional features we will see with the 10.3 release?

  • With version 10.3 of the platforms, Headless Services v21 comes into play. You may find a new starter kit for your new projects on Next.js 12.3.x over React 18.
  • Sitecore Host (along with components relying on it such as Publishing Service and Identity Server 7) were updated with .NET 6.0 which is an LTS version of a framework and has improved performance.
  • The supported version of Solr is now 8.11.2.
  • Those using EXM may now benefit from OAuth authentication with third-party services for custom SMTP.
  • Horizon, unfortunately, won't get any update beyond version 10.2. Despite technically it still works with 10.3 platforms, Sitecore discourages using it with 10.3 or later.
  • Management Services 5.0 offering publishing to Experience Edge now is capable of publishing a single item, and a few more improvements.
  • Search has got numerous improvements, like searching by ID and path, and searching for non-quotes-enclosed terms returns both exact and possible matches.
  • Windows Server 2022 support was promised but is slightly delayed, until January 2023. I assume support also relates to 2022-based containers in the first place, rather than underlying infrastructure.
  • More than 160 other issues submitted by customers were fixed and released in 10.3!


You can download and install Sitecore 10.3 right now, please feel free to share your thought on it!


Sitecore 10.3 dashboard