Most of my readers know me as a dedicated Sitecore professional, however, those who are close to me are aware of the variety of my hobbies. Some of them also know me as a Scotch whisky expert and collector. After living for almost 15 years in the UK I got a pretty decent collection of these spirits and learned hundreds of facts from attending dozens of whisky distilleries in Scotland.
Once I got my hands on a new SaaS offering from Sitecore - Content Hub One, I decided to give it a try on a practical example and try its capabilities as I was doing a real application. What would I use for the demo purposes? Something I know much about - that's how exposing my whisky collection was chosen. Let's go through all the way starting with content modeling, going through actual data and media authoring and publishing, and eventually creating a headless app for content delivery.
Content
First look
Once I got access to Content Hub ONE, I felt curious about what can I do using it. After logging through the portal, I got the ascetic main interface:
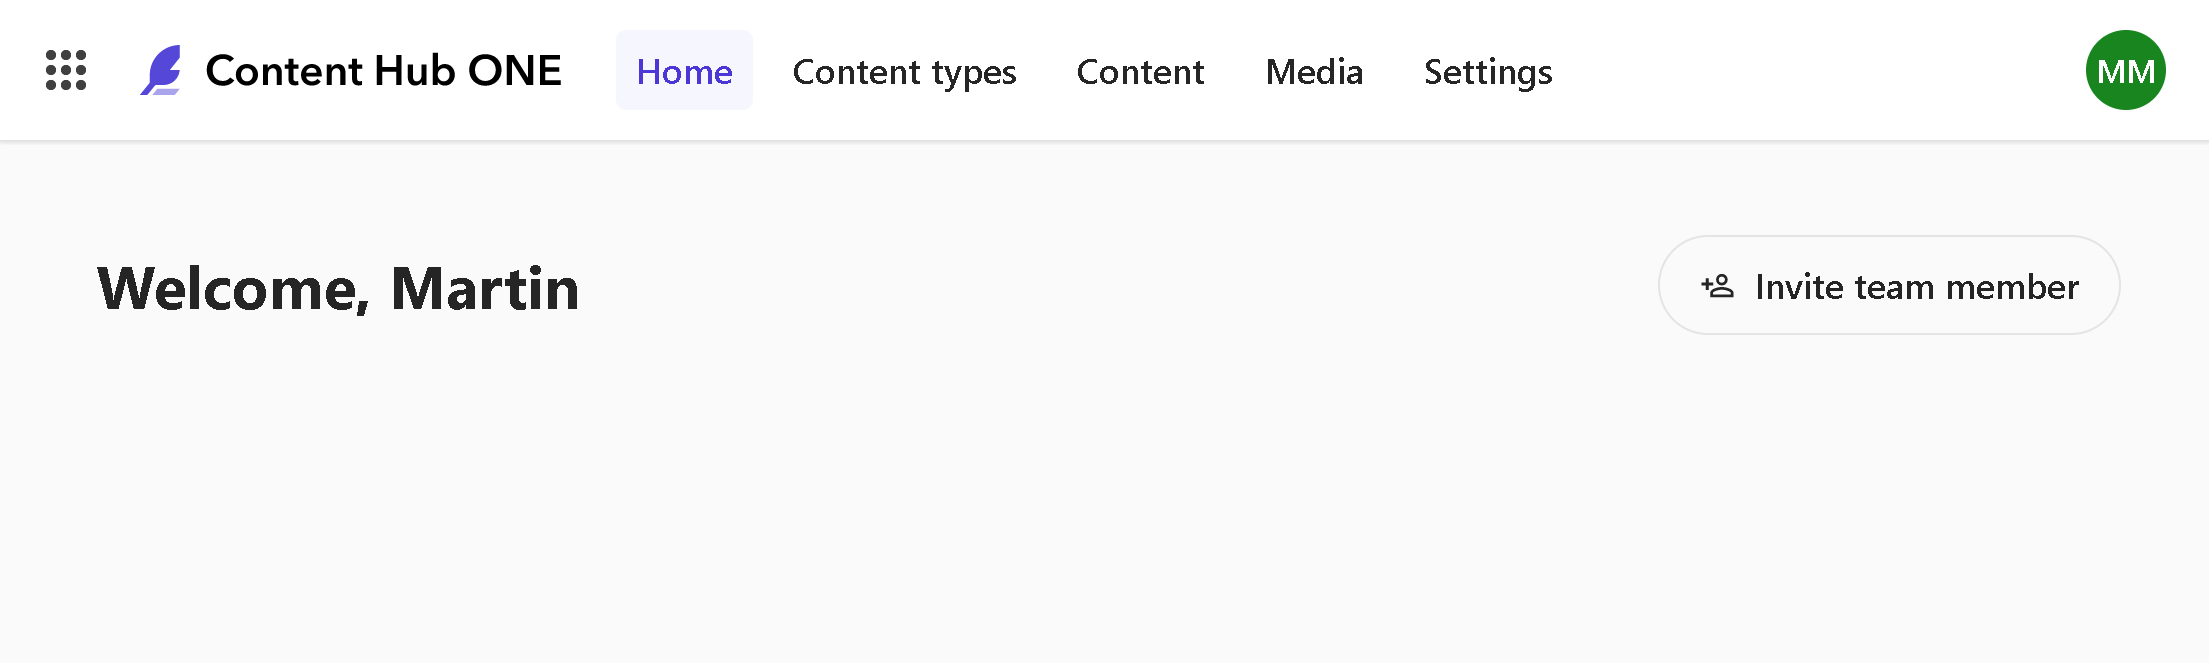
It exactly mimics your expected activities here: Content Types is used for Content modeling, Media - is for uploading media assets and Content is for creating content from your types and referencing uploaded media.
Content Hub One comes with handy documentation that helps understand the operations.
Content Modeling
For my purpose, I need to set up two content types - a listing type featuring items from the collection and item types itself to be used on the corresponding pages (marketers also know them as PLP and PDP).
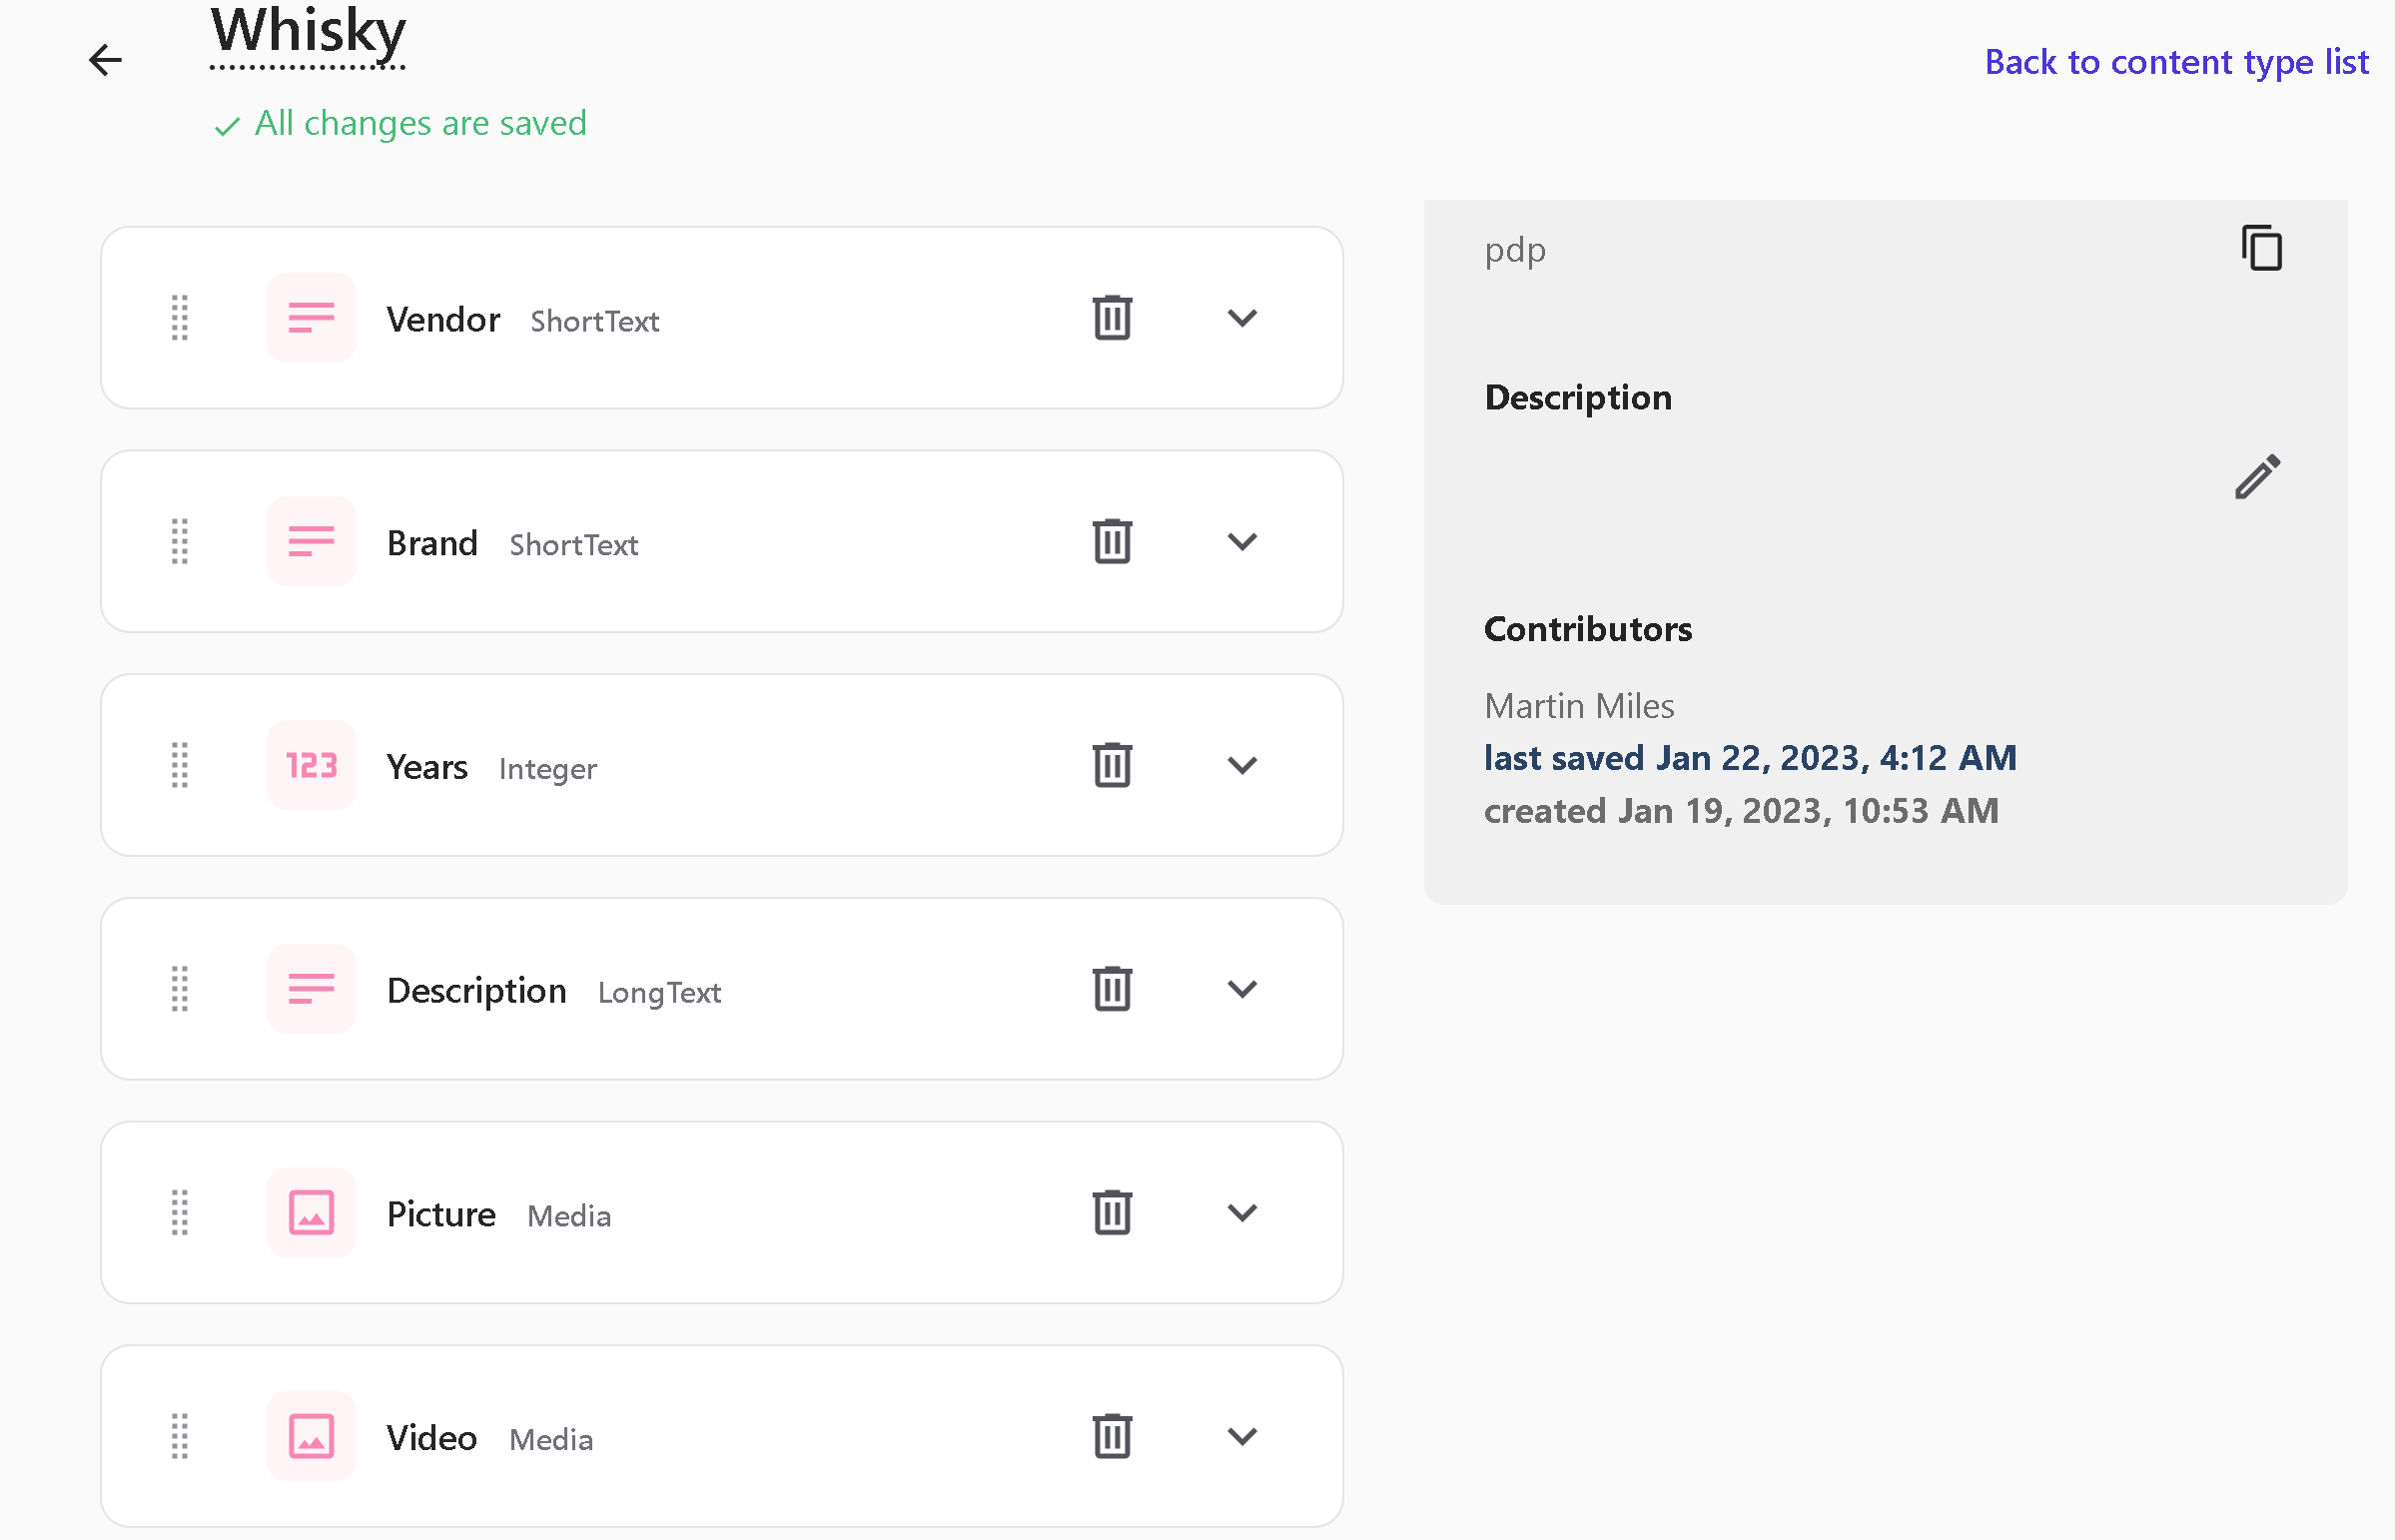
Let's start with a Whisky type which represents the actual item from my collection. You can only choose from these basic field types:

- Text type can be either short single-line value or multi-line long text up to 50,000 characters
- Rich text includes markup and can take even more - 200,000 characters. It does not accept raw HTML.
- Number, Boolean, and Date/Time are obvious and speak for themselves.
- Reference gives the ability to link other content records to this item, with the unfortunate limit of max 10 items per field
- Media is similar to the above with the difference that it allows referencing uploaded media items.
Unfortunately, some crucial fields are missing, such as those used for storing Links, URLs, and email addresses.
I ended up with the following structure for a Whisky item type that features as many of various field types as possible:
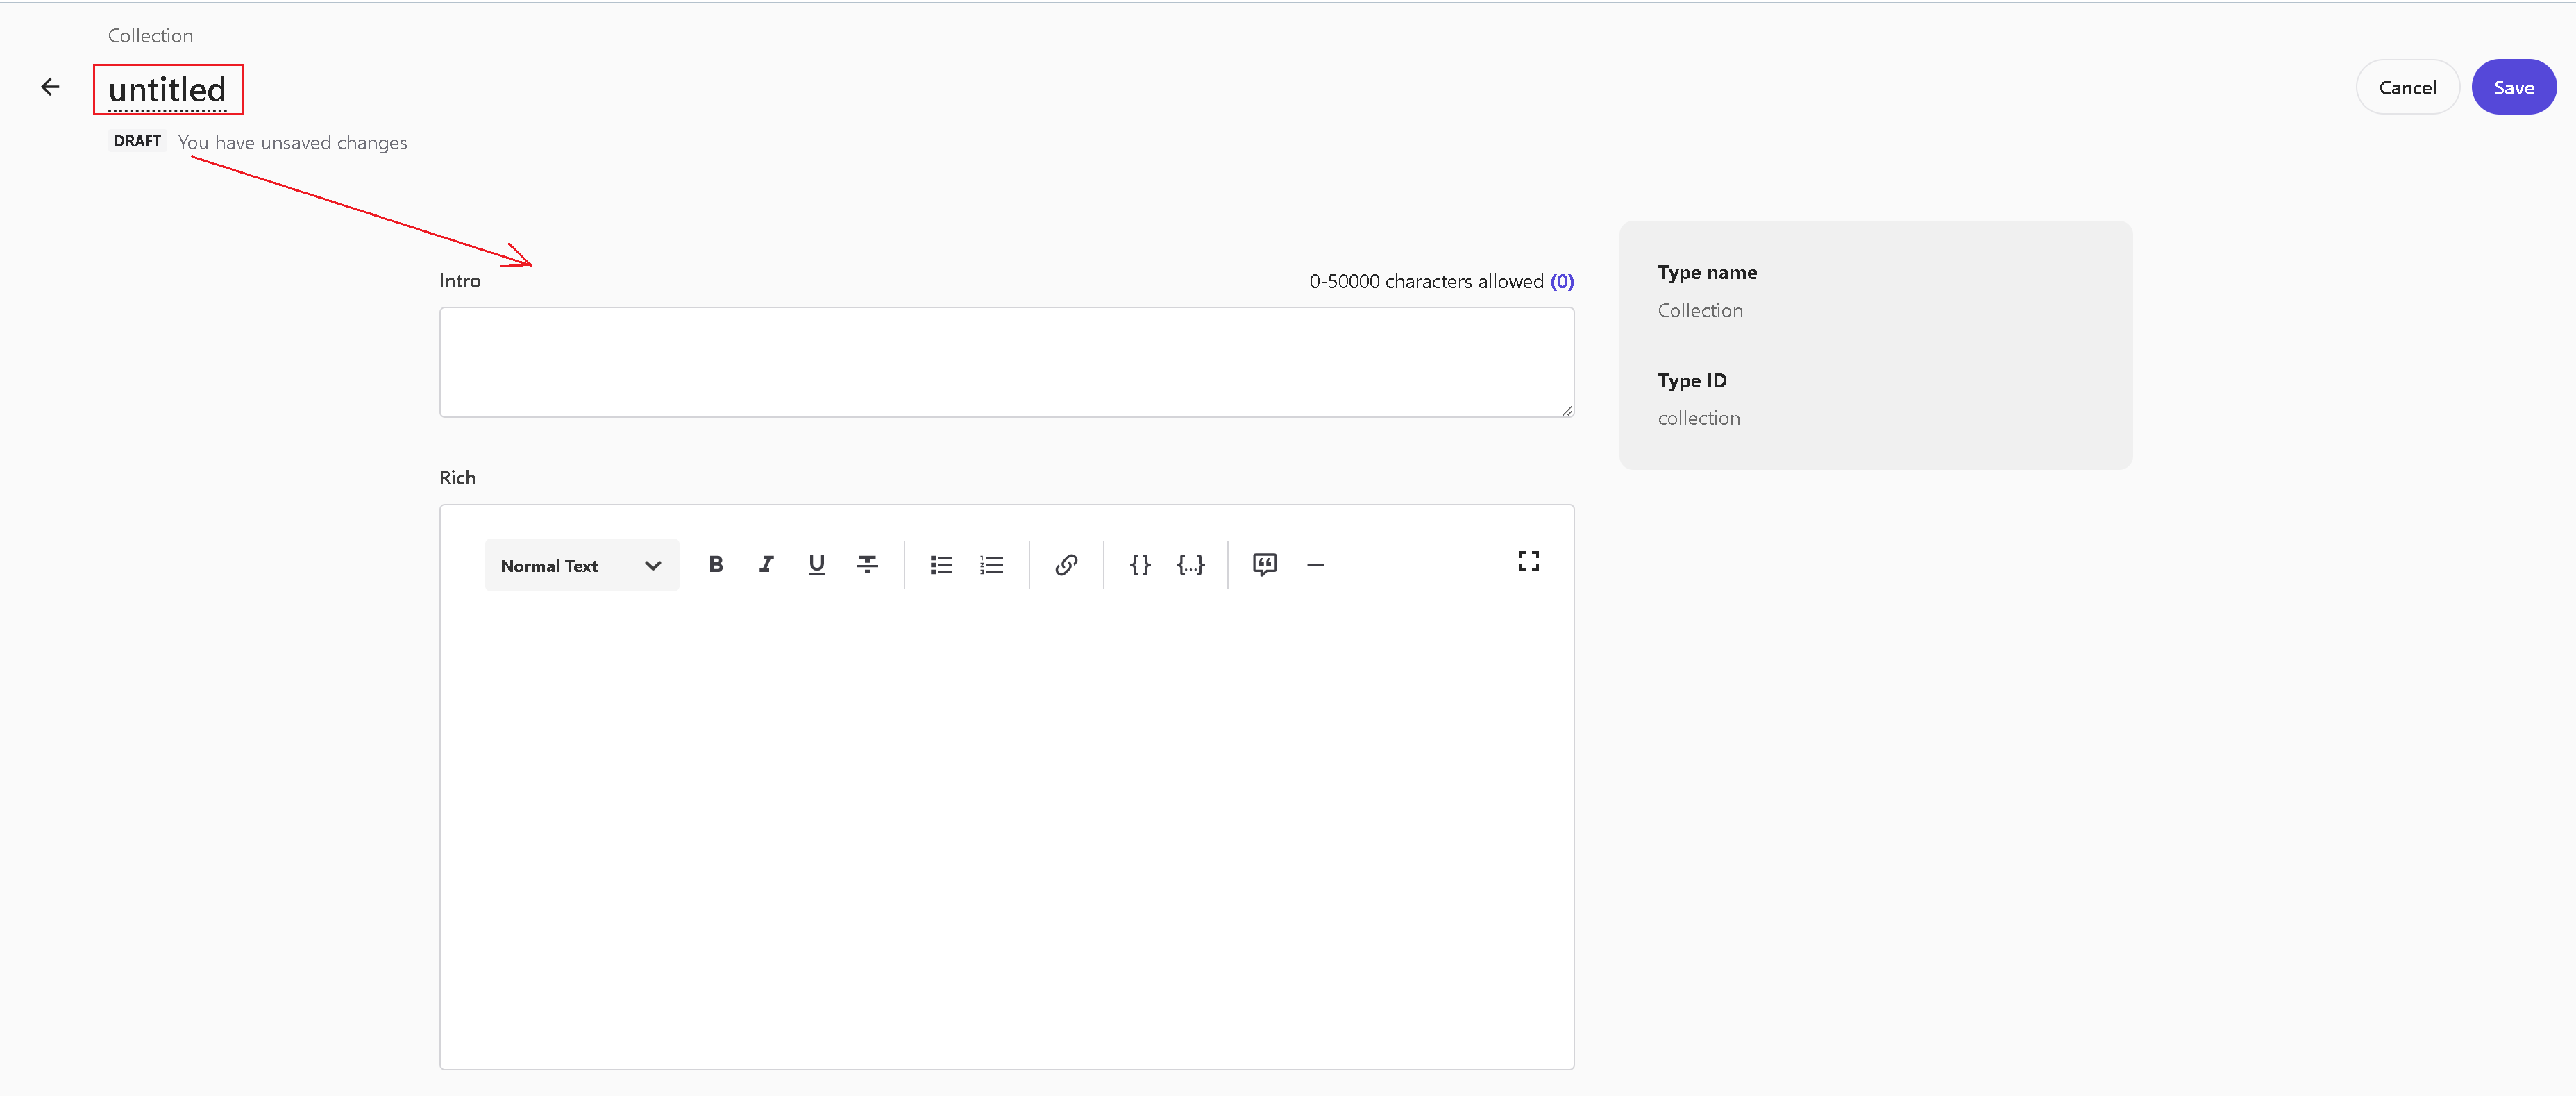
Next, let's create a Collection type to include a collection of items as well as some descriptive content within Rich text type:
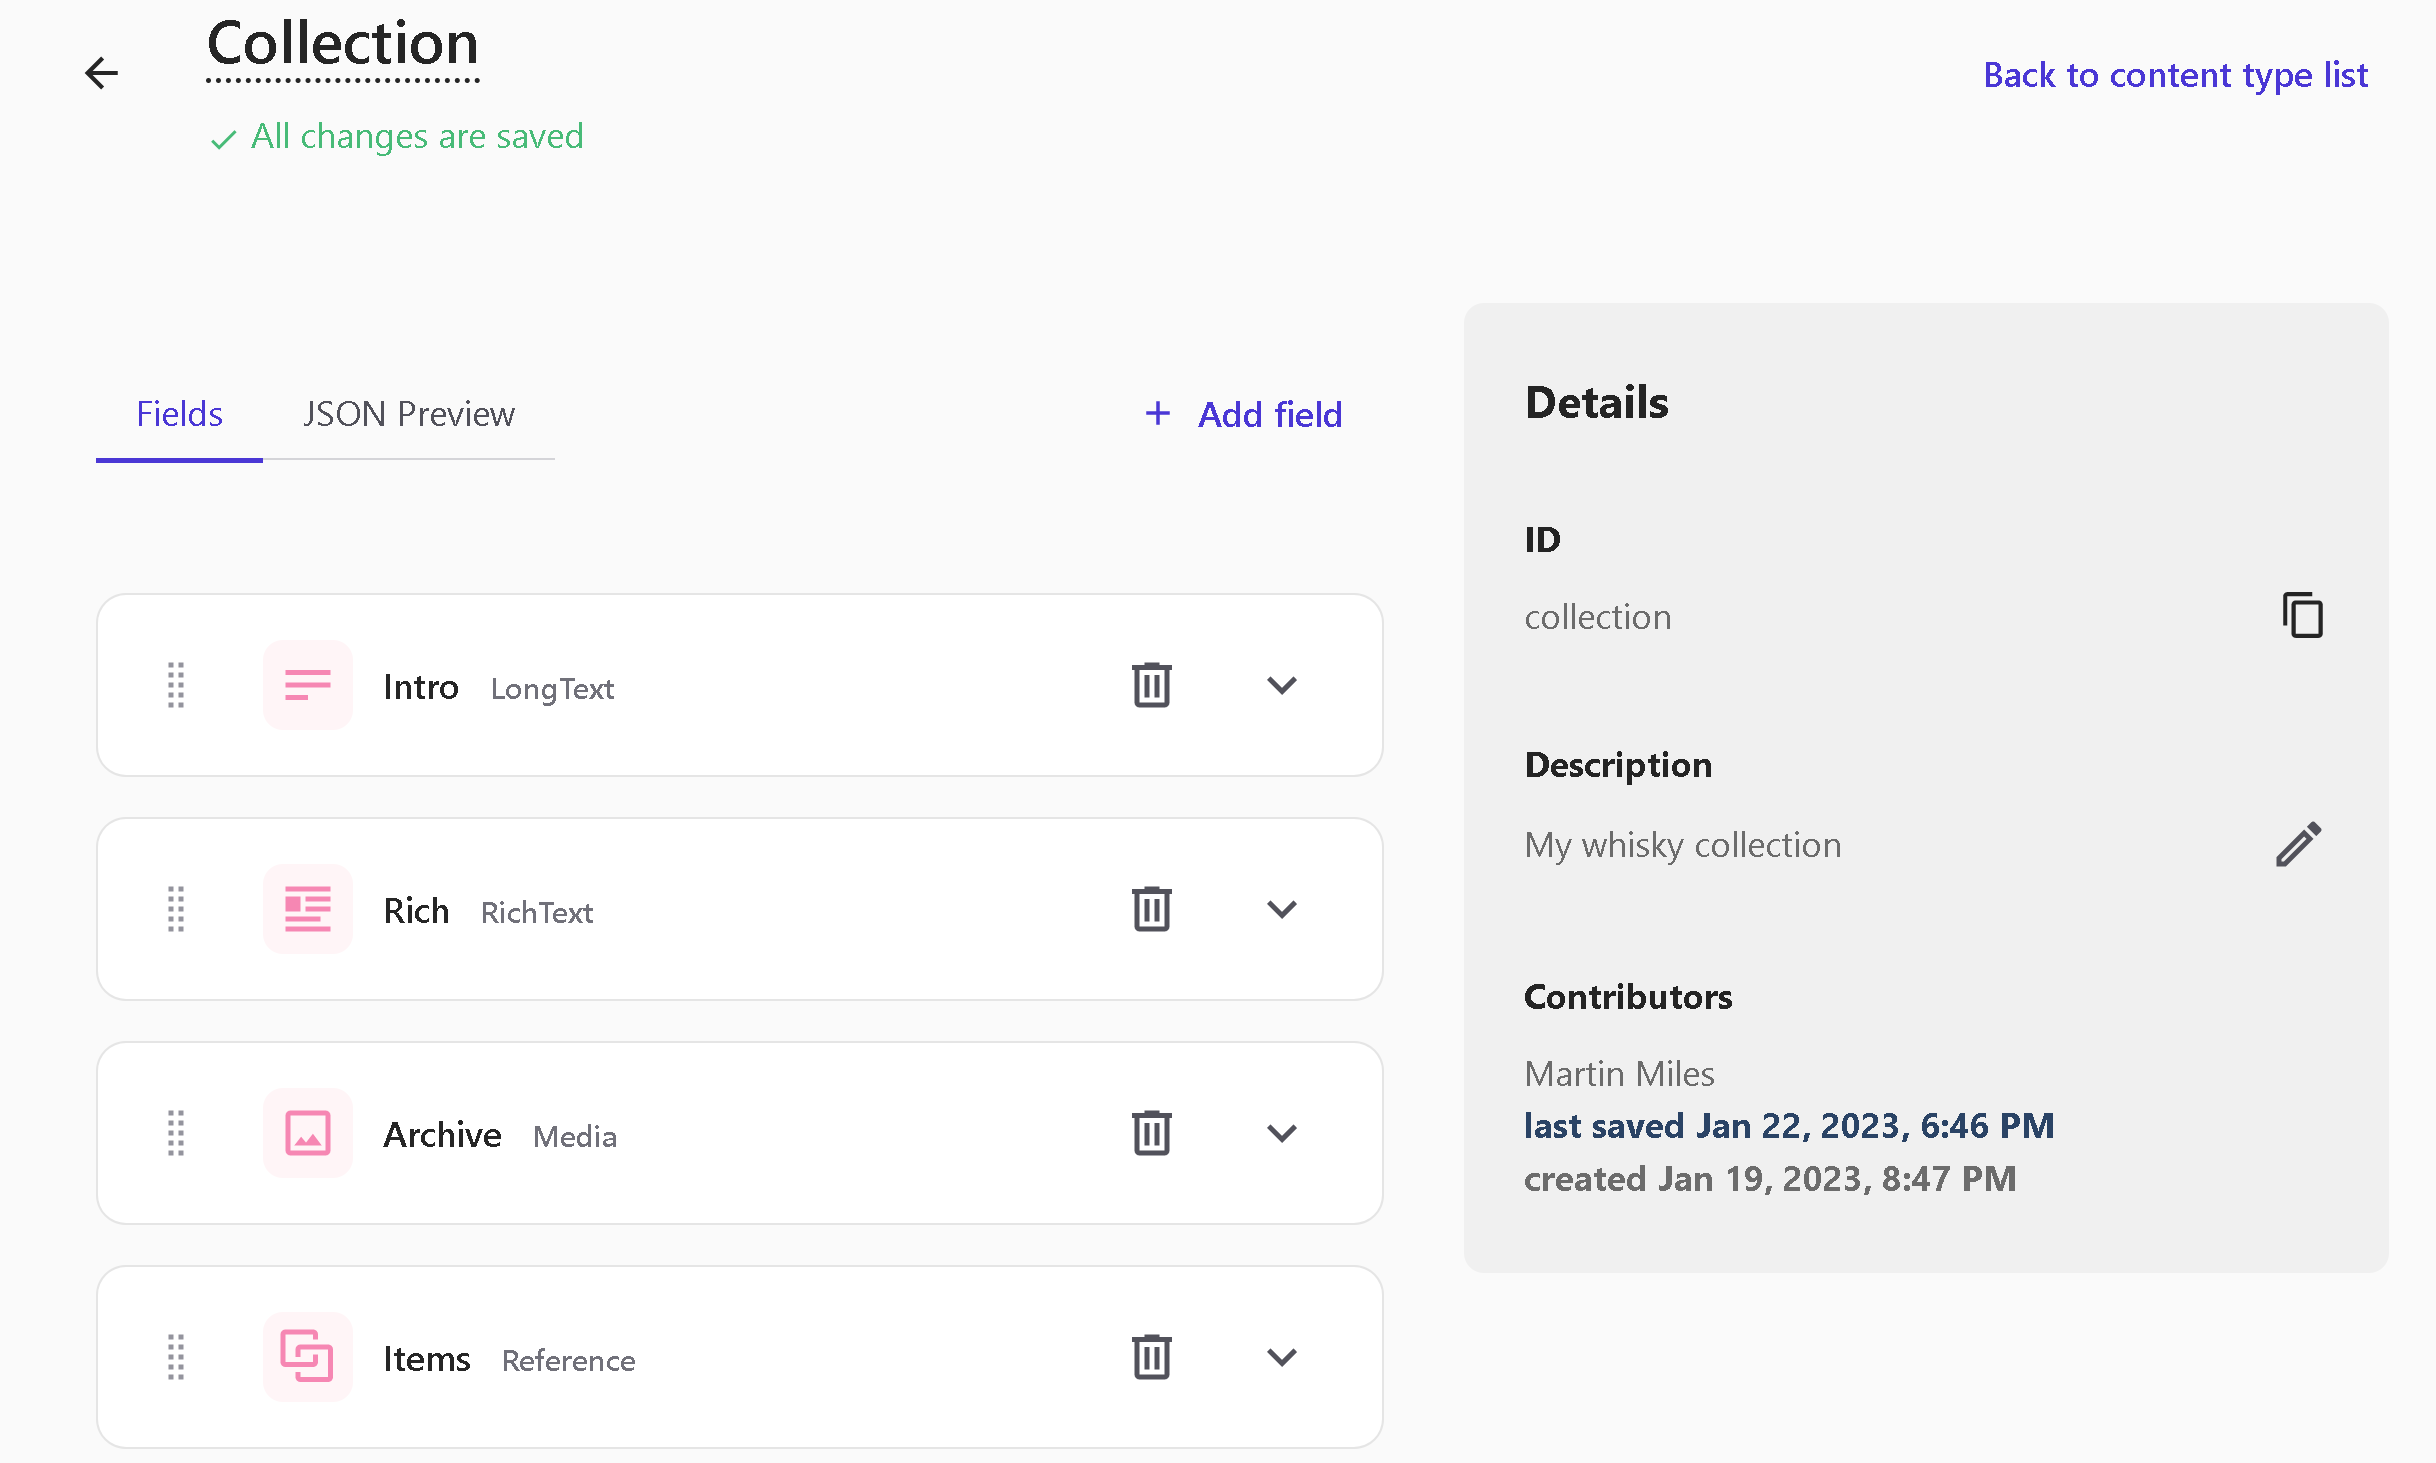
Pay attention to the Archive field. From the home page, I want to distribute a zip archive with all 50 images of my collection, so I included this media field. The challenges of this implementation are described below.
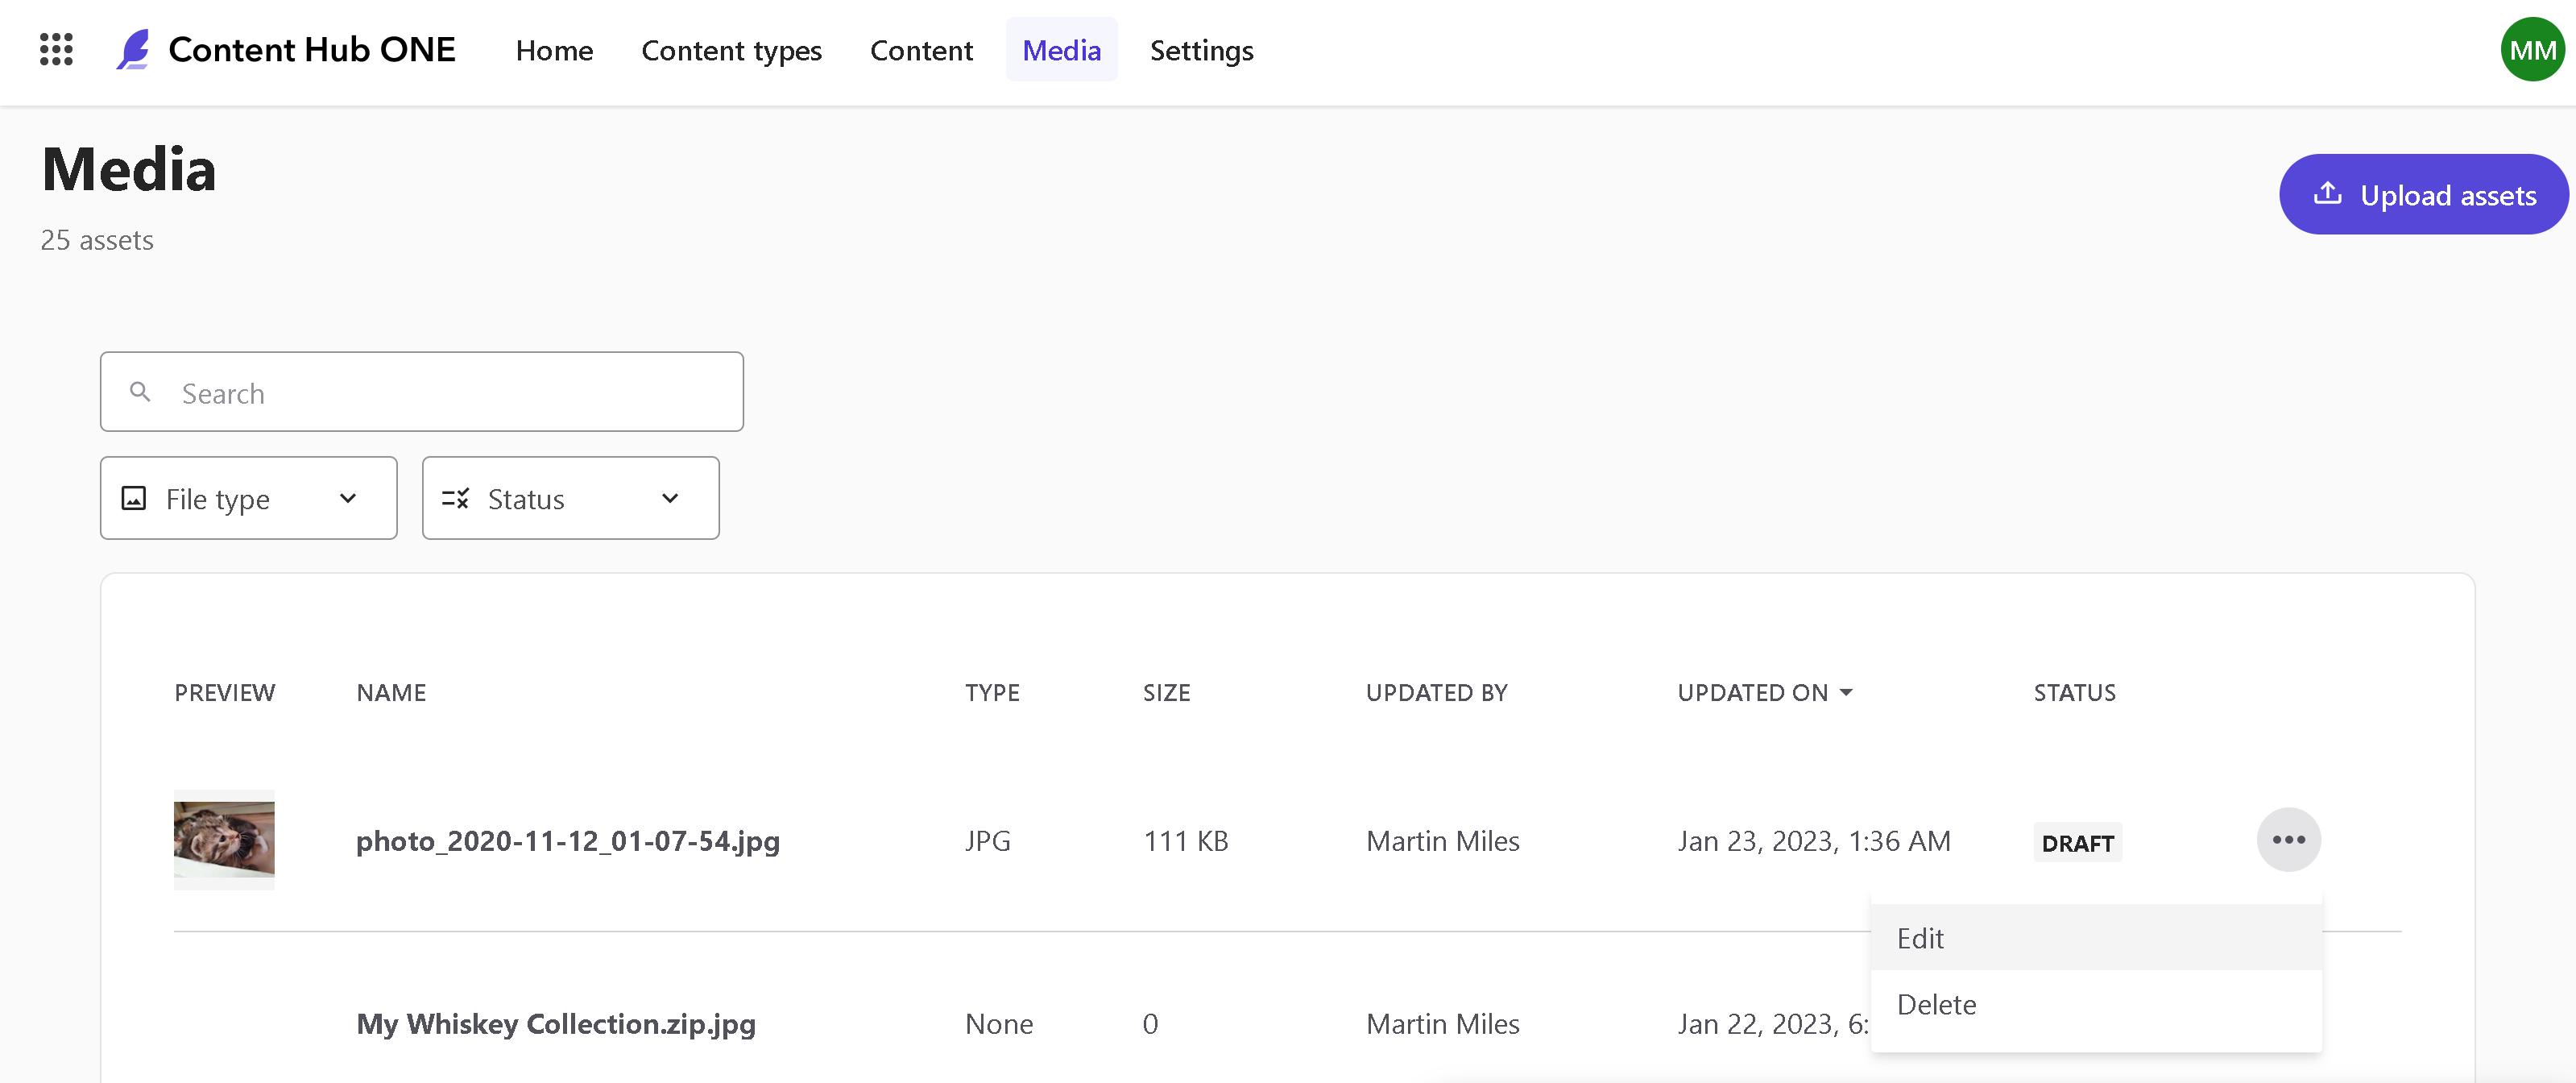
Media
Content Hub ONE users can upload media so that it gets published to Experience Edge CDN. However, its usage is very limited to only images of GIF, JPG, PNG, and WEBP formats.
That is not sufficient for my demo purposes. I also need to upload videos of creative ads for each of my whisky items, as is referenced at Whisky type and I also want to upload a ZIP archive with all the 50 images featuring my entire collection, referenced at Collection type. This is not something extraordinary and is very common for content-powered websites.
So, the question is - can I upload archives and videos? Officially - no, you cannot. However, nothing stops you from renaming your asses to something like video.mp4.jpg or archive.zip.jpg so that it successfully passes upload validation and actually gets uploaded and later published to Edge. With 70Mb limit per media item, it can host pretty much reasonably converted videos, archives, or whatever you may want to put there.
Note: please be aware that since anything else than images isn't officially supported, you may lose access to that content once. Use it at your own risk!
Further below I will show how to build a head application that can consume such content, including "alternative" non-supported media types.
Development
There is the documentation for the developers, a good start at least.
CLI
Content Hub One comes with helpful CLI and useful documentation. It has support for docker installation, but when speaking about local installation I personally enjoy support for installing using my favorite Chocolatey package management tool:
choco install Sitecore.ContentHubOne.Cli --source https://nuget.sitecore.com/resources/v2
With CLI you execute commands against the tenants with only one active at the moment. Adding a tenant is easy, but in order to do you must provide the following four parameters:
- organization-id
- tenant-id
- client-id
- client-secret
Using CLI you can do serialization the same as with XP/XM platforms and see the difference and that is a pretty important feature here. I pulled all my content into a folder using ch-one-cli serialization pull content-item -c pdp command where pdp is my type for whisky items:

The serialized item looks as below:
id: kghzWaTk20i2ZZO3USdEaQ
name: Glenkinchie
fields:
  vendor:
    value: 'Glenkinchie '
    type: ShortText
  brand:
    value:
    type: ShortText
  years:
    value: 12
    type: Integer
  description:
    value: >
      The flagship expression from the Glenkinchie distillery, one of the stalwarts of the Lowlands. A fantastic introduction to the region, Glenkinchie 12 Year Old shows off the characteristic lightness and grassy elements that Lowland whiskies are known for, with nods to cooked fruit and Sauternes wine along the way. A brilliant single malt to enjoy as an aperitif on a warm evening.
    type: LongText
  picture:
    value:
    - >-
      {
        "type": "Link",
        "relatedType": "Media",
        "id": "lMMd0sL2mE6MkWxFPWiJqg",
        "uri": "http://content-api-weu.sitecorecloud.io/api/content/v1/media/lMMd0sL2mE6MkWxFPWiJqg"
      }
    type: Media
  video:
    value:
    - >-
      {
        "type": "Link",
        "relatedType": "Media",
        "id": "Vo5NteSyGUml53YH67qMTA",
        "uri": "http://content-api-weu.sitecorecloud.io/api/content/v1/media/Vo5NteSyGUml53YH67qMTA"
      }
    type: Media
After modifying it locally and saving the changes, it is possible to validate and promote these changes back to
Content Hub ONE CMS. With that in mind, you can automate all the things about for your CI/CD pipelines using PowerShell, for example. I would also recommend watching this
walkthrough video to familiarize yourself with Content Hub ONE CLI in action.
SDK
There is a client SDK available with the support of two languages: JavaScript and C#. For the sake of simplicity and speed, I decided to use C# SDK for my ASP.NET head application. At a first glance, SDK looked decent and promising:

And quite easy to deal with:
var content = await _client.ContentItems.GetAsync();

var collection = content.Data
    .FirstOrDefault(i => i.System.ContentType.Id == "collection");

var whiskies = content.Data
    .Where(i => i.System.ContentType.Id == "pdp")
    .ToList();
However, it has one significant drawback: the only way to get media content for use in a head application is via Experience Edge & GraphQL. After spending a few hours troubleshooting and doing various attempts I came to this conclusion. Unfortunately, I did not find anything about that if the documentation. In any case with GraphQL querying Edge my client code looks nicer and more pretty, with fewer queries and fewer dependencies. The one and only dependency I got for this is a GraphQL.Client library. The additional thing to add for querying Edge is setting X-GQL-Token with a value, you obtain from the Settings menu.
The advantage of GraphQL is that you can query against the endpoints specifying quite complex structures of what you want to get back as a single response and receive only that without any unwanted overhead. I ended up having two queries:
For the whole collection:
{
  collection(id: ""zTa0ARbEZ06uIGNABSCIvw"") {
    intro
    rich
    archive {
        results {
        fileUrl
        name
        }
    }
    items{
    results{
        ... on Pdp {
        id
        vendor
        brand
        years
        description
        picture {
            results {
            fileUrl
            name
            }
            }
        }
      }
    }
  }
}
And for specific whisky record item requested from a PDP page:
{
  pdp(id: $id) {
    id
    vendor
    brand
    years
    description
    picture {
        results {
        fileUrl
        name
          }
        }
    video {
        results {
        fileUrl
        name
            }
        }
    }
}
The last query results get easily retrieved in the code as:
var response = await Client.SendQueryAsync<Data>(request);
var whiskyItem = response.Data.pdp;
Some challenges occur at the front-end part of the head application.
When dealing with Rich text fields you have to come up with building your own logic (my inline oversimplified example, lines 9-50) for rendering HTML output from a JSON structure you got for that field. The good news is that .NET gets it nicely deserialized so that you can at least iterate through this markup:

Sitecore provided an extremely helpful GraphQL IDE tool for us to test and craft queries, so below is how the same Rich text filed value looks in a JSON format:

You may end up wrapping all clumsy business logic for rendering Rich text fields into a single Html Helper producing HTML output for the entire Rich text field, which may accept several customization parameters. I did not do that as it is labor-heavy, but for the sake of example, produced such a helper for Long Text field type:
public static class TextHelper
{
    public static IHtmlContent ToParagraphs(this IHtmlHelper htmlHelper, string text)
    {
        var modifiedText = text.Replace("\n", "<br>");
        var p = new TagBuilder("p");
        p.InnerHtml.AppendHtml(modifiedText);
        return p;
    }
}
which can be called from a view as:
@Html.ToParagraphs(Model.Description)
Supporting ZIP downloads
On the home page, there is a download link sitting within Rich text content. This link references a controller action that returns zip archive with the correct mime types.
public async Task<IActionResult> Download()
{
    // that method id overkill, ideally
    var collection = await _graphQl.GetCollection();

    if (collection.Archive.Results.Any())
    {
        var url = collection.Archive.Results[0].FileUrl;
        var name = collection.Archive.Results[0].Name;
        name = Path.GetFileNameWithoutExtension(name);

        // gets actual bytes from ZIP binary stored as CH1 media
        var binaryData = await Download(url);
        if (binaryData != null)
        {
            // Set the correct MIME type for a zip file
            Response.Headers.Add("Content-Disposition", $"attachment; filename={name}");
            Response.ContentType = "application/zip";

            // Return the binary data as a FileContentResult
            return File(binaryData, "application/zip");
        }
    }

    return StatusCode(404);
}
Supporting video
For the sake of a demo, I simply embedded a video player to a page and referenced the URL of published media from CDN:
<video width="100%" style="margin-top: 20px;" controls>
    <source src="@Model.Video.Results[0].FileUrl" type="video/mp4">
    Your browser does not support the video tag.
</video>
Bringing it all together
I built and deployed the demo at https://whisky.martinmiles.net. You can also find the source code of the resulting .NET 7 head application project at this GitHub link.
Now, run it in a browser. All the content seen on a page is editable from Content Hub ONE, as modeled and submitted earlier. Here's what it looks like:

Criticism
Content Hub ONE developers did a great job in the shortest time and there should not be any questions to them. However, from my point of view, there is a big number of both minor and major issues that prevent using this platform in its current stage for commercial usage. Let's take a look at them.
1. Lack of official support for media items other than four types of images is a big blocker. Especially given that there is no technical barrier to doing that in principle. Hopefully, that gets sorted with time.
2. Many times while working with CH1 I got phantom errors, without understanding the cause. For example, I want to upload media but got Cannot read properties of undefined (reading 'error') in return. Later I realized that was caused by session expiration, which for some reason is not handled well in the cases. What is more frustrating - I got these session issues even after just navigating the site, as if navigation did not reset the session expiration timer. But since that is SaaS product - it's only my guesses without having access to internals.
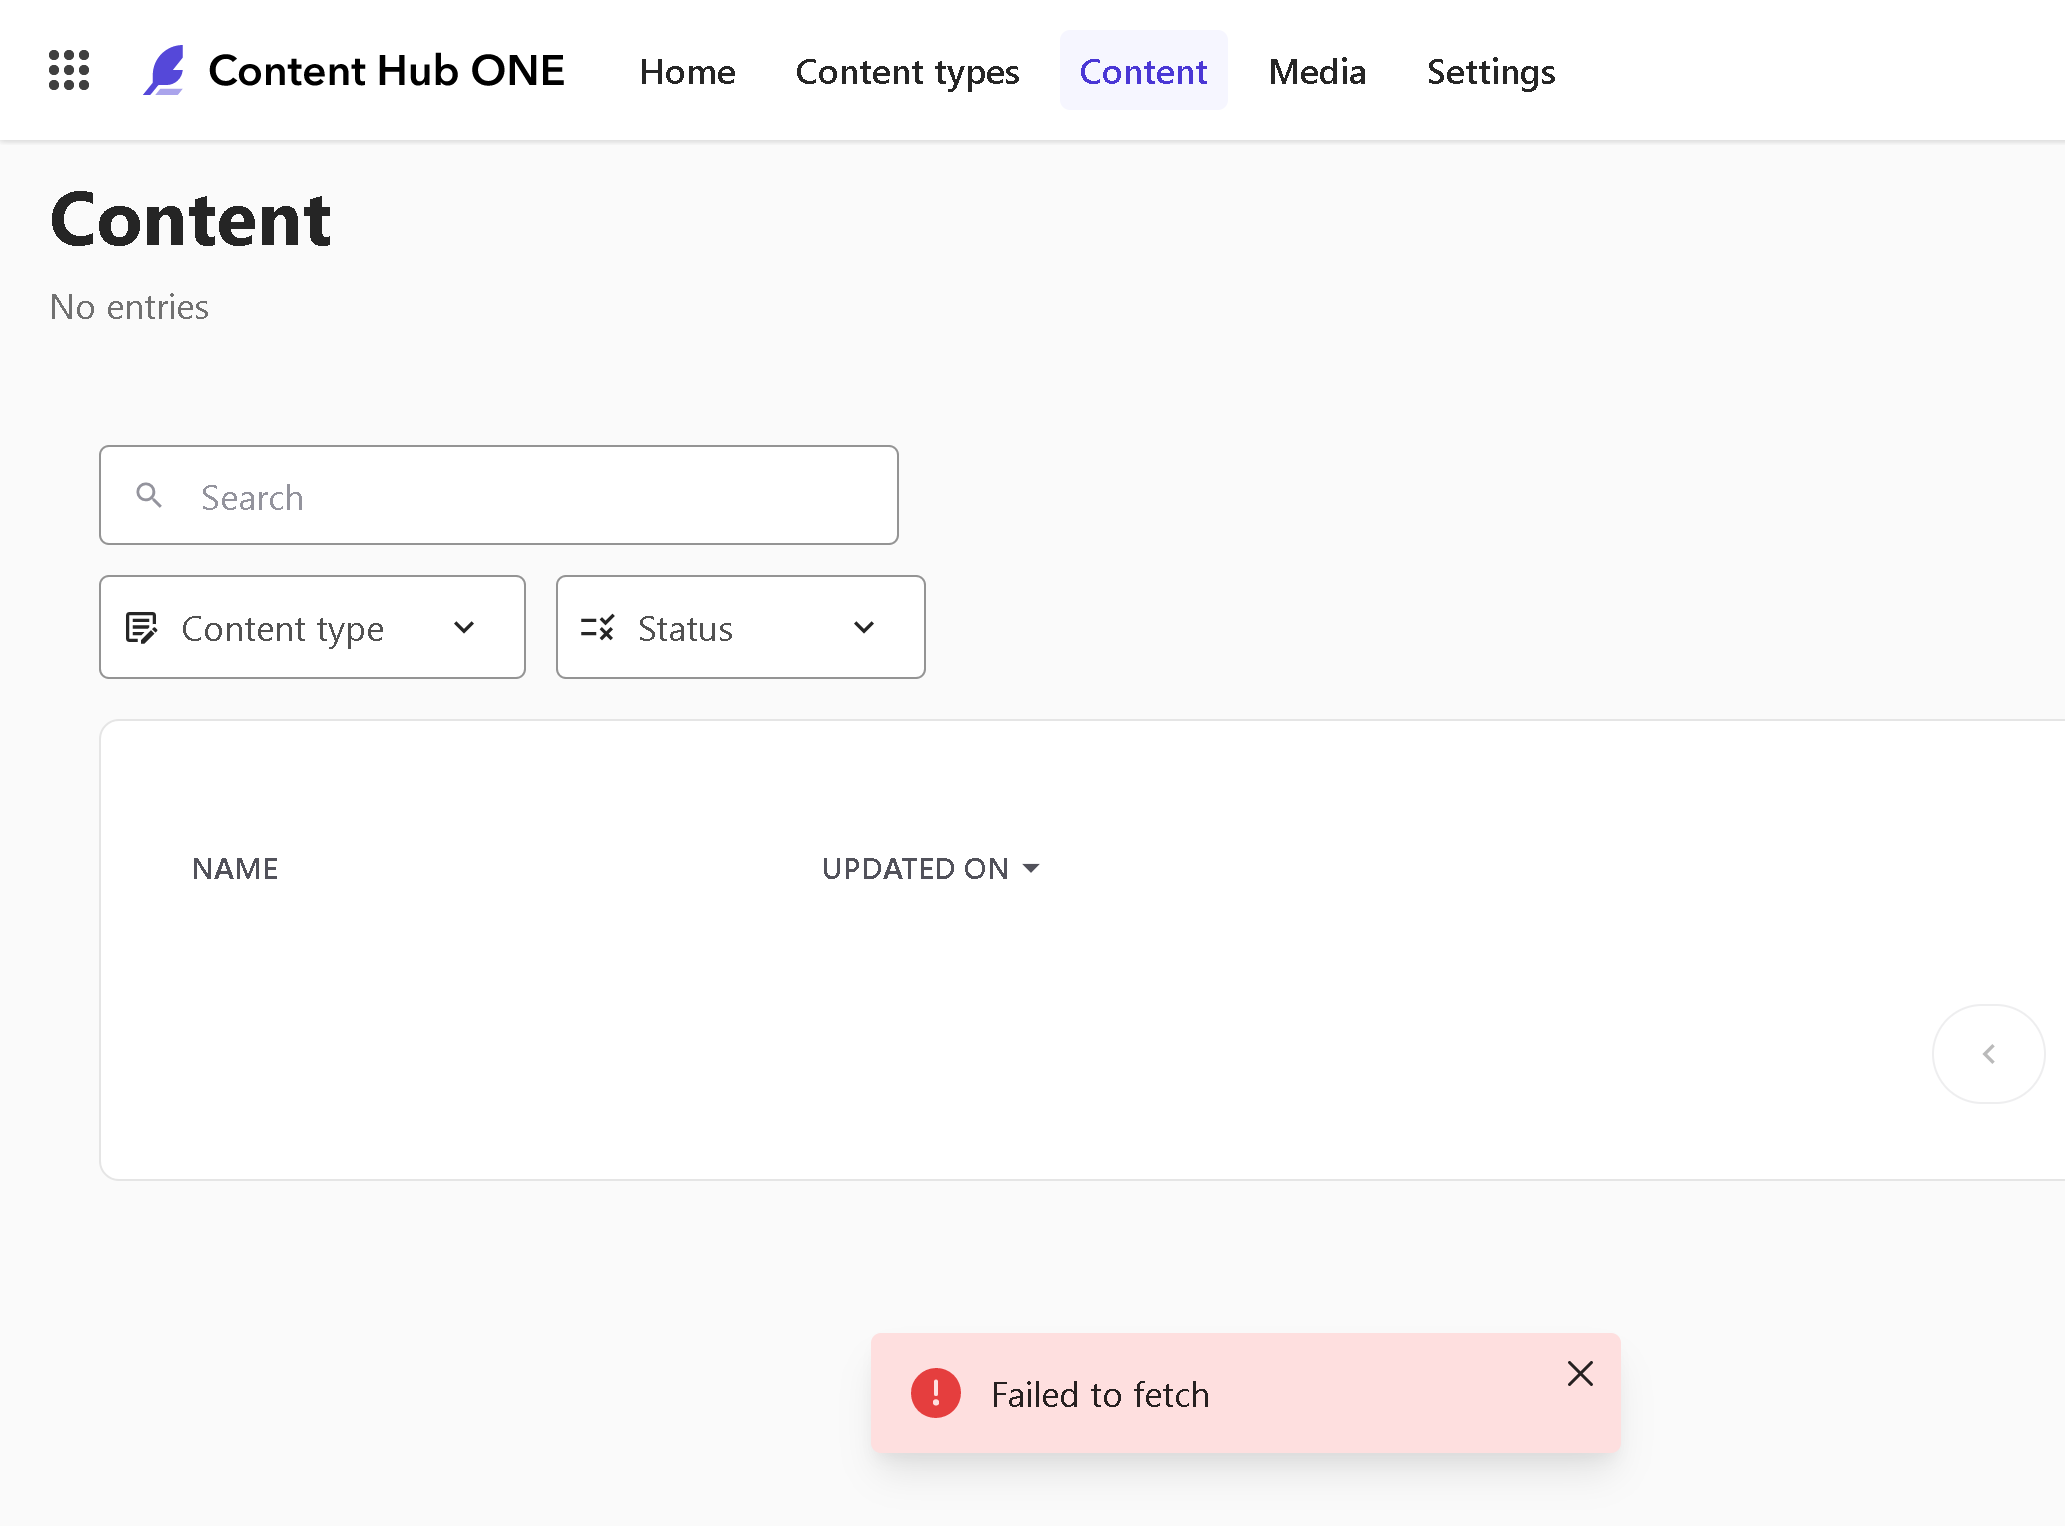
3. Another issue experienced today was CH1 got down with UI showing me a Failed to fetch error. That also occurred with my cloud-deployed head app which also failed to fetch content from CH1. Unannounced/planned maintenance?
4. Not being able to reference more than 10 other records seriously limits platform usage. With my specific example, I had around 50 items of whisky to be exposed through this app but was able to include only max 10 of them. What is worse - there are no error messages around it or UI informing me about the limitation in any other way.
5. When playing around with the existing type I cannot change the field type, and that limitation is understood. The obvious solution would be deleting that field instead and regrating it with the same name but another type (let's assume there's no content to be affected). Wrong, that's not possible and eds with Failed entity definition saving with name: 'HC.C.collection' error. You can only recreate the field with a new name, not the same one you've just deleted. If you got lots of queries in your client code - need to locate them and update them correspondingly.
6. Not enough field types. For example, URL could be simply placed into a small text field, but without proper validation, editors may end up having broken links if they put a faulty URL value on a page.
There is some of UI/UX to be improved
1. Content Hub One demands more clicks for content modeling creation compared to let's say XP. For example, if you publish a content item, related media does not get published automatically. You need manually click through media, locate it and publish explicitly. On large volume of content that annoys and adds unwanted labor.
2. To help with the above, why not add a "Publish" menu item into the context menu upon an uploaded item in a Draft state? That eliminates the unwanted step of clicking into the item for publishing.
3. On the big monitors the name of a record is mislocated in the top left corner making it unobvious to edit it, given that, it is not located with a form field, so not immediately obvious that is editable. That is especially important for records that are not possible to rename after creation. Bringing the name close to the other fields would definitely help!
4. Lack of drag&drop. It would be much easier to upload media by simply dragging the files onto a media listbox, or any other reasonable control.
5. Speaking about media, UI does not support selecting multiple files for an upload. Users have to click one after another.
6. Need better UI around grouping and managing assets. Currently, there are facets but need something more than that, maybe the ability to group records into folders. I don't have a desired view on that, but definitely see the need for such a feature, as my ultra-simple demo case already requires navigational effort.
Conclusion
I don't want to end up with the criticism only leaving a negative impression about this product: there are plenty of positives as well. I would only mention just a few: decent SDKs, attention to the details where the feature is actually implemented (like the order of referenced items follows up the order you select them), nice idea of a modern asynchronous UI that can notify you about when the resource gets published to Edge (just need to sort out the session expiration issues).
Content Hub One is definitely in the early stages of its career. I would wish the development team and product managers to eventually overcome the "child sickness" stage of the product and deliver us a lightweight but reasonably powerful headless CMS that will speed up content modeling and content delivery experience. The foot is already in the door, so the team needs to push on it!