Exciting news! Sitecore kept the original promise and released the new ltsc2022 container images for all the topologies of both the 10.3 and 10.2 versions of their platform.
The biggest benefits of new images are improved image sizes – almost 50% smaller than ltsc2019, and support for running Process Isolation on Windows 11.
Check it yourself:
So, what does that mean for developers and DevOps?

First and most, running Sitecore 10.3 on Windows Server 2022 is now officially supported. You may consider upgrading your existing solutions to benefit from Server 2022 runtime.
Developers working on Windows 11 now also got so much wanted support, containers built from the new images can run in Process isolation mode without a hypervisor. That brings your cluster performance to nearly bare metal metrics.
Let's try it in action!
I decided to give it a try and test if that would work and how effectively. I recently purchased a new Microsoft Surface 8 Pro laptop which had Windows 11 pre-installed and therefore useless for my professional purposes, so it seems to be excellent test equipment.
After initial preparation and installing all the prerequisites, I was ready to go. Choosing the codebase I decided to go with the popular Sitecore Containers Template for JSS Next.js apps and Sitecore 10.3 XM1 topology, as the most proven and well-preconfigured starter kit.
Since I initialized my codebase with -Topology XM1 parameter, all the required container configurations are located under /MyProject/run/sitecore-xm1 folder. We are looking for .env file which stores all the necessary parameters.
The main change to do here is setting these two environmental settings to benefit from ltsc2022 images:
SITECORE_VERSION=10.3-ltsc2022
EXTERNAL_IMAGE_TAG_SUFFIX=ltsc2022
The other important change in .env file would be changing to ISOLATION=process. Also, please note that TRAEFIK_ISOLATION=hyperv stays unchanged due to a lack of ltsc2022 support for Traefik, so sadly you still need to have Hyper-V installed on this machine. The difference is that it serves only Traefik, the rest of Sitecore resources will work in the Process mode.
I also did a few optional improvements upgrading important components to their recent versions:
MANAGEMENT_SERVICES_IMAGE=scr.sitecore.com/sxp/modules/sitecore-management-services-xm1-assets:5.1.25-1809
HEADLESS_SERVICES_IMAGE=scr.sitecore.com/sxp/modules/sitecore-headless-services-xm1-assets:21.0.583-1809
Also, changed node to reflect the recent LTS version:
NODEJS_VERSION=18.14.1
Please note, that sitecore-docker-tools-assets did not get any changes from the previous version of Sitecore (10.2), so I left it untouched.
Last thing – to make sure I indeed build and run in the Process isolation mode, I set ISOLATION=process changing this value from default. The rest of .env file was correctly generated for me by Init.ps1 script.
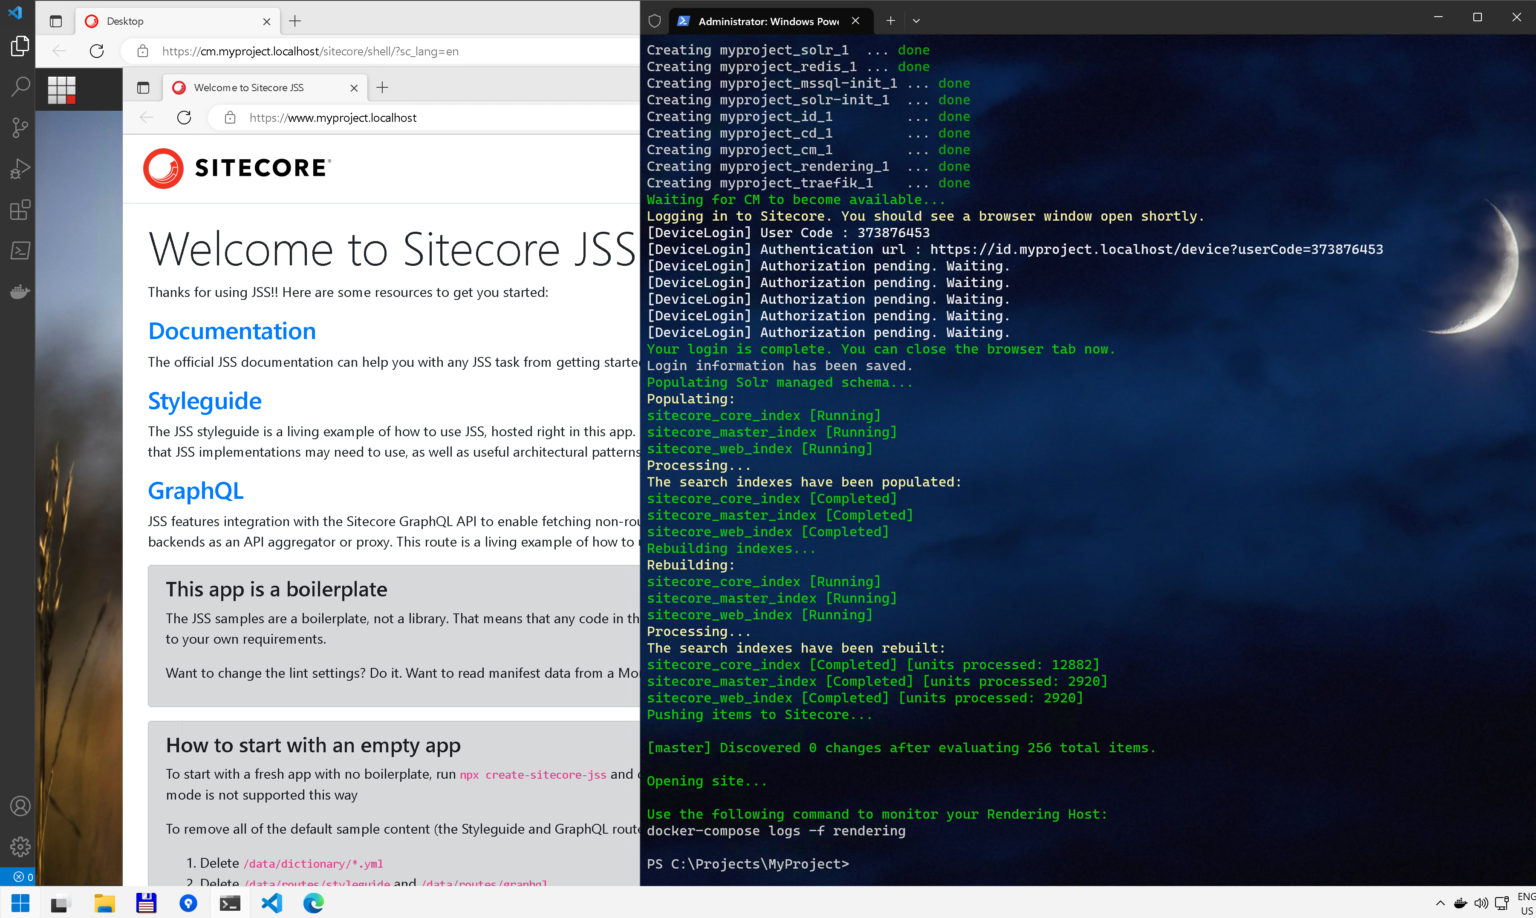
All changes complete, let’s hit .\up.ps1 in PowerShell terminal with administrative mode and wait until it downloads and builds images:
Advanced Part: building Traefik with ltsc2022
Now, let's get rid of the only left 1809-based container, which is Traefik. Luckily, its Dockerfile is available, so I can rewrite it to consume ltsc2022 images. In addition, I took the latest (by the time) version of it which is 2.9.8, while the officially supported is 2.2.0, so it would make sense to parametrize the version as well, taking its settings from .env settings.
I created a new docker\build\traefik folder and ended up with the following Dockerfile within there:
ARG IMAGE_OS
FROM mcr.microsoft.com/windows/servercore:${IMAGE_OS}

ARG VERSION
SHELL ["powershell", "-Command", "$ErrorActionPreference = 'Stop'; $ProgressPreference = 'SilentlyContinue';"]

RUN Invoke-WebRequest \
        -Uri "https://github.com/traefik/traefik/releases/download/$env:VERSION/traefik_${env:VERSION}_windows_amd64.zip" \
        -OutFile "/traefik.zip"; \
    Expand-Archive -Path "/traefik.zip" -DestinationPath "/" -Force; \
    Remove-Item "/traefik.zip" -Force

EXPOSE 80
ENTRYPOINT [ "/traefik" ]

# Metadata
LABEL org.opencontainers.image.vendor="Traefik Labs" \
    org.opencontainers.image.url="https://traefik.io" \
    org.opencontainers.image.source="https://github.com/traefik/traefik" \
    org.opencontainers.image.title="Traefik" \
    org.opencontainers.image.description="A modern reverse-proxy" \
    org.opencontainers.image.version=$env:VERSION \
    org.opencontainers.image.documentation="https://docs.traefik.io"
Because of that I also had to update the related docker-compose section of docker-compose.override.yml file:
  traefik:
    isolation: ${ISOLATION}
    image: ${REGISTRY}traefik:${TRAEFIK_VERSION}-servercore-${EXTERNAL_IMAGE_TAG_SUFFIX}
    build:
      context: ../../docker/build/traefik
      args:
        IMAGE_OS: ${EXTERNAL_IMAGE_TAG_SUFFIX}
        VERSION: ${TRAEFIK_VERSION}
    volumes:
      - ../../docker/traefik:C:/etc/traefik
    depends_on:
    - rendering
What I want to pay attention here - I am now using ${ISOLATION} as the rest of the containers are using instead of dedicated TRAEFIK_ISOLATION which can now be removed from .env.
Another thing is that I am passing fully parametrized image name:
image: ${REGISTRY}traefik:${TRAEFIK_VERSION}-servercore-${EXTERNAL_IMAGE_TAG_SUFFIX}
I intentionally do not prefix it with ${COMPOSE_PROJECT_NAME} so that this image becomes reusable between several solutions on the same machine, which saves some disk drive space.
Last step would be adding .env parameter TRAEFIK_VERSION=v2.9.8 and removing TRAEFIK_IMAGE parameter which is no longer needed. Good to go!
Outcomes and verdict
I tested all of the important features of the platform, including Experience Editor and it all works, and what is especially important – works impressively fast with the Process isolation mode. And since all the containers are built with ltsc2022 and run in Process isolation, one doesn't need Hyper-V at all!
As for me, I ended up having a nice and powerful laptop suitable for modern Sitecore headless operations.
Enjoy faster development!