Working with Helix often encourages you to perform quick look-ups into the live-standard-implementation - Habitat project. That's why you have to have it installed. I remember the first time I installed Sitecore Habitat in October 2015 and how complicated that seemed at glance.
Luckily we now got a nice tool, that does exactly what it is named for - Habitat Solution Installer written by Neil Shack. So, let's go ahead and install Habitat into a new non-traditional destination using that tool.
Firs of all, let's grab Habitat Solution Installer itself from Sitecore Marketplace. Once downloaded, run HabitatInstaller.exe.
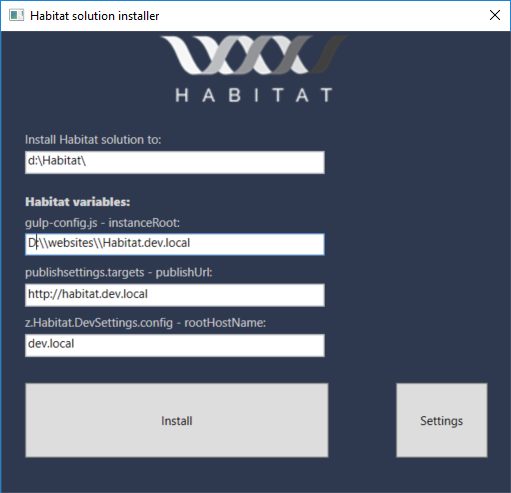
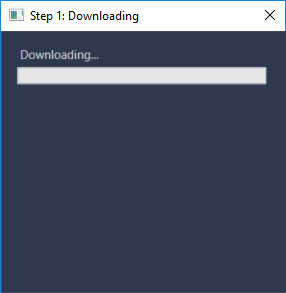
First screen takes three most important Habitat setting that we usually need to change as well as asks for the solution root folder where it will install the code. Once Install is clicked - it will download an archive of master branch from Habitat GitHub repository.
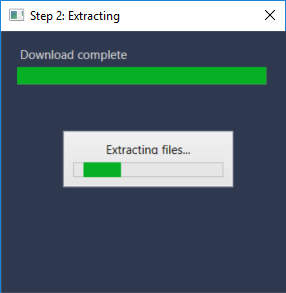
Then it will extract downloaded archive into temporal folder. By the way, you may alternate both path to master archive and your temporal files folder by clicking Settings button on the first (main) screen.
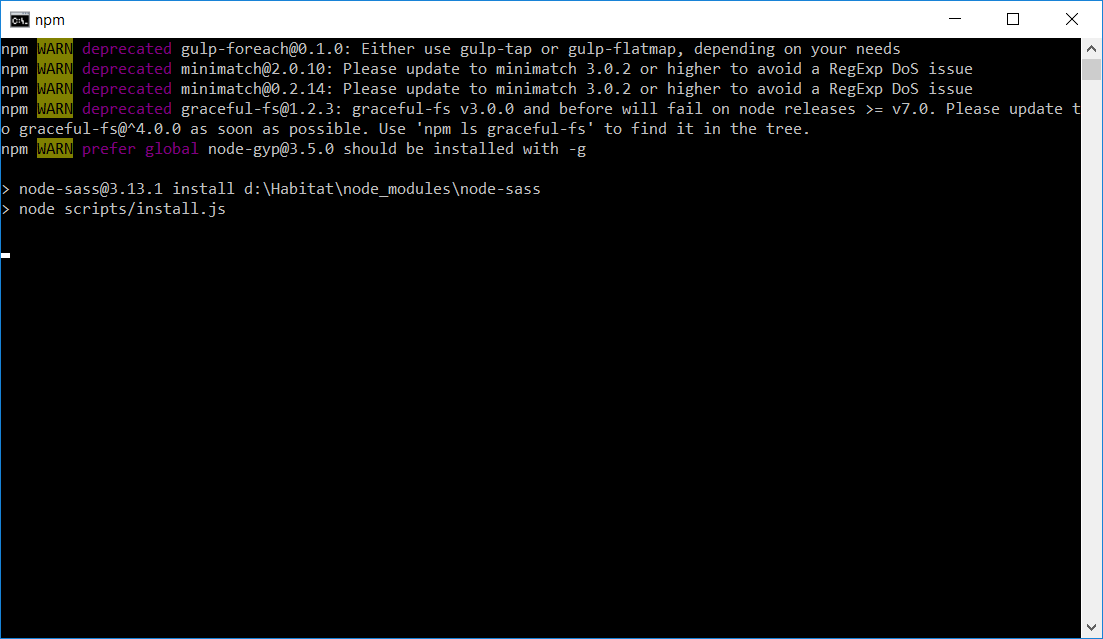
After extracting files, it will run npm install so you need to have node installed as a prerequisite.
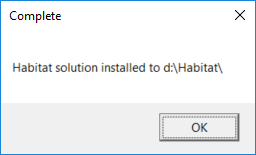
Once finished, Habitat Solution Installer will display confirmation box.
So, what it has done - it installed and configured project code folder. But what hasn't it done?
1. It does not install Sitecore. You need to have it installed as another prerequisite, so that you provide Sitecore web folder and hostname to installer as shown on first screenshot. The best way would be to install using SIM (marketplace link). While installing Sitecore, make sure you're installing the right version corresponding to to codebase at Habitat master branch, you may look it up at Habitat Wiki page.
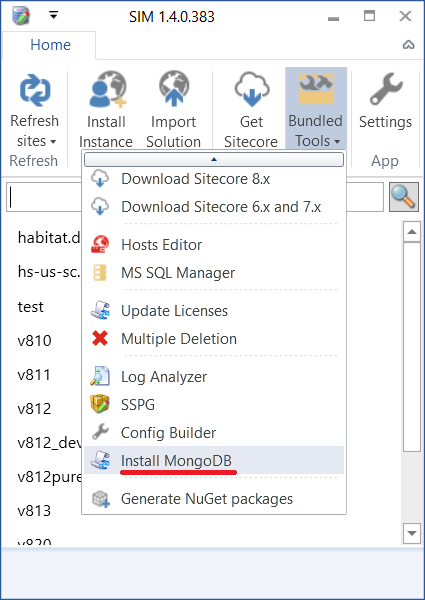
2. Not just to say you need to install Sitecore itself, you also need to install Web Forms for Marketers of the version corresponding to you Sitecore instance. And to ensure WFFM installation not failing, you need to install MongoDB prior to. Luckily that can be done in one click using SIM:
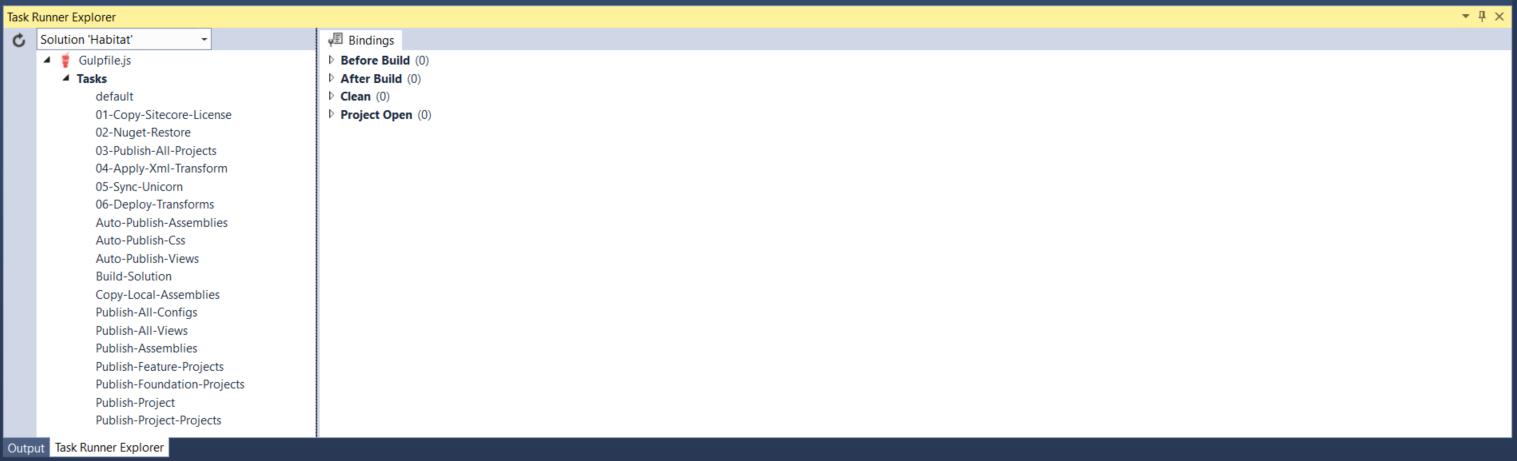
Finally, when all above is done, you may run gulp tasks from Task (View => Other Windows => Task Runner Explorer in Visual Studio 2015). Since npm install was already done for you - tasks are loaded as normal:
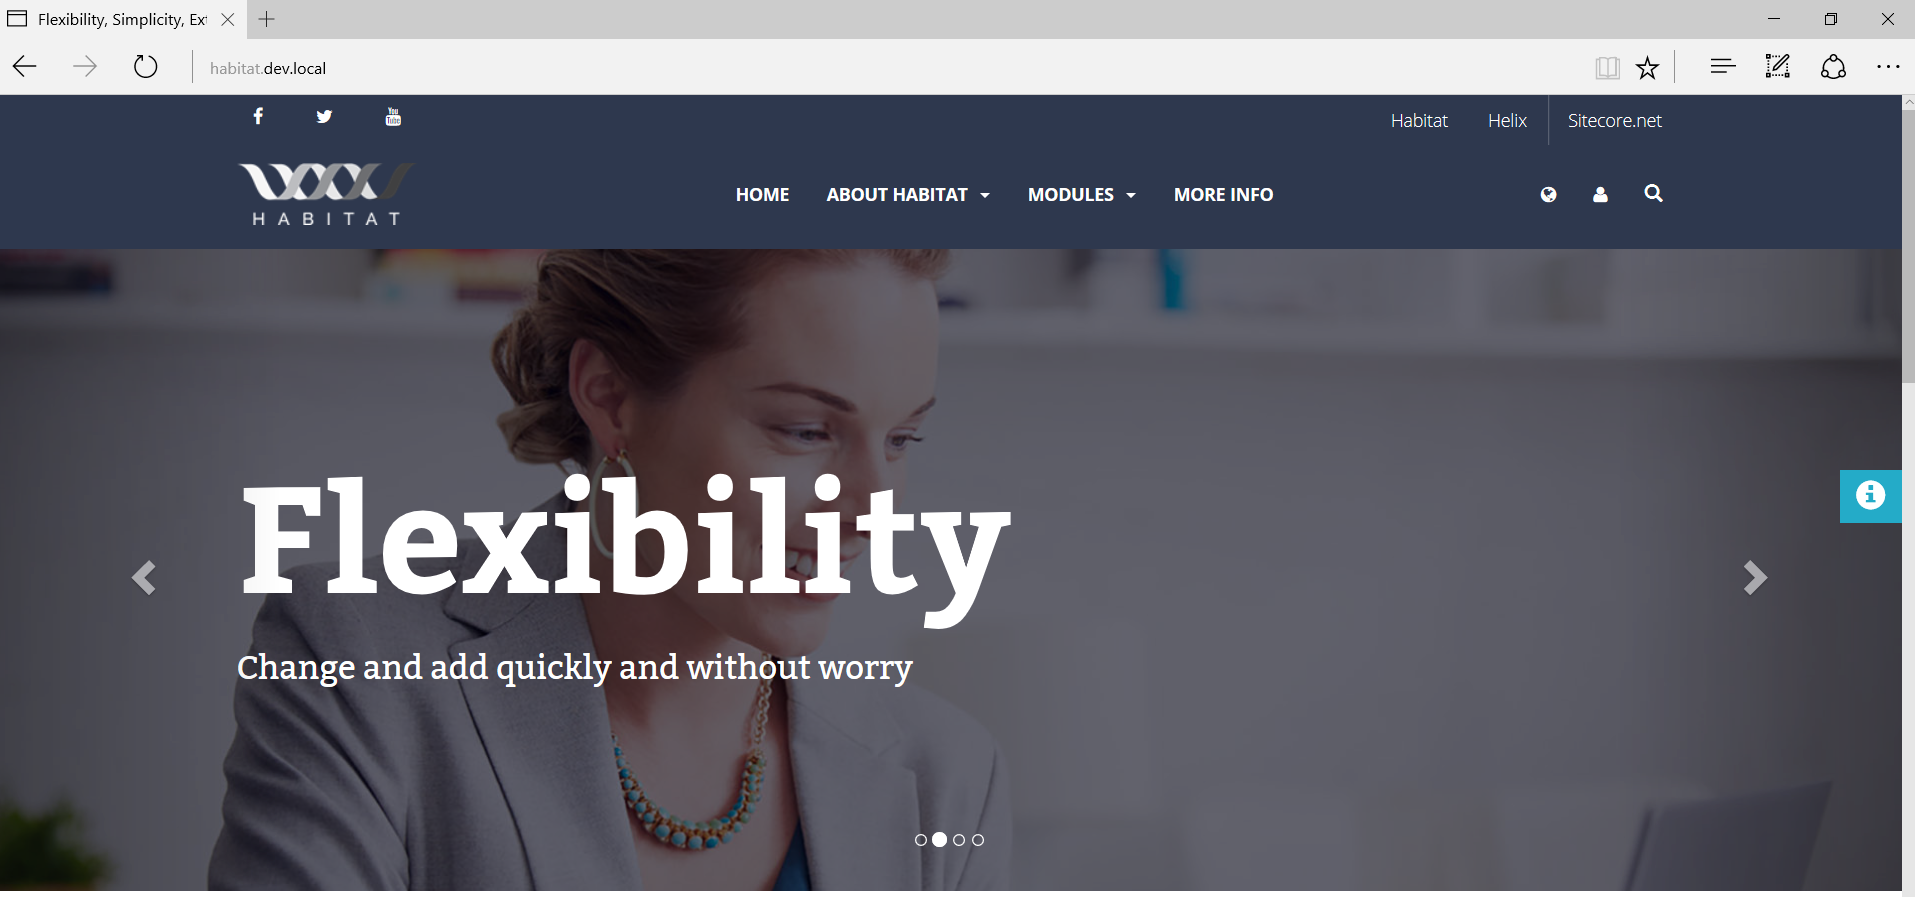
That's it! After Sitecore items are deserialised into your Sitecore instance, you'll be able to run Habitat website (however do not forget to publish from master to web unless you run it in live mode). The final result comes in you browser: