For years, I’ve been navigating the ever-evolving landscape of Sitecore, and I’ve witnessed my fair share of pivotal moments. From the shift to Helix to the dawn of the composable DXP with XM Cloud, we’ve adapted and grown. But let me tell you, what I saw unfold at Sitecore Symposium 2025 feels different. This isn’t just another incremental update or a new product bolted on the side. This is a fundamental rewiring of the platform’s DNA. Sitecore has officially planted its flag, not just in the AI-powered future, but in the agentic era.
Let’s be honest: the buzz around AI has been deafening, and for a while, it felt like every tech company was just scrambling to add a "copilot" to their UI. I’ve been cautiously optimistic, waiting for a vendor to show a truly integrated, enterprise-ready vision. After seeing the announcements from Symposium, I can say that Sitecore has stepped up and delivered a cohesive, powerful, and surprisingly practical platform for this new reality.
The Writing on the Wall: It’s Not Your Website Anymore
CEO Eric Stine set the stage perfectly during his opening keynote. He confronted a reality that many of us in the content and marketing world are grappling with: customer journeys are no longer starting with a Google search that leads to our beautifully crafted homepages. They’re starting in social media feeds, and increasingly, in the summarized answers of generative AI models. Eric delivered a line that will stick with me:
“Our content isn’t driving traffic anymore. Our content is the traffic.”
This single statement encapsulates the existential shift we’re facing. If our content is being consumed, summarized, and re-packaged by AI before a user ever reaches our domain, how do we maintain control of our brand’s narrative and experience? Sitecore’s answer is not to fight this trend, but to build a platform that thrives in it. That platform is SitecoreAI.

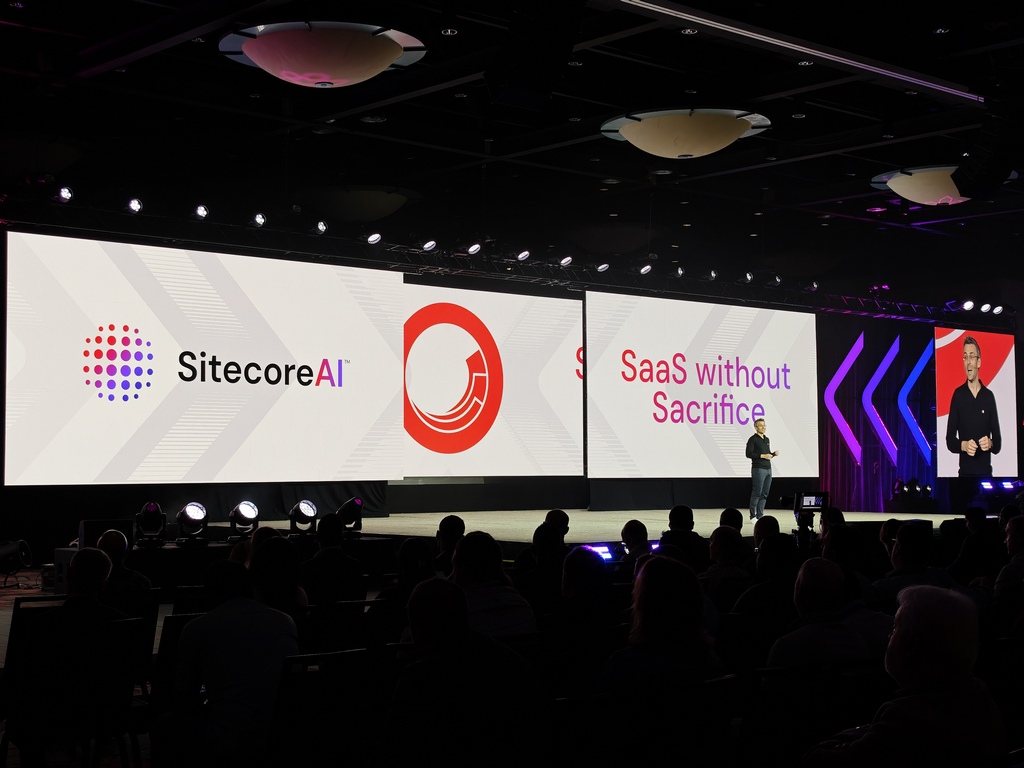
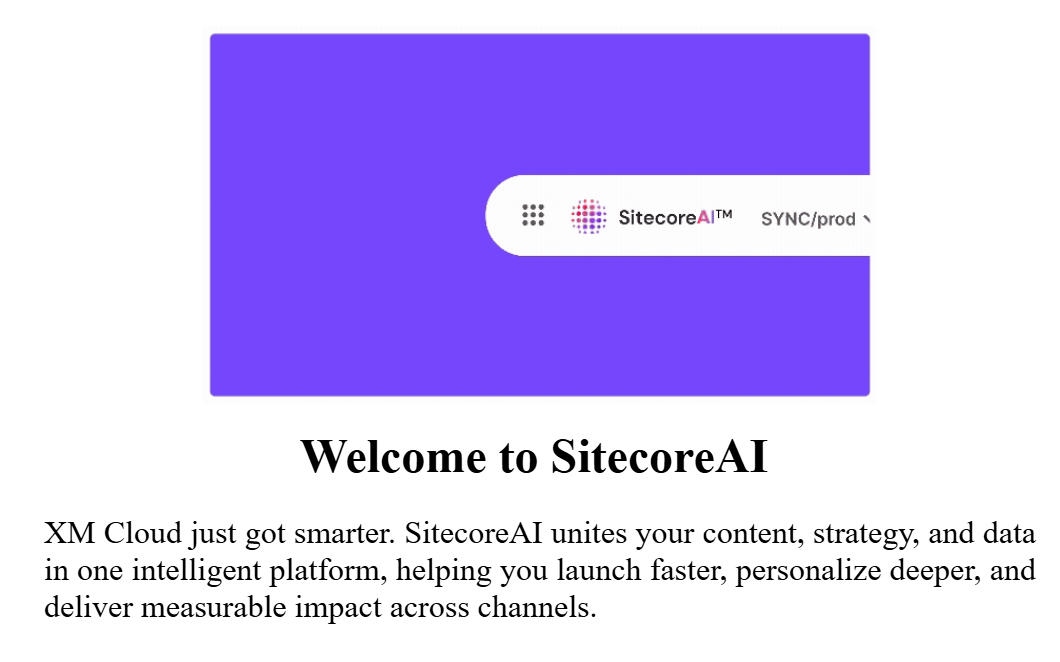
SitecoreAI is the New Foundation
First things first, SitecoreAI is not just a new set of features; it’s the new name and foundation for Sitecore’s entire composable DXP. It represents the formal unification of XM Cloud, Content Hub DAM, CDP & Personalize, as well as Search, into a single, AI-enabled SaaS platform. For existing XM Cloud customers, the best part is that this transition is automatic, with no migration or new contract required.
This move addresses a major pain point many of us have felt: the complexity of a composable stack. By bringing everything under one roof with a single data model and workflow, Sitecore is finally delivering on the promise of composable without the fragmentation.
A New Commercial Model: Power Without Punishment
Perhaps the most surprising and welcome announcement came from COO Dave Tilbury. He acknowledged the painful reality of enterprise software procurement and announced a radical simplification of Sitecore’s commercial model.
The key takeaways are transformative:
- Simplified Pricing: Every major capability now has a single metric driving its price. No more juggling page views, API calls, and bandwidth caps.
- Full Suite Access: When you buy one module, you get production-scale access to the entire SitecoreAI suite (CMS, DAM, Personalization, etc.). You can experiment and prove value before committing to a broader rollout.
- AI is Included: In a world where competitors are selling AI by the token, Sitecore has made a bold move. All AI agents, copilots, and workflows are included. No upsells, no credits, no games.
This commitment to simplicity and value is a massive statement of confidence in the platform and a huge win for the entire Sitecore community.
The Rise of the Agents: Moving from Copilots to Autonomous Teams
The most profound shift introduced with SitecoreAI is the move from simple copilots to true agentic AI. An agent is more than just a chatbot that answers questions; it’s an autonomous entity that can understand a goal, create a plan, and execute multi-step tasks to achieve it.
SitecoreAI ships with 20(!) pre-built agents out of the box, ready to automate complex workflows. We’re talking about things like:
- Migration Tooling Agents: Used by brands like Regal Rexnord and Hexagon to consolidate dozens of legacy sites, cutting migration timelines from months to weeks.
- Contextually Aware Content Agents: Leveraged by Berkeley Homes and AFL to generate highly targeted content for specific audiences and channels.
- Campaign & Strategy Agents: Capable of drafting creative briefs, identifying audiences, and even optimizing budgets.
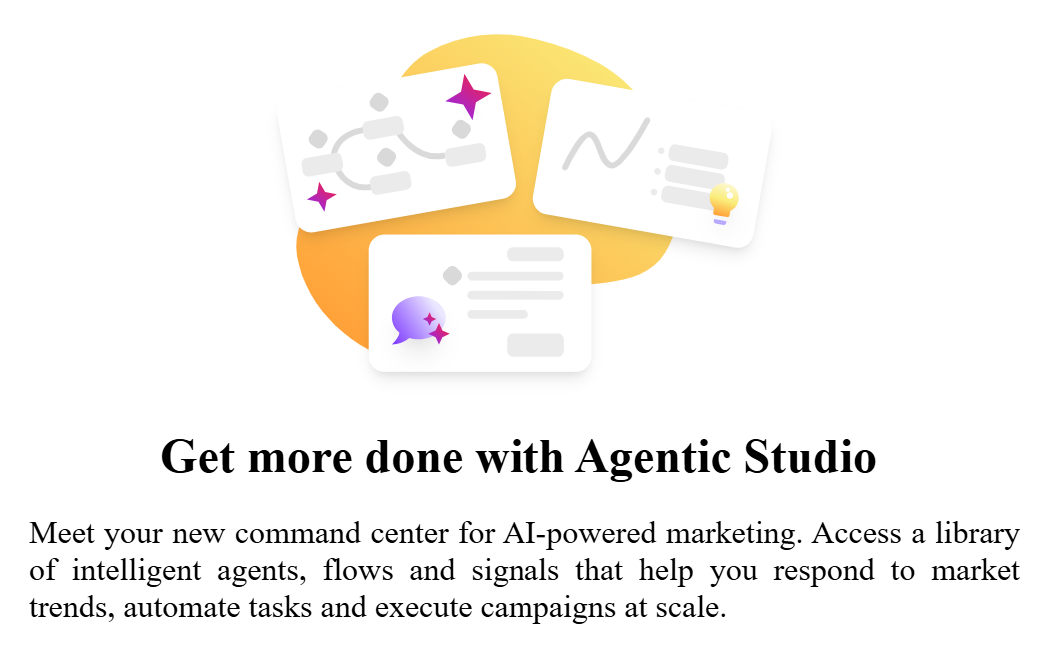
These agents work within Agentic Flows and Spaces inside the Agentic Studio, creating a collaborative environment where marketers can direct, review, and approve the work being done by their new AI team members.
Under the Hood - How the Magic Actually Works
For the technical folks like me, this is where it gets really interesting. This isn’t just black-box magic; it’s built on a robust and open architecture. The key is the decent variety of
Unified APIs along with
Marketer MCP (
Model Context Protocol).
The MCP acts as a secure bridge, translating natural language requests from a marketer into concrete actions. When a marketer asks an agent to “create a new landing page for the summer campaign with a personalized banner for returning visitors,” the MCP interprets this request and uses the Agent API to execute the necessary steps in Sitecore: creating the page, adding the components, applying the personalization rule, and so on.
Each "tool" an agent can use corresponds to a secure, governed endpoint in the Agent API, covering everything from site management and content creation to personalization. This provides the perfect blend of power and safety, ensuring that AI agents operate within the same permission-based framework as human users.
The First User Experience and the New User Interface
Upon the very first run, you will receive these introduction popups:

Now let's take a look at the new way of the tools organization.
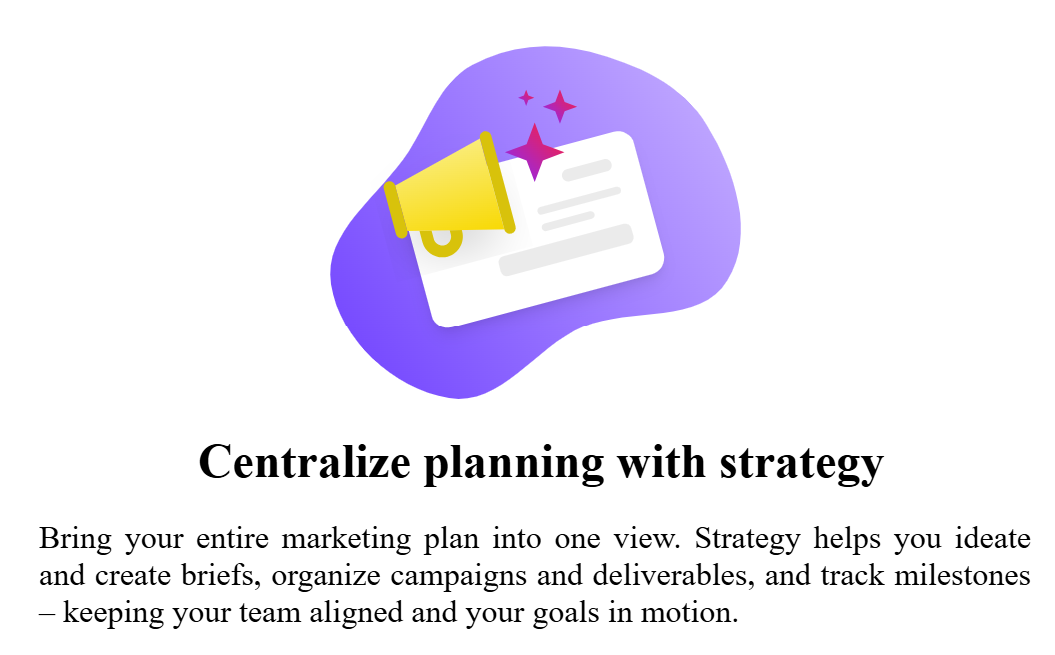
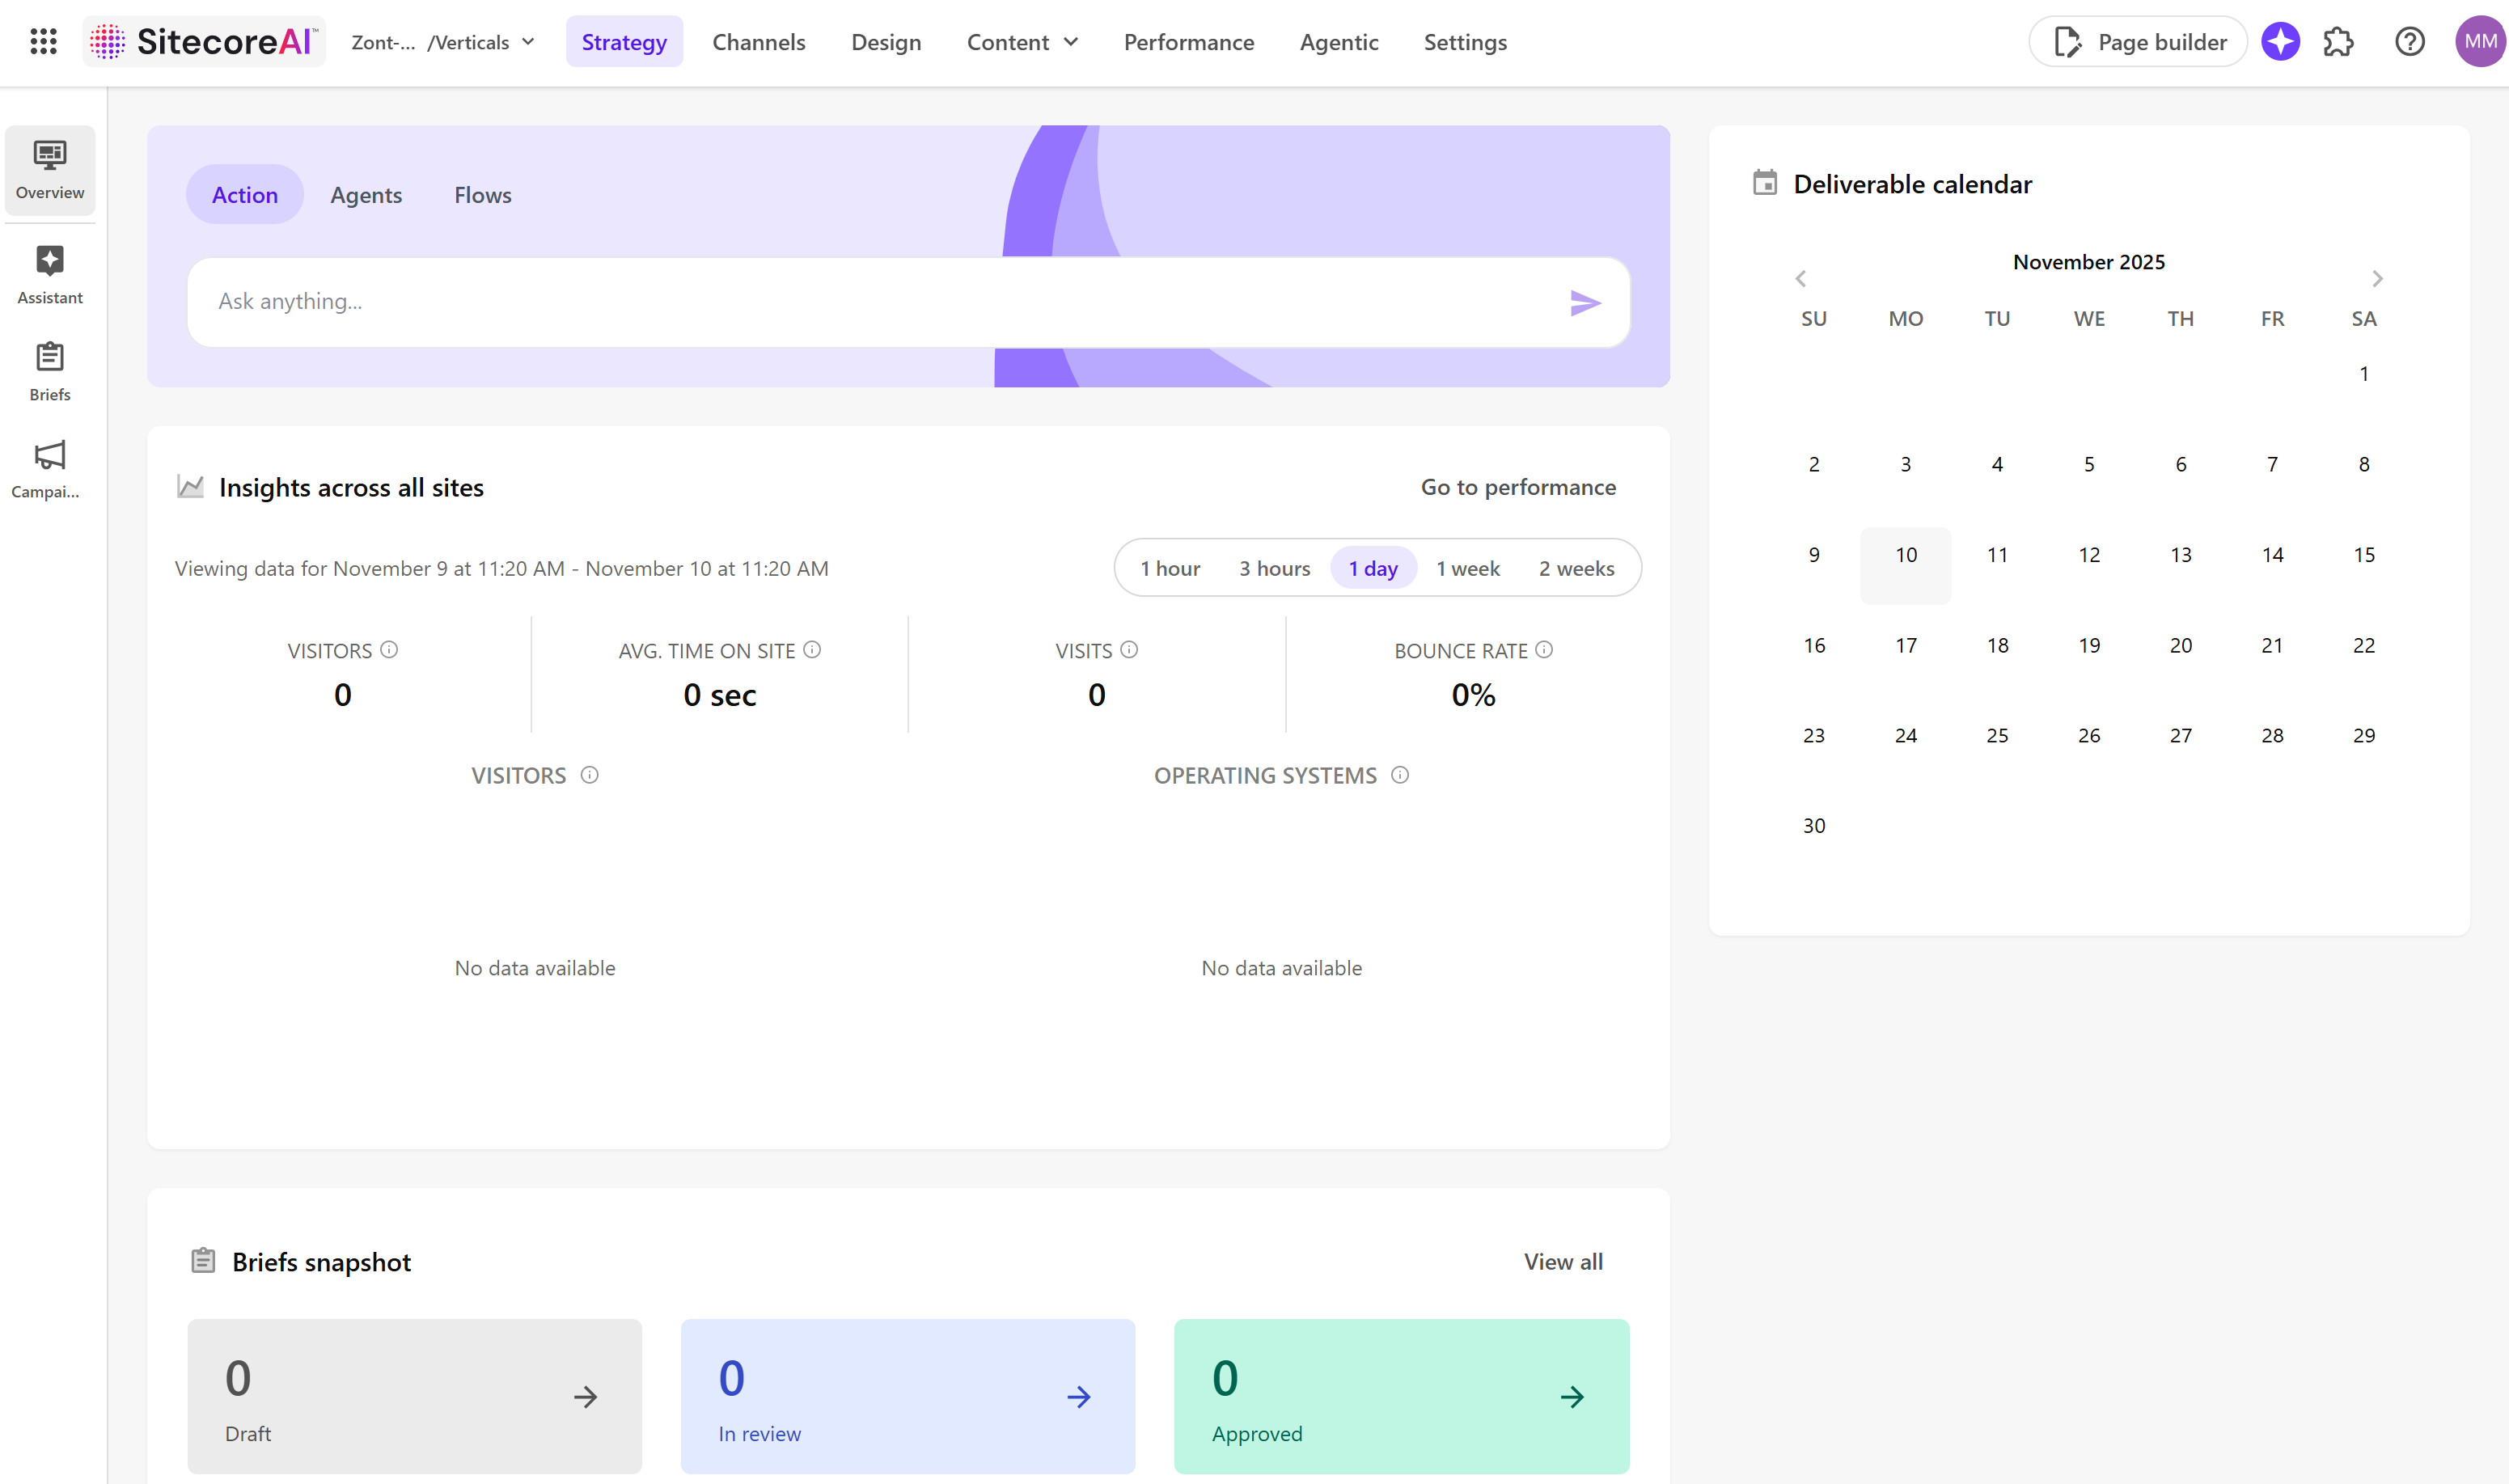
1. Strategy
Strategy in SitecoreAI unifies planning, collaboration, and delivery in a single workspace. Marketers can move from brief to campaign to deliverables and tasks without switching tools, with AI enhancing every step. Strategy acts as the planning front door to Sitecore’s marketing cloud, linking creative and operational workflows across teams.
Work is often planned in scattered docs, sheets, or project tools, while execution lives inside Sitecore. Teams lack one place to see what is planned, what is due, and what is blocked across campaigns and briefs. Strategy provides that shared view and gives AI a clear surface to help with planning, prioritization, and decision making.
Overview, a central dashboard for campaign planning that shows pinned sites, a snapshot of site analytics, upcoming campaigns, a briefs tracker, and a lightweight deliverables calendar.
Assistant is used to generate briefs directly in the brand-aware assistant chat using natural language, publish them right away, then refine details in the Briefs workspace.
Briefs allows you create, view, and edit briefs made manually or with AI in a single editor page. Link related campaigns, add comments, assign tasks, and convert approved briefs into draft campaigns with one click.
Campaigns lets you manage every campaign in one place. Review campaigns converted from briefs or created manually, add deliverables and tasks, assign owners, and set timelines to track progress.
2. Channels
In SitecoreAI, Channels is the primary workspace for building and managing digital experiences, it centralizes everything needed to create and organize sites and site collections. You open it from the navigation menu by selecting Channels. Within Channels, teams can create and manage sites from templates or copies, adjust site settings, and open sites in Page Builder for content updates. They can also create and manage site collections to group related sites for shared resources and organized projects, build web pages in Page Builder to design, edit, and personalize with components and content, and personalize and test experiences by creating page variants and running A/B/n tests on components.
An Agentic studio widget sits below the navigation menu, providing entry to agentic features in Agentic Studio. To use these agentic features, Stream must be enabled in the Sitecore Cloud Portal, if it is not enabled, click Enable Stream in Cloud Portal and follow the on screen steps.

3. Design
SitecoreAI Design is a unified workspace that brings together the Design studio, components, forms, and brand kits so teams can create, configure, and publish reusable building blocks for Page builder. From the Design sidebar, users can see totals for draft and live items, open full lists, adjust visualization values, generate variants with AI, and access the Agentic studio widget. To use agentic features, Stream must be enabled in the Sitecore Cloud Portal. Forms can be built or templated and activated in Page builder, and brand kits align AI generated content to brand guidelines through uploaded source documents and access controls.
The Design studio itself is a centralized interface for visualizing and testing components and forms outside any specific site. It lets teams compare components and their variants side by side, experiment with design and content configurations using standard values, mock data, or temporary settings, simulate responsive breakpoints, and preview how different data sources render, including GraphQL. Changes made here are not saved, but they inform final configurations in Pages or the Content Editor. Full access requires Content SDK version 1.1.0 or later and that Stream is enabled.
Key benefits include AI powered generation of component variants to accelerate prototyping, reduce repetitive setup, and explore alternative styling and structure while encouraging accessibility and consistency. The studio improves discovery and coherence by letting teams browse components across sites, search with filtering, compare variants, and see how components render per site. It also provides a safe space for real time testing of field values, layout, styling, and responsiveness across devices, plus the option to access component code to explore AI assisted improvements, with insights feeding into final Page builder setups.

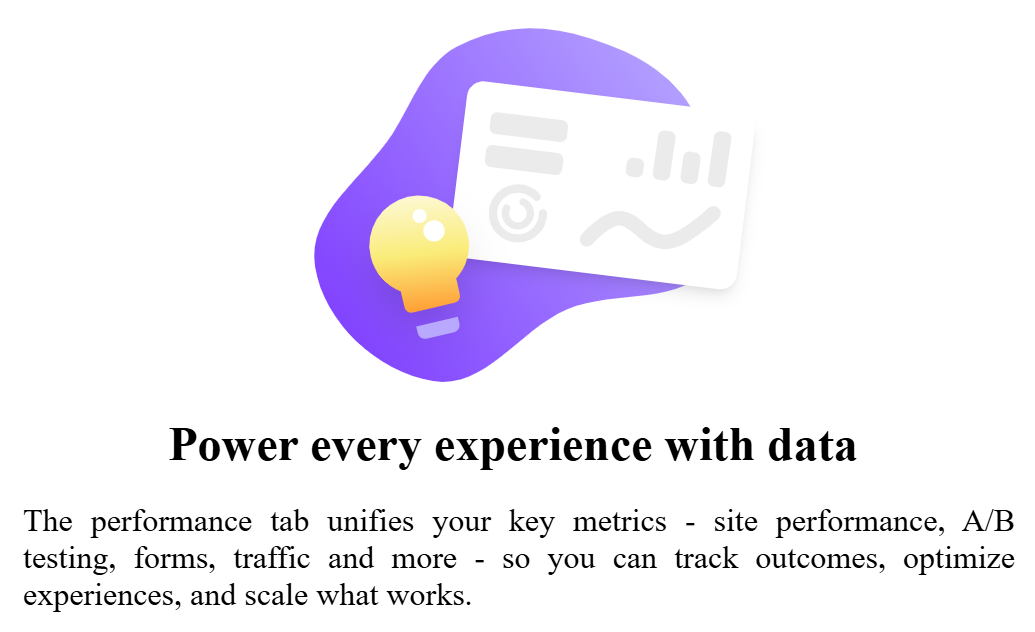
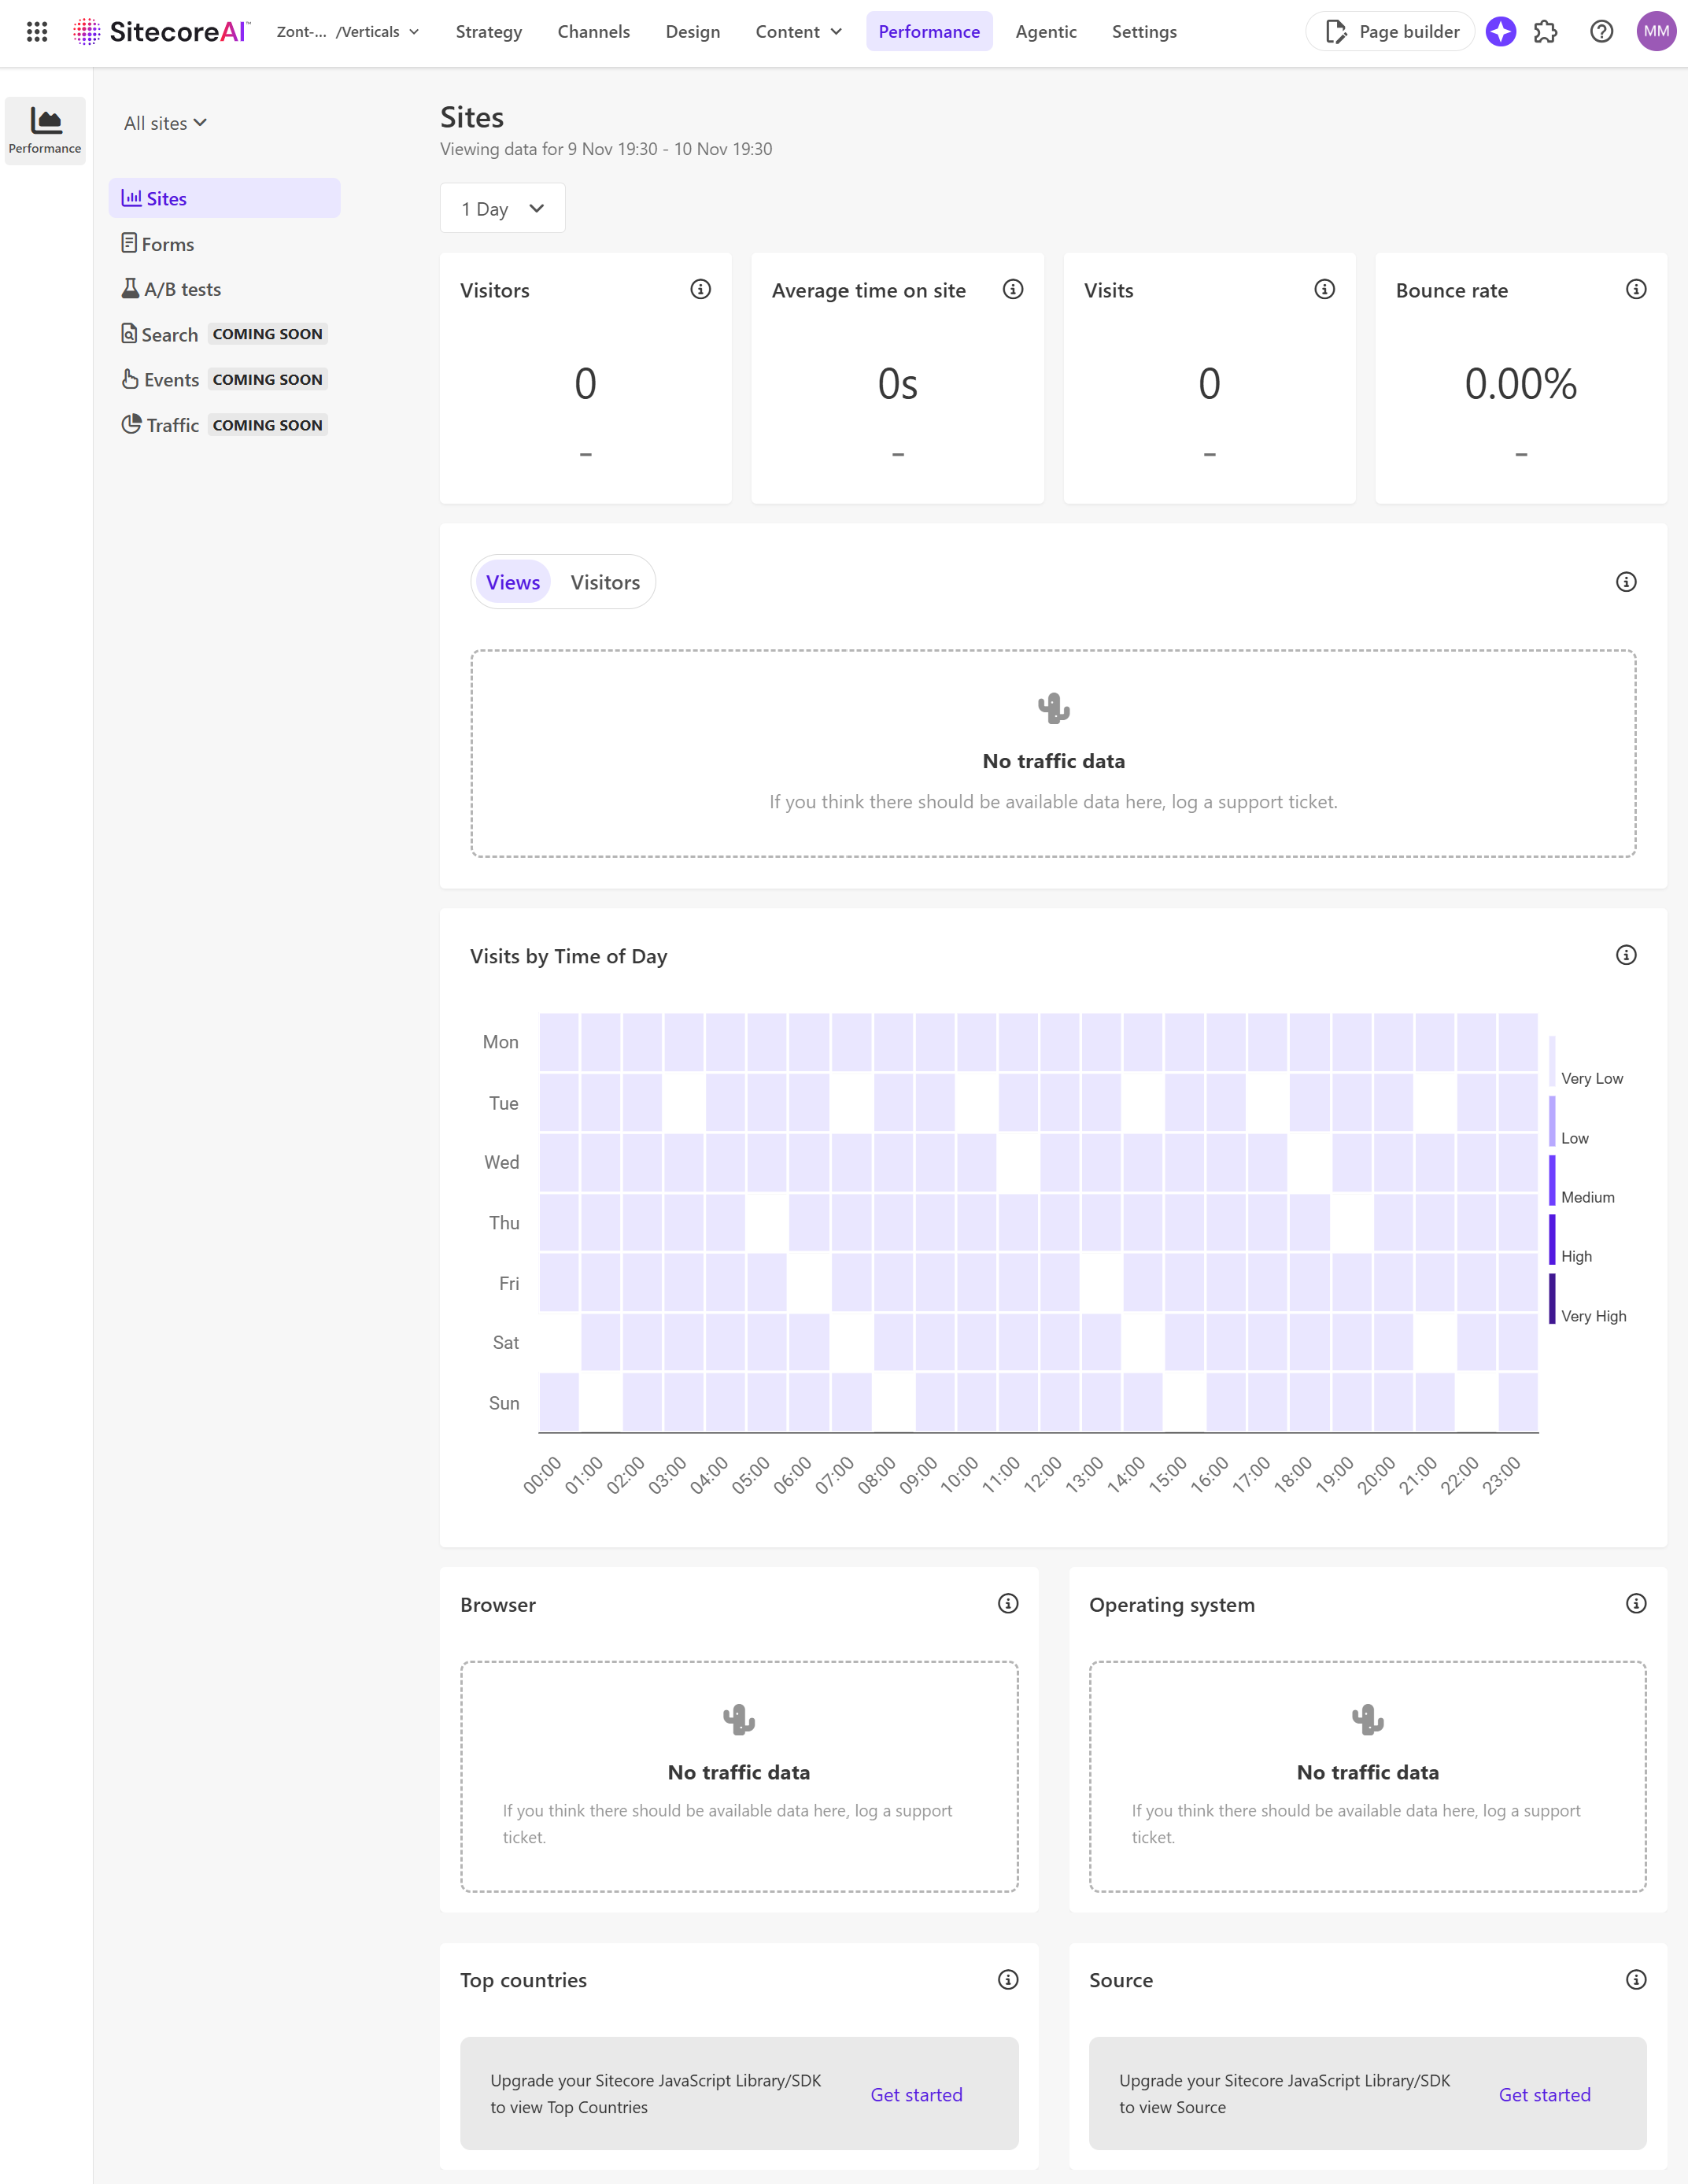
4. Performance
SitecoreAI Performance gives one place to monitor how experiences perform across sites, forms, and experiments, and to measure the impact of changes. You must first create an analytics identifier and assign it to your site, you can use the same identifier across multiple sites to consolidate data. The Performance entry point summarizes activity and links to the Sites, Forms, and A/B/n tests dashboards, with Search, Events, and Traffic marked as coming soon. You can also turn on a Demo switch to view mock data. Additional views include Page insights in Analyze for page level analytics and a customizable Sites dashboard per site.
The Sites performance dashboard tracks visitors, average time on site, visits, bounce rate, plus time series for views and visitors, and visual breakdowns by browser, operating system, top countries, visits by time of day, and source. It opens from Performance, supports choosing a site and time range, and auto refreshes every minute. Notes clarify that a visit spans all actions until close or inactivity, the time series includes both active and closed visits so totals cannot be summed, and country data is IP based and can be skewed by VPNs.
The Forms performance dashboard automatically collects data from all active forms used in Pages and Components, and lets you filter by site, time, and specific form. It reports form views, form interactions, interaction rate, submissions, and submission rate, using VIEWED, INTERACTION, and SUBMITTED events, highlights up or down trends, auto refreshes every 15 minutes, and supports data export as a ZIP.
The A/B/n tests performance dashboard shows status, primary goal performance against a target, days running, total unique visits, and a goals by visits table. Filters include goal over time, device, and time window, with an overview chart and a details table that lists variant name, visits, selected goal value with a 95 percent margin of error, goal metric uplift with margin of error, and a confidence index that is valid only after minimum sample size is reached. Test analytics appear after at least 24 hours and a page republish, and you can also view a quick snapshot from the page builder or the site dashboard. Page insights in Analyze lets you pick a site, language, and time period, then view or compare a page with one of its variants side by side, with metrics for visitors, average page views per session, views, a visits chart, visits by time of day heatmap, variant views, top countries, source, browser, and operating system, and it refreshes every minute after the initial load.
What is especially exciting, we're getting Search performance metric soon, right from the same unified interface.
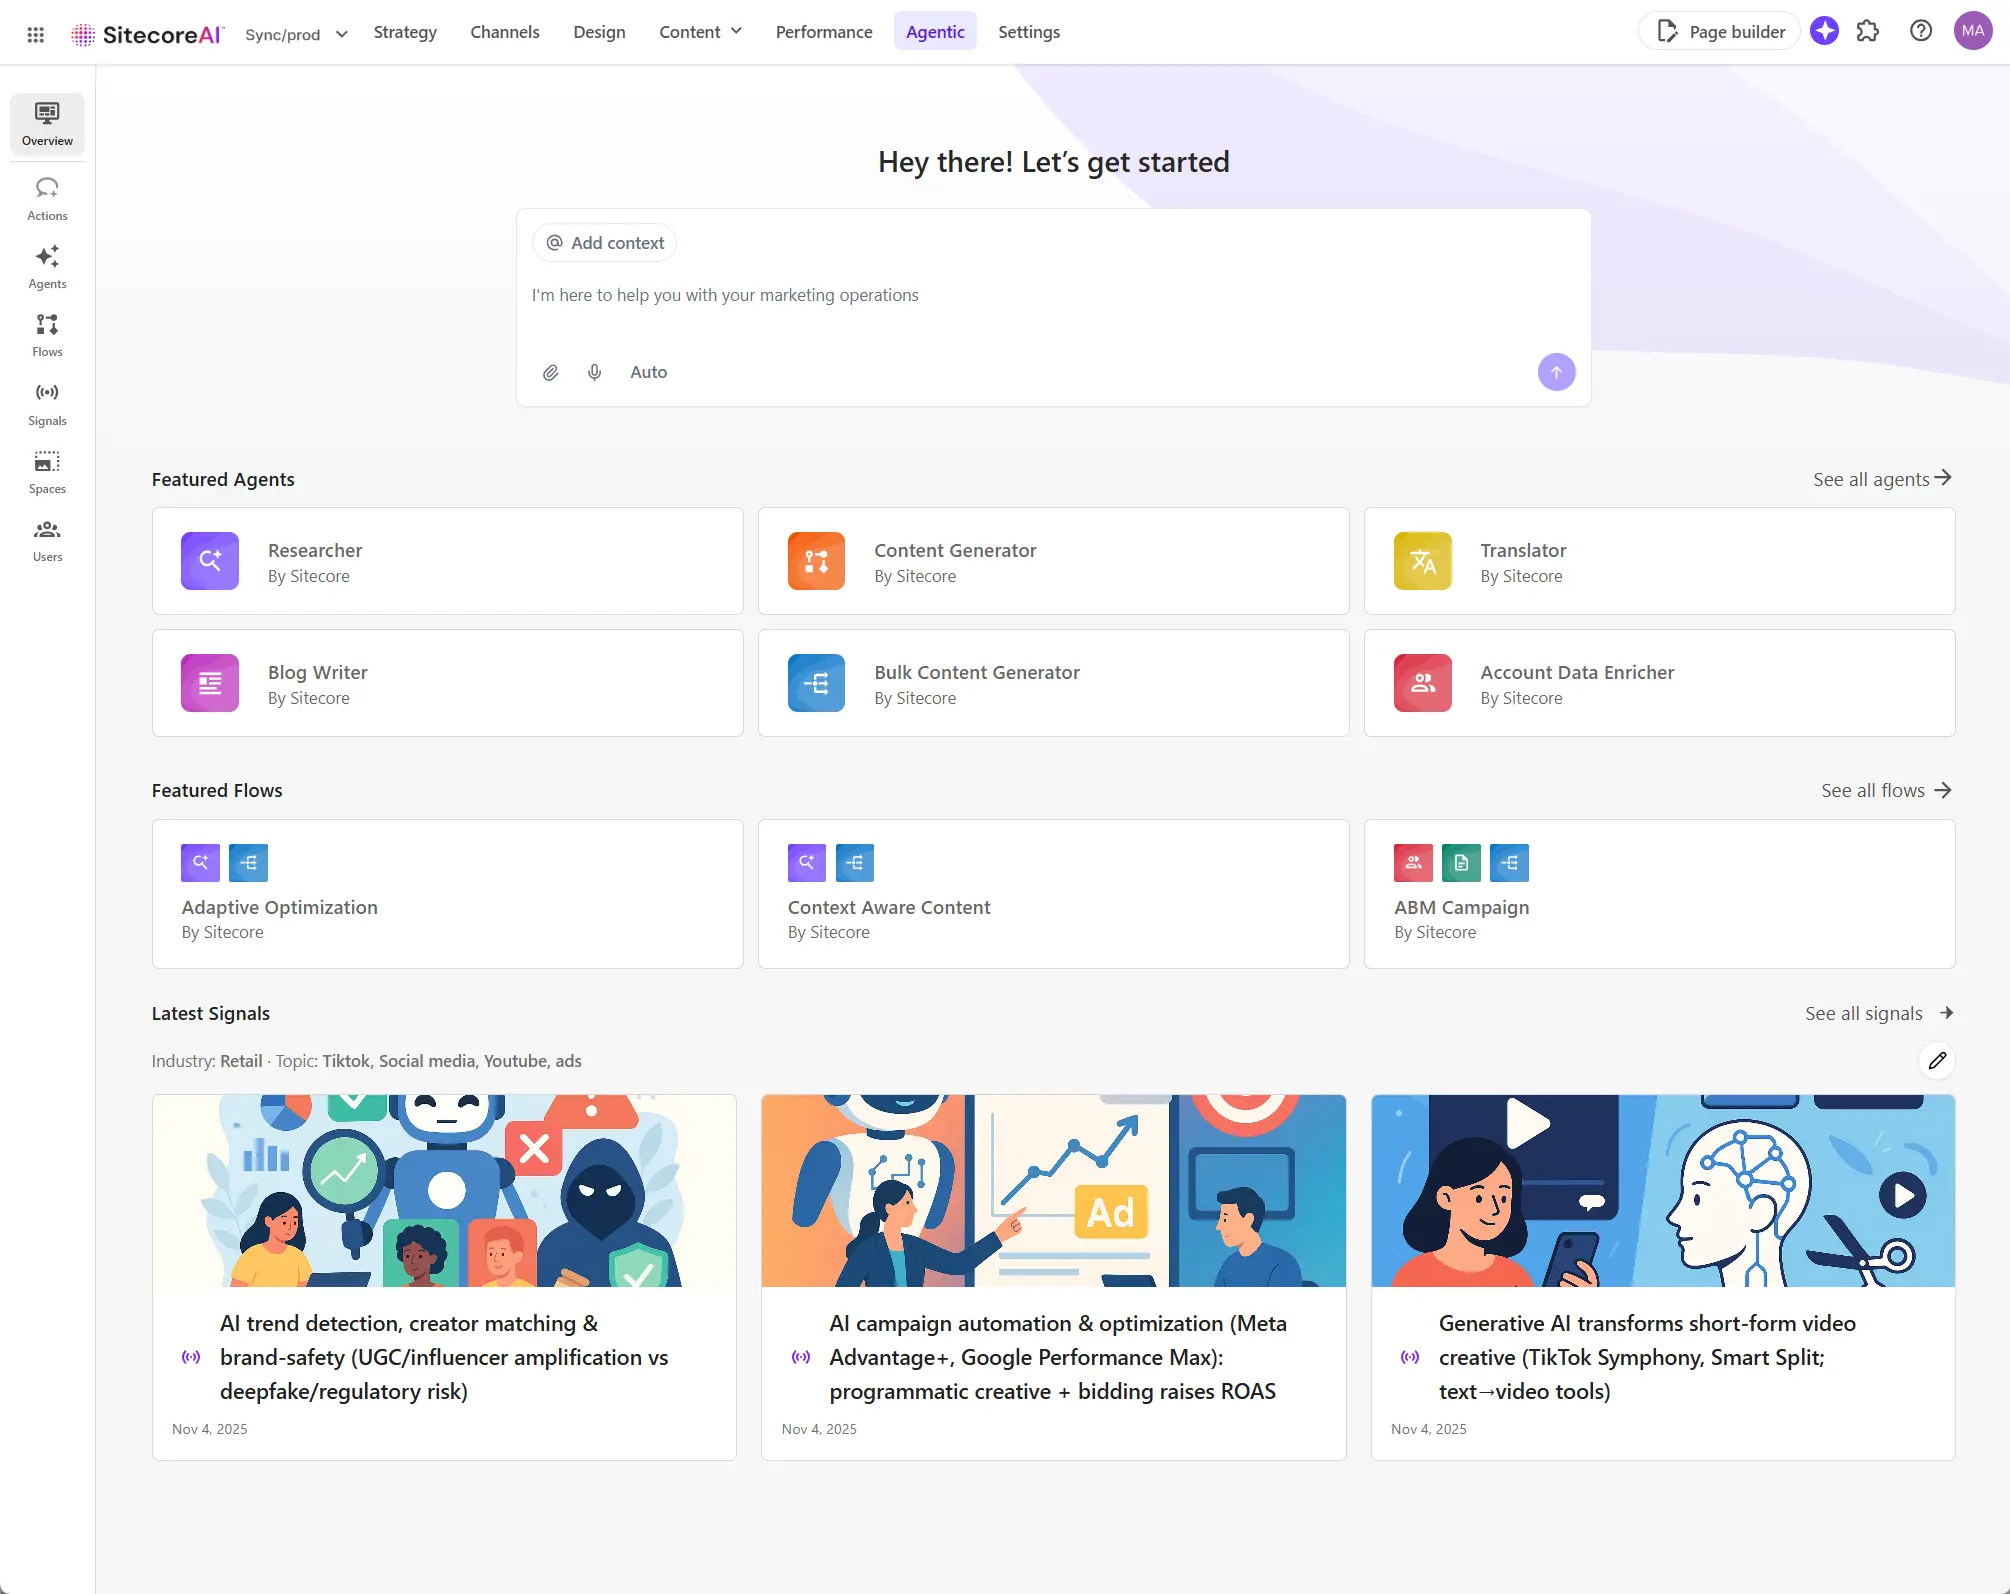
5. Agentic
Agentic studio in SitecoreAI is a workspace where marketers collaborate with AI to ideate, brief, plan, and execute work through autonomous agents, with Stream required to be enabled in the Sitecore Cloud Portal. From anywhere in the platform you can open Agentic via the navigation or the AI icon, then use the Overview page to delegate tasks, access recent work, and jump into Actions, Featured Agents, Featured Flows, and the latest Signals. Actions supports natural language prompts, file attachments, and optional brand knowledge context, and it can auto select the right agent, prioritize speed, or let you choose a specific agent, while preserving chat history for continuity.
Agents are the core automation units, essentially digital workers that act toward goals, make decisions, coordinate with other agents, and learn from feedback, with built in options for research, AEO or SEO analysis, content and email generation, translation, summarization, account enrichment, structured extraction, and more. The Agents page lists all out of the box and custom agents, supports running them directly, and, for users with a Builder License, allows creating, duplicating, deleting, and editing agent configurations.
Flows automate larger multi step processes by chaining one or more agents, maintaining context through each stage, passing outputs between agents, and inserting human checkpoints where needed. The Flows page lets teams browse by category, run flows, and track them, with examples like ABM campaign, Adaptive optimization, and Context aware content that accelerate common scenarios.
Signals provide daily, AI curated market insights based on your preferences, surfacing timely indicators from trusted sources so teams can understand trends, spot gaps, and prioritize actions. Spaces organize all agent and flow executions into dedicated pages that capture status, history, outputs, and collaboration details, giving a single place to review, continue, and manage work across campaigns.
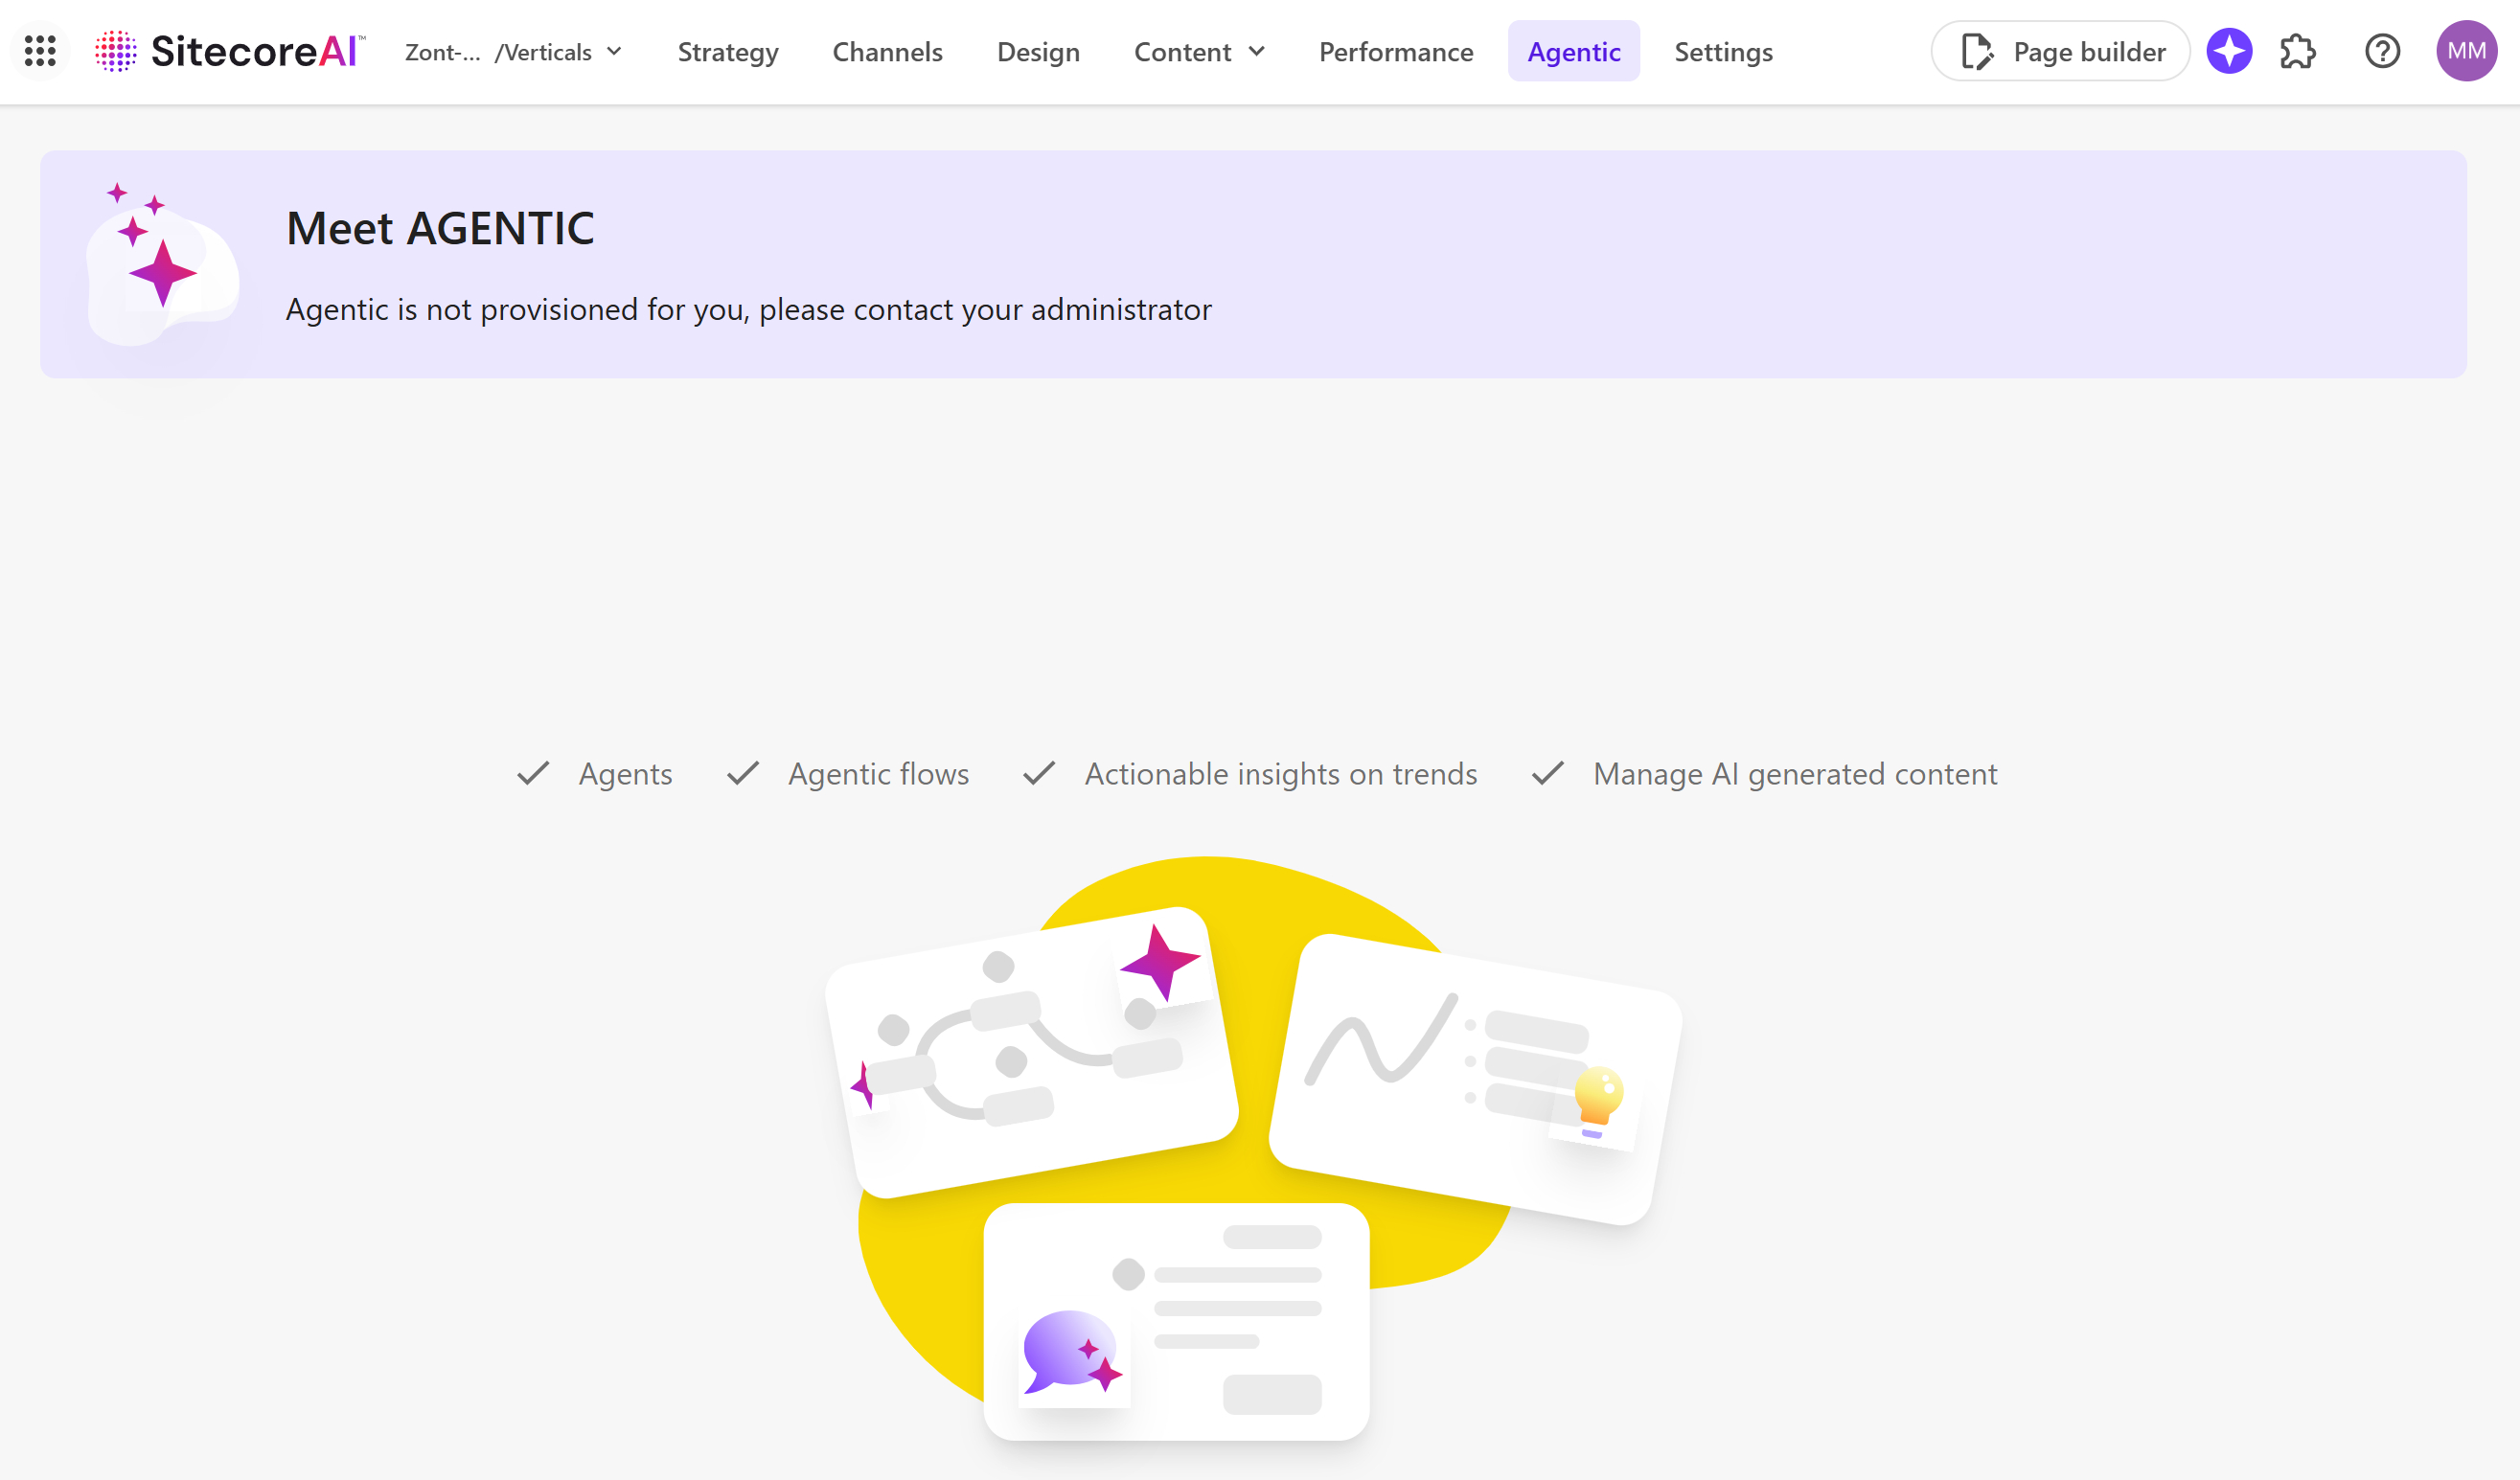
Agentic must be provisioned for you organization in advance, otherwise the only you'll see would be the below screen:
But the unification is just the table stakes. The real game-changer is the engine that powers it all: Sitecore Studio.
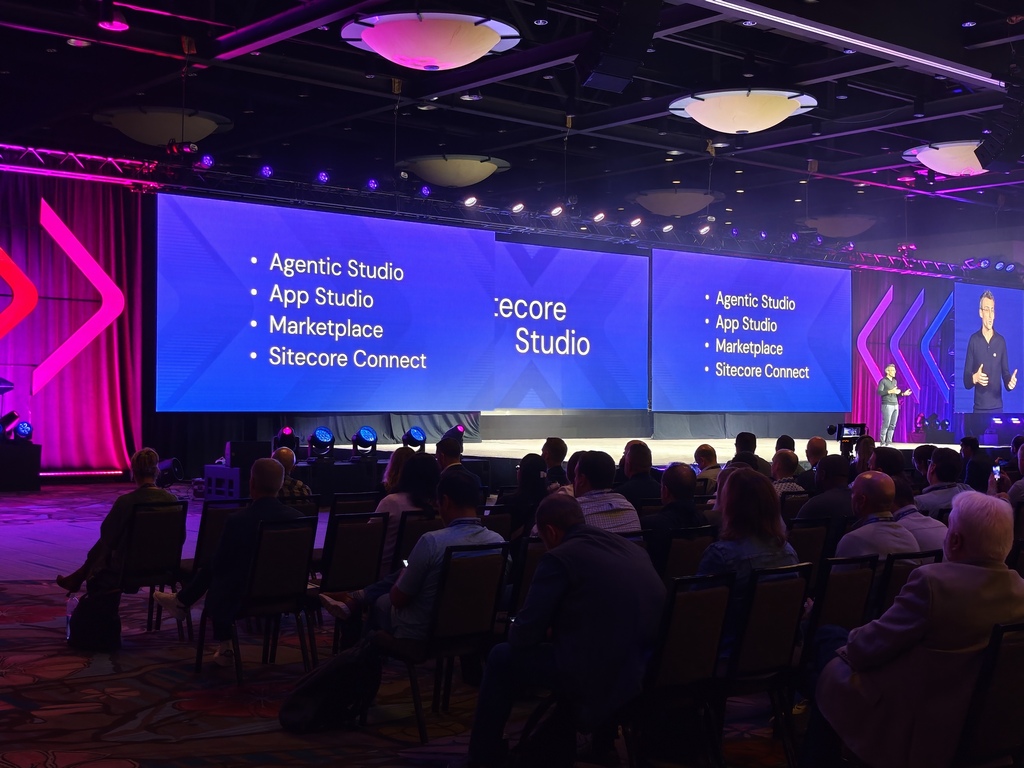
A Tour of Sitecore Studio
Sitecore Studio is the unified extensibility framework for the entire SitecoreAI platform. It’s the command center where marketers, developers, and AI collaborate. It’s not a single tool, but a collection of four distinct, yet interconnected, workspaces.
| Studio Component | Role & Purpose | Key Audience |
| Agentic Studio | A no-code workspace to design, govern, and orchestrate AI agents that automate marketing workflows from planning to optimization. | Marketers |
| App Studio | A developer-focused hub to build, configure, and deploy custom apps, extensions, and agents using APIs, SDKs, and the Model Context Protocol (MCP). | Developers & Partners |
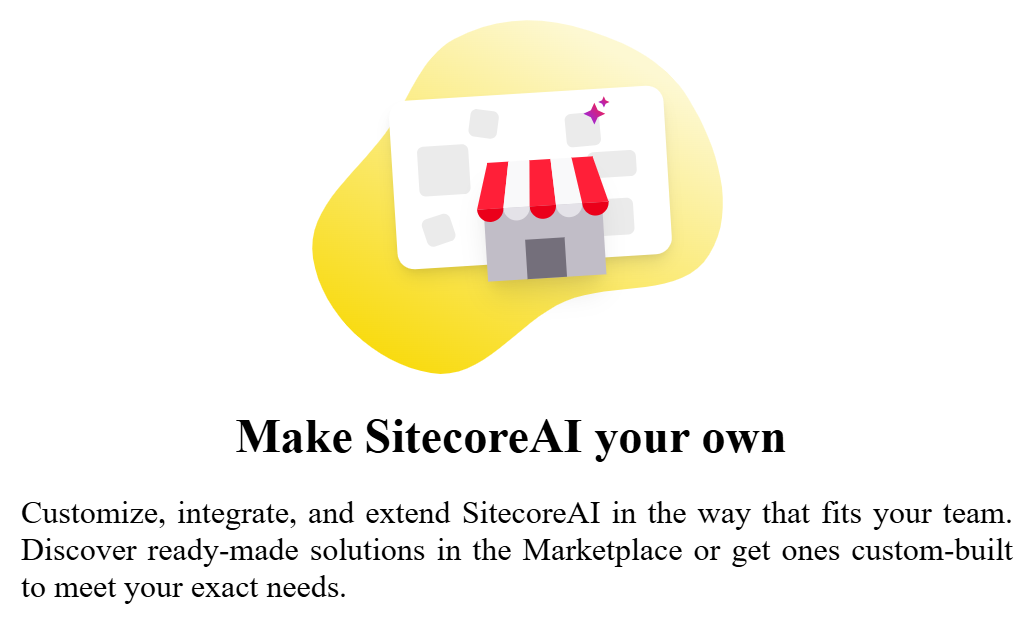
| Marketplace | An app store for discovering and installing public and private apps and agents, providing a native, secure experience. | Marketers & Developers |
| Sitecore Connect | An integration workbench (powered by Workato) with a library of pre-built connectors and recipes to connect SitecoreAI to the broader tech stack. | Developers & Integrators |
This above structure is brilliant. It provides a clear separation of concerns while fostering collaboration. Marketers get the safe, no-code environment they need to innovate at speed in Agentic Studio, while developers are empowered to extend the platform’s core capabilities in App Studio.
The Road Ahead: What This Means for Us
The launch of SitecoreAI and Sitecore Studio is more than just a product release; it’s a paradigm shift. It’s a clear signal that Sitecore understands the future of digital experiences is not about building better websites, but about orchestrating intelligent, personalized interactions across a vast, fragmented landscape.
For marketers, this is a moment of empowerment. It’s the chance to move from being a task manager to a strategic orchestrator, using AI as a force multiplier to achieve business goals faster than ever before.
For developers, this is a new frontier of extensibility. App Studio, the Marketplace, and the MCP open up incredible opportunities to build and monetize new capabilities, solving unique business challenges on a secure, scalable platform. I’ve been in this space for a long time, and it’s rare to see a vision this bold executed with such clarity and completeness. The future of digital marketing is here, and it’s agentic.
It’s time to get our hands dirty and start building!